We continue our work on MOUSE, the little gunter yawl project…
Denis Wang photo
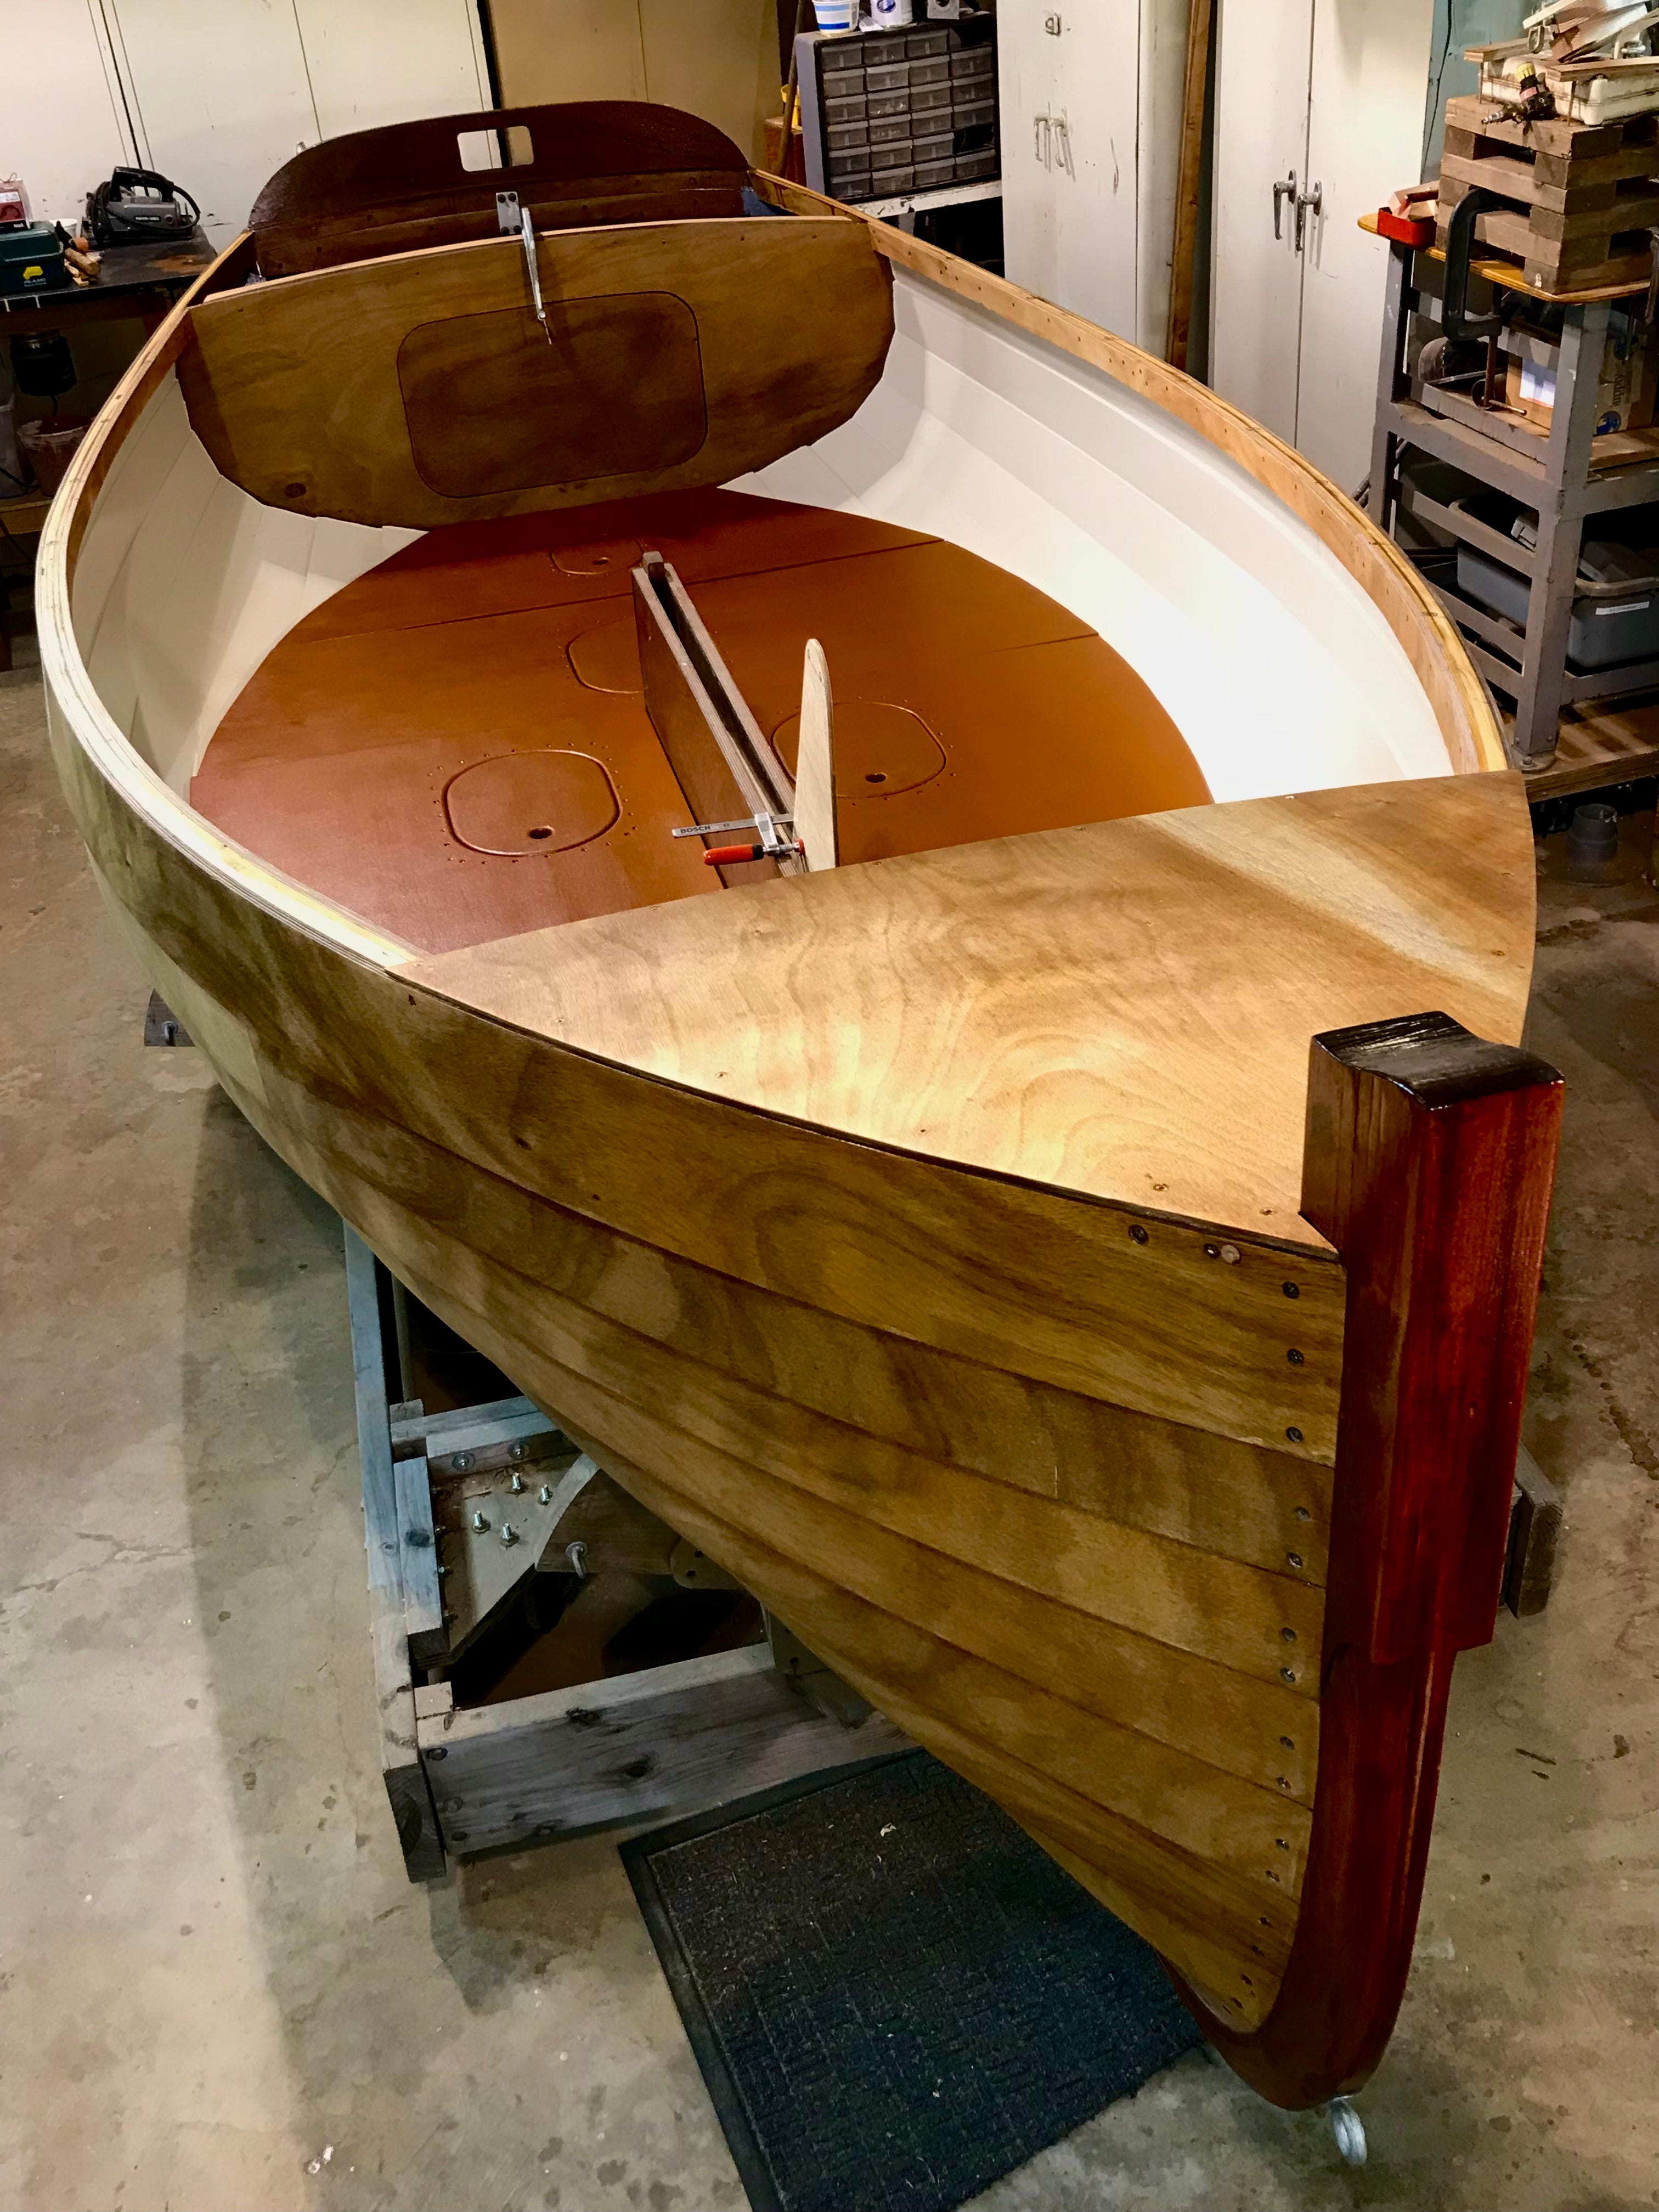
Following the rough drawing shown in Part 1, we fashioned a centerboard from 3/4” marine mahogany plywood, feathering the edges, encasing in fiberglass cloth with carbon-fiber tape on edges, and inserting two 3/4”-thick plates of lead, to prevent the CB from floating up when lowered. (We were guessing at how much lead, and the 7-1/2 lbs. was enough to achieve neutral buoyancy, but not enough to guarantee total submersion. Fortunately, control lines helped us keep the board wherever we wanted it—up, down or somewhere in-between.)
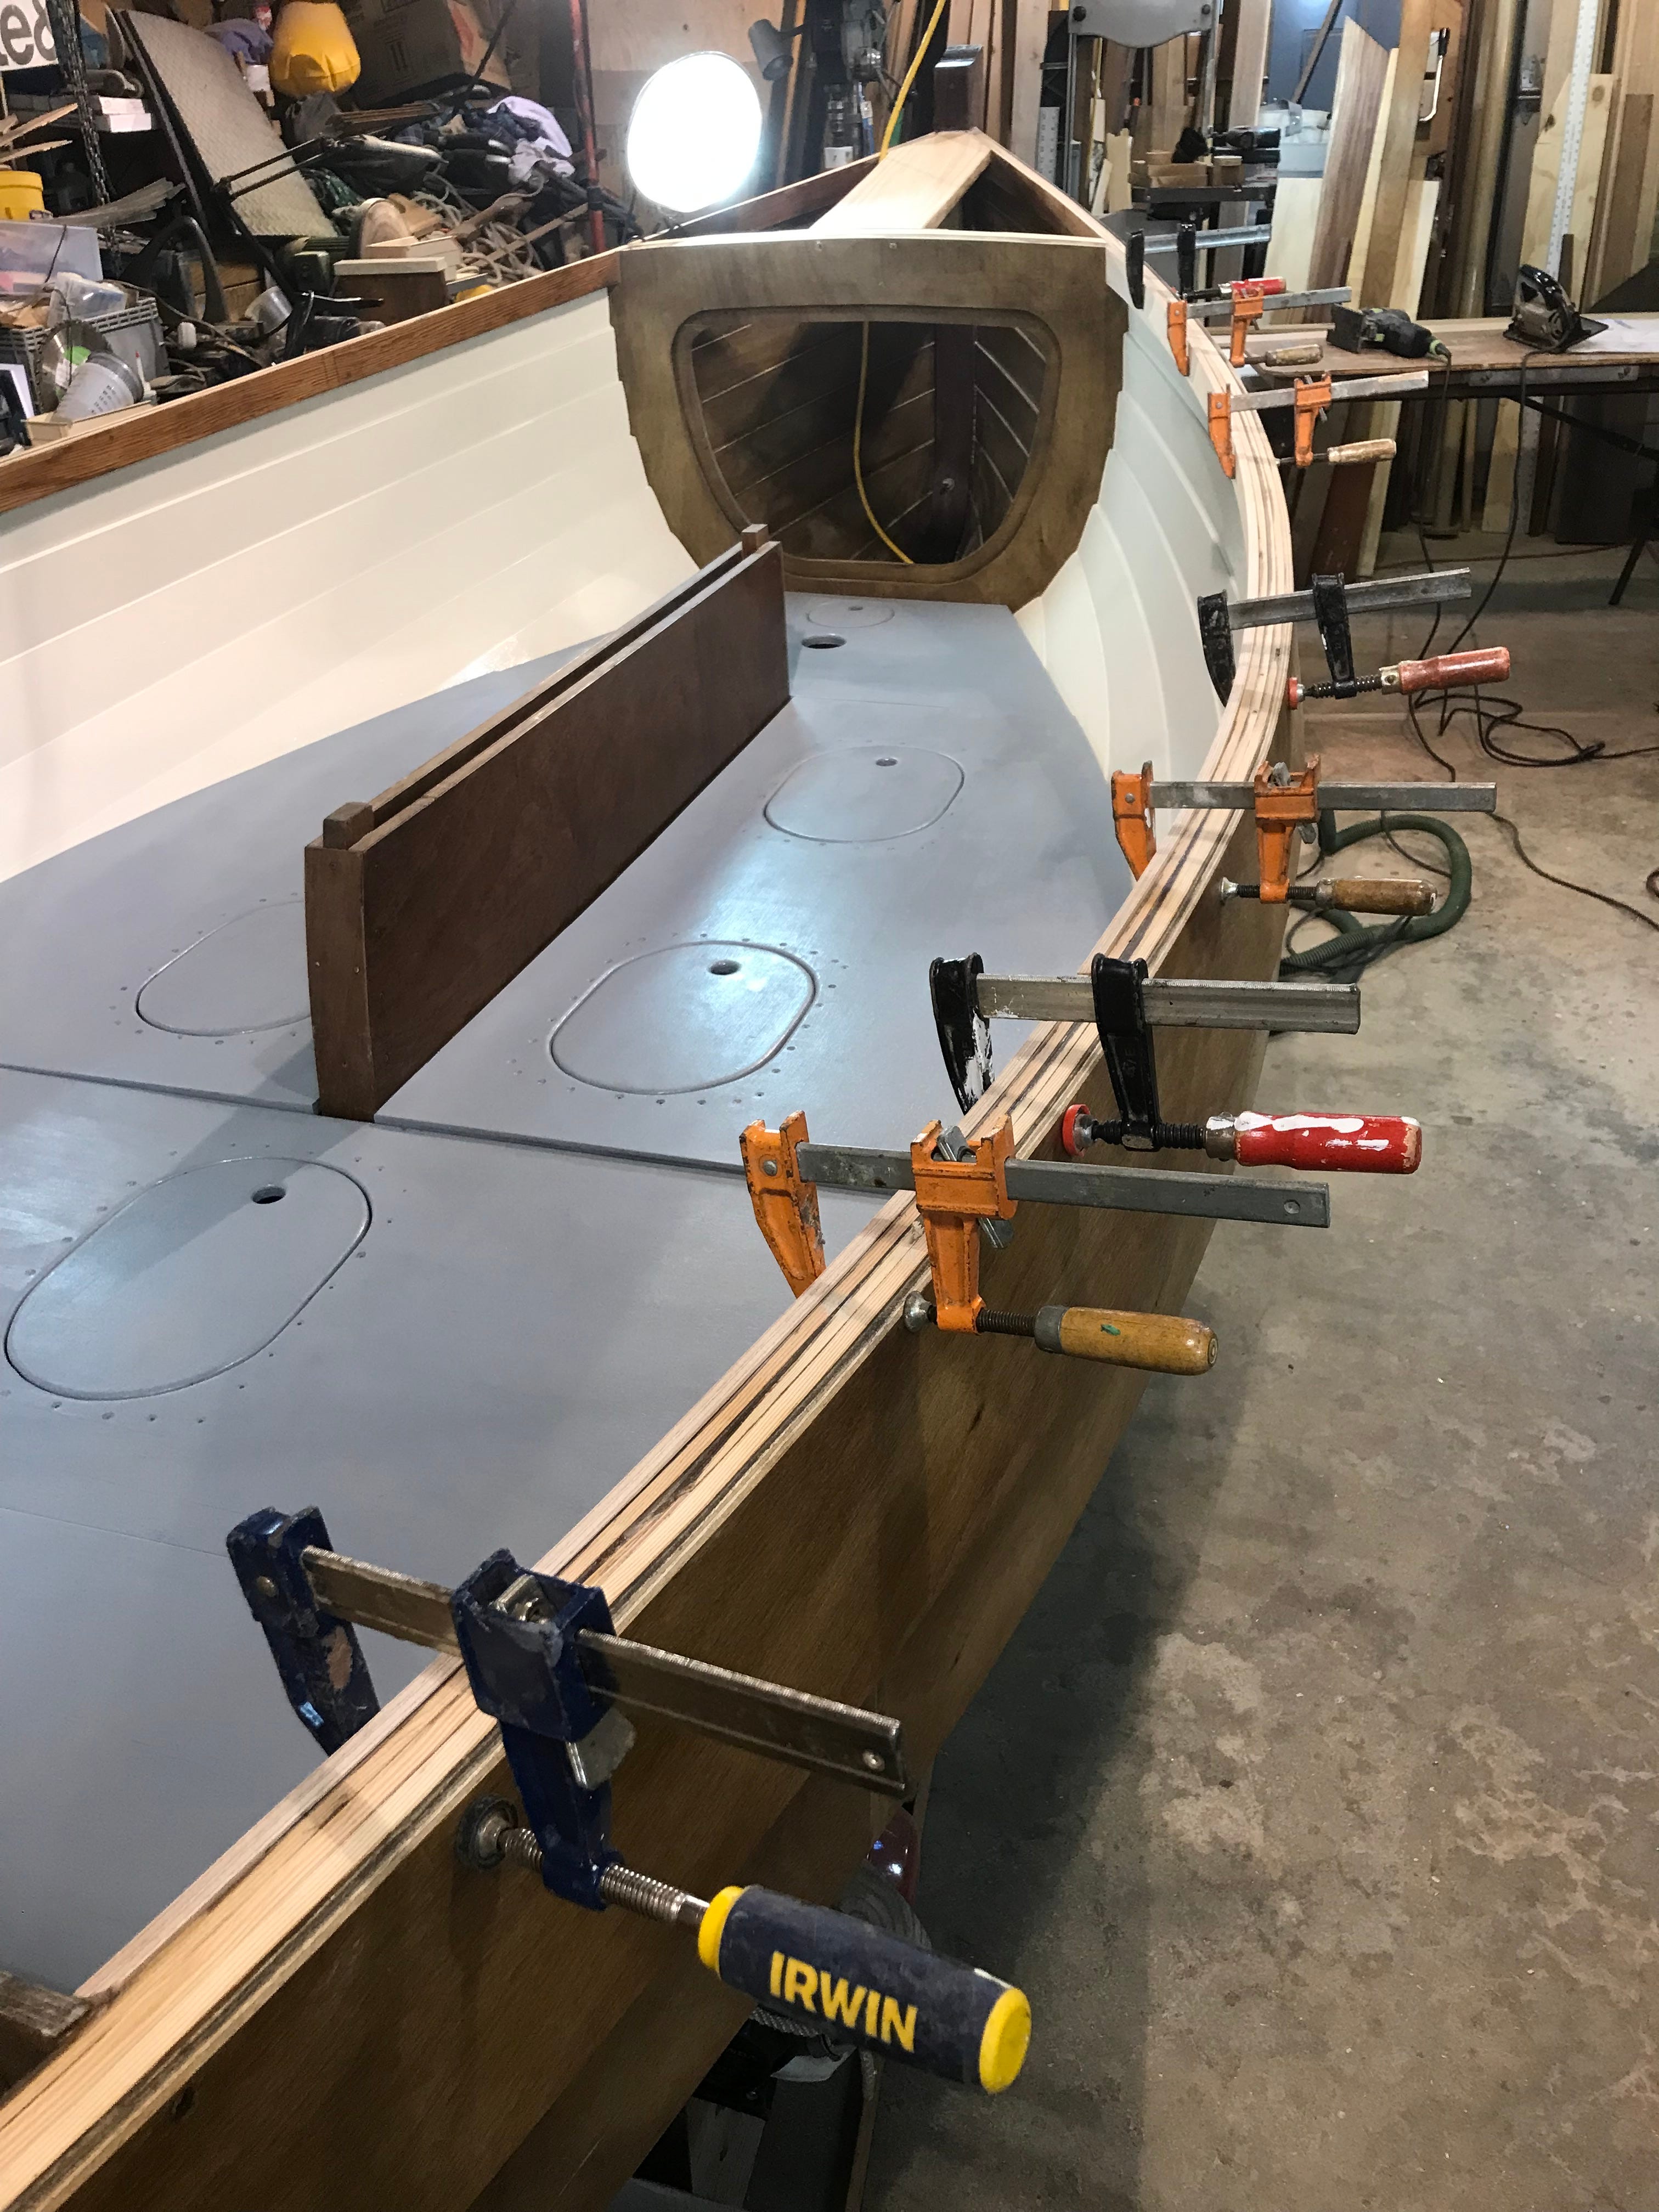
Wanting a narrow but strong sidedeck, I laminated 1/4” x 2” strips of fir that would be sanded down as a foundation for the cockpit coaming.
With the laminated side-deck foundation in place, I cut and fit a foredeck, laid over beams and framing pieces I added between stem and the forward bulkhead.
After adding framing support, I cut and fit the aft deck. (Note temporary nails used to confirm final position before glueing and screwing deck down.)
Next, after painting the decks, came the tricky business of making patterns for the cockpit-coaming pieces. The sides were especially challenging since they needed to be sprung into place. After making patterns using 1/4” plywood, I transferred the patterns to a long and wide plank of Sapele, milled down to a thickness of 1/2” so it would take the bend. After cutting the upper curve that followed the side-deck edge, I quickly made a sliding block of scrap wood with hole drilled for pencil to mark the parallel lower edge. Having cut, radiused and sanded both edges, I final-trimmed ends and clamped them in place before screwing in place.
Keep reading with a 7-day free trial
Subscribe to Small Craft Advisor to keep reading this post and get 7 days of free access to the full post archives.