Part 2: Building Our 20’ Cabin Cruiser
The Outboard Well….Measure 17 Times, Take a Breath, Cut Once
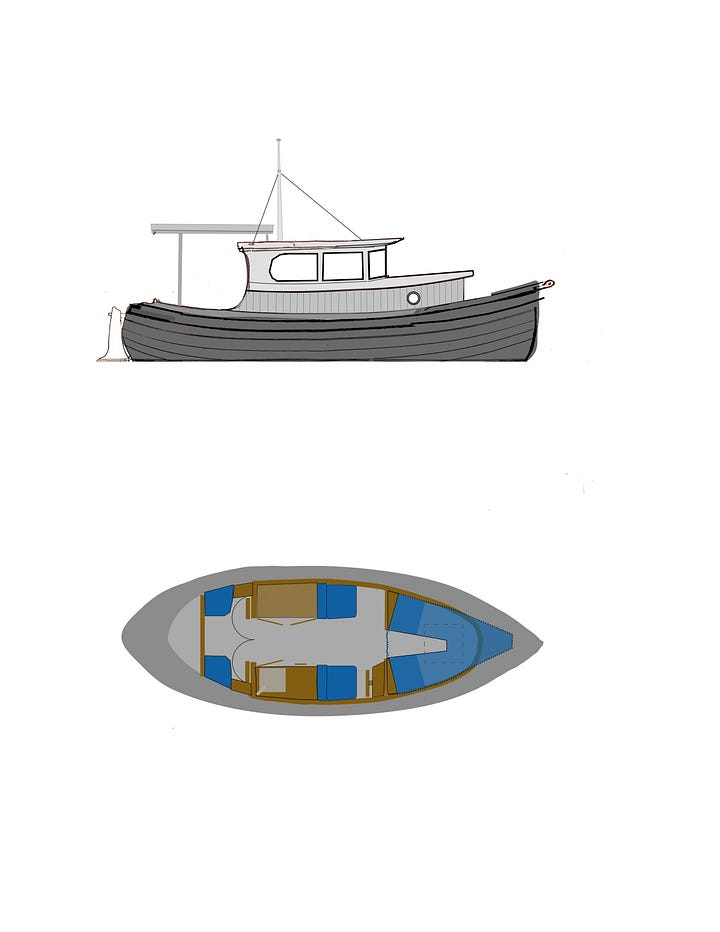
Below — To review, in case you missed Part 1 in the series (Shallow Draft, Nov. 13), we are building a trailerable, fuel-efficient 20’ cabin cruiser with pilothouse and cuddy cabin we’ve sketched, to be fit onto a Welsford-designed 6-Meter Whaler hull. We’ll add one more sheer plank to the hull to increase volume and “heft” of the hull, to avoid the boat looking top-heavy following addition of the cabin and pilothouse.


I knew going into our design-as-you-build project that the most challenging task—and the one I should tackle first—was the outboard well for our 9.9 Suzuki. Such wells aren’t awful when part of initial construction, but they’re tricky to retrofit into a double-ended lapstrake hull. And “tricky” is the nice word for this particular surgery.
So, after staring at the challenge, taking umpteen measurements of the outboard motor, and making patterns to test the geometry of my draft plan, I carefully cut into the $250 sheet of 18mm (3/4”) Okoume marine plywood, shaping key pieces of the outboard-well puzzle: The main transom and two side walls that had to form a gentle taper heading toward the stern while remaining parallel on the vertical axis…just wide enough to allow the outboard’s skeg to tip up freely.
Whew…it worked!
As you’ll see in adjoining photos, there’s still filleting, taping and sheathing with fiberglass cloth to do around all mating surfaces of the big hole, but that’ll be nothing compared to the process just completed.
Keep reading with a 7-day free trial
Subscribe to Small Craft Advisor to keep reading this post and get 7 days of free access to the full post archives.


