
Part 14: Building Our Trailerable Dreamboat
Patterns for a Cabintop / Some Paint Work / Then on to a Laminated Pilothouse Roof
Our last installment was on the 15th of February—just days ago, wasn’t it?—so we’re checking back early with a shorter-than-usual episode.
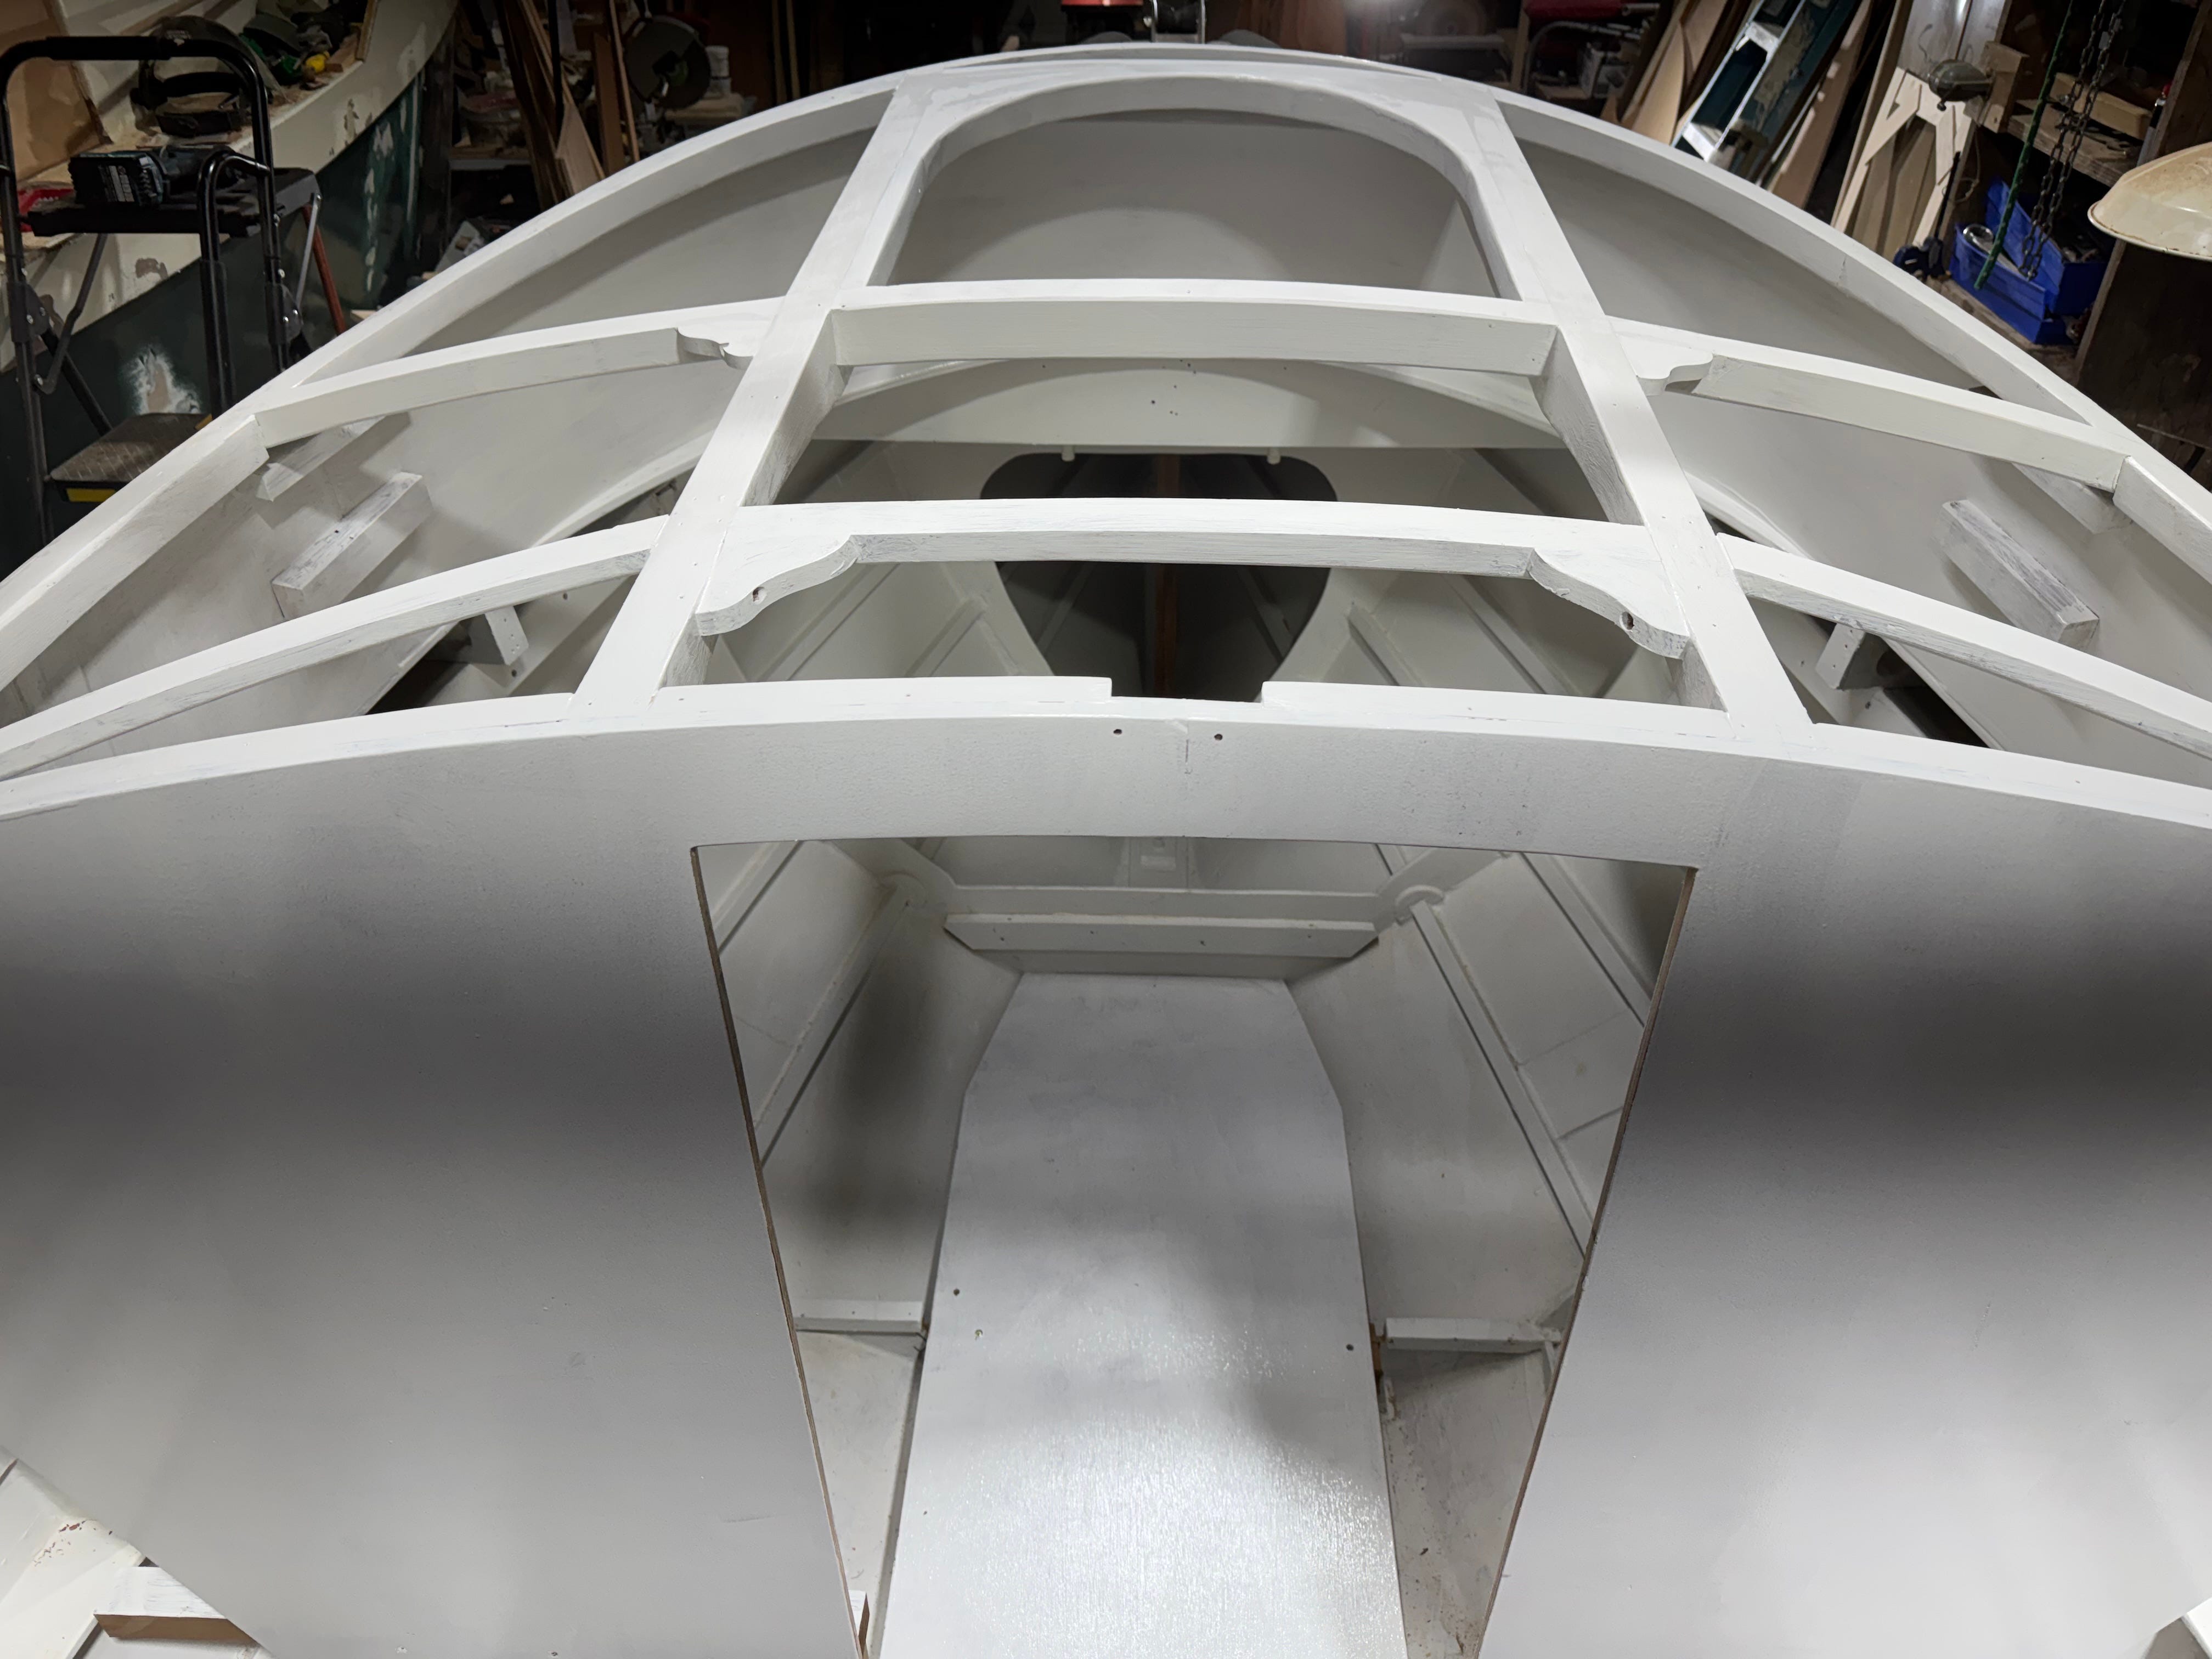
Last time, we finished framing of the forward cabin, so that’s where we resume, with the photo below. One addition you might notice—some small corner knees that had been epoxied in place shortly before the photo was taken.
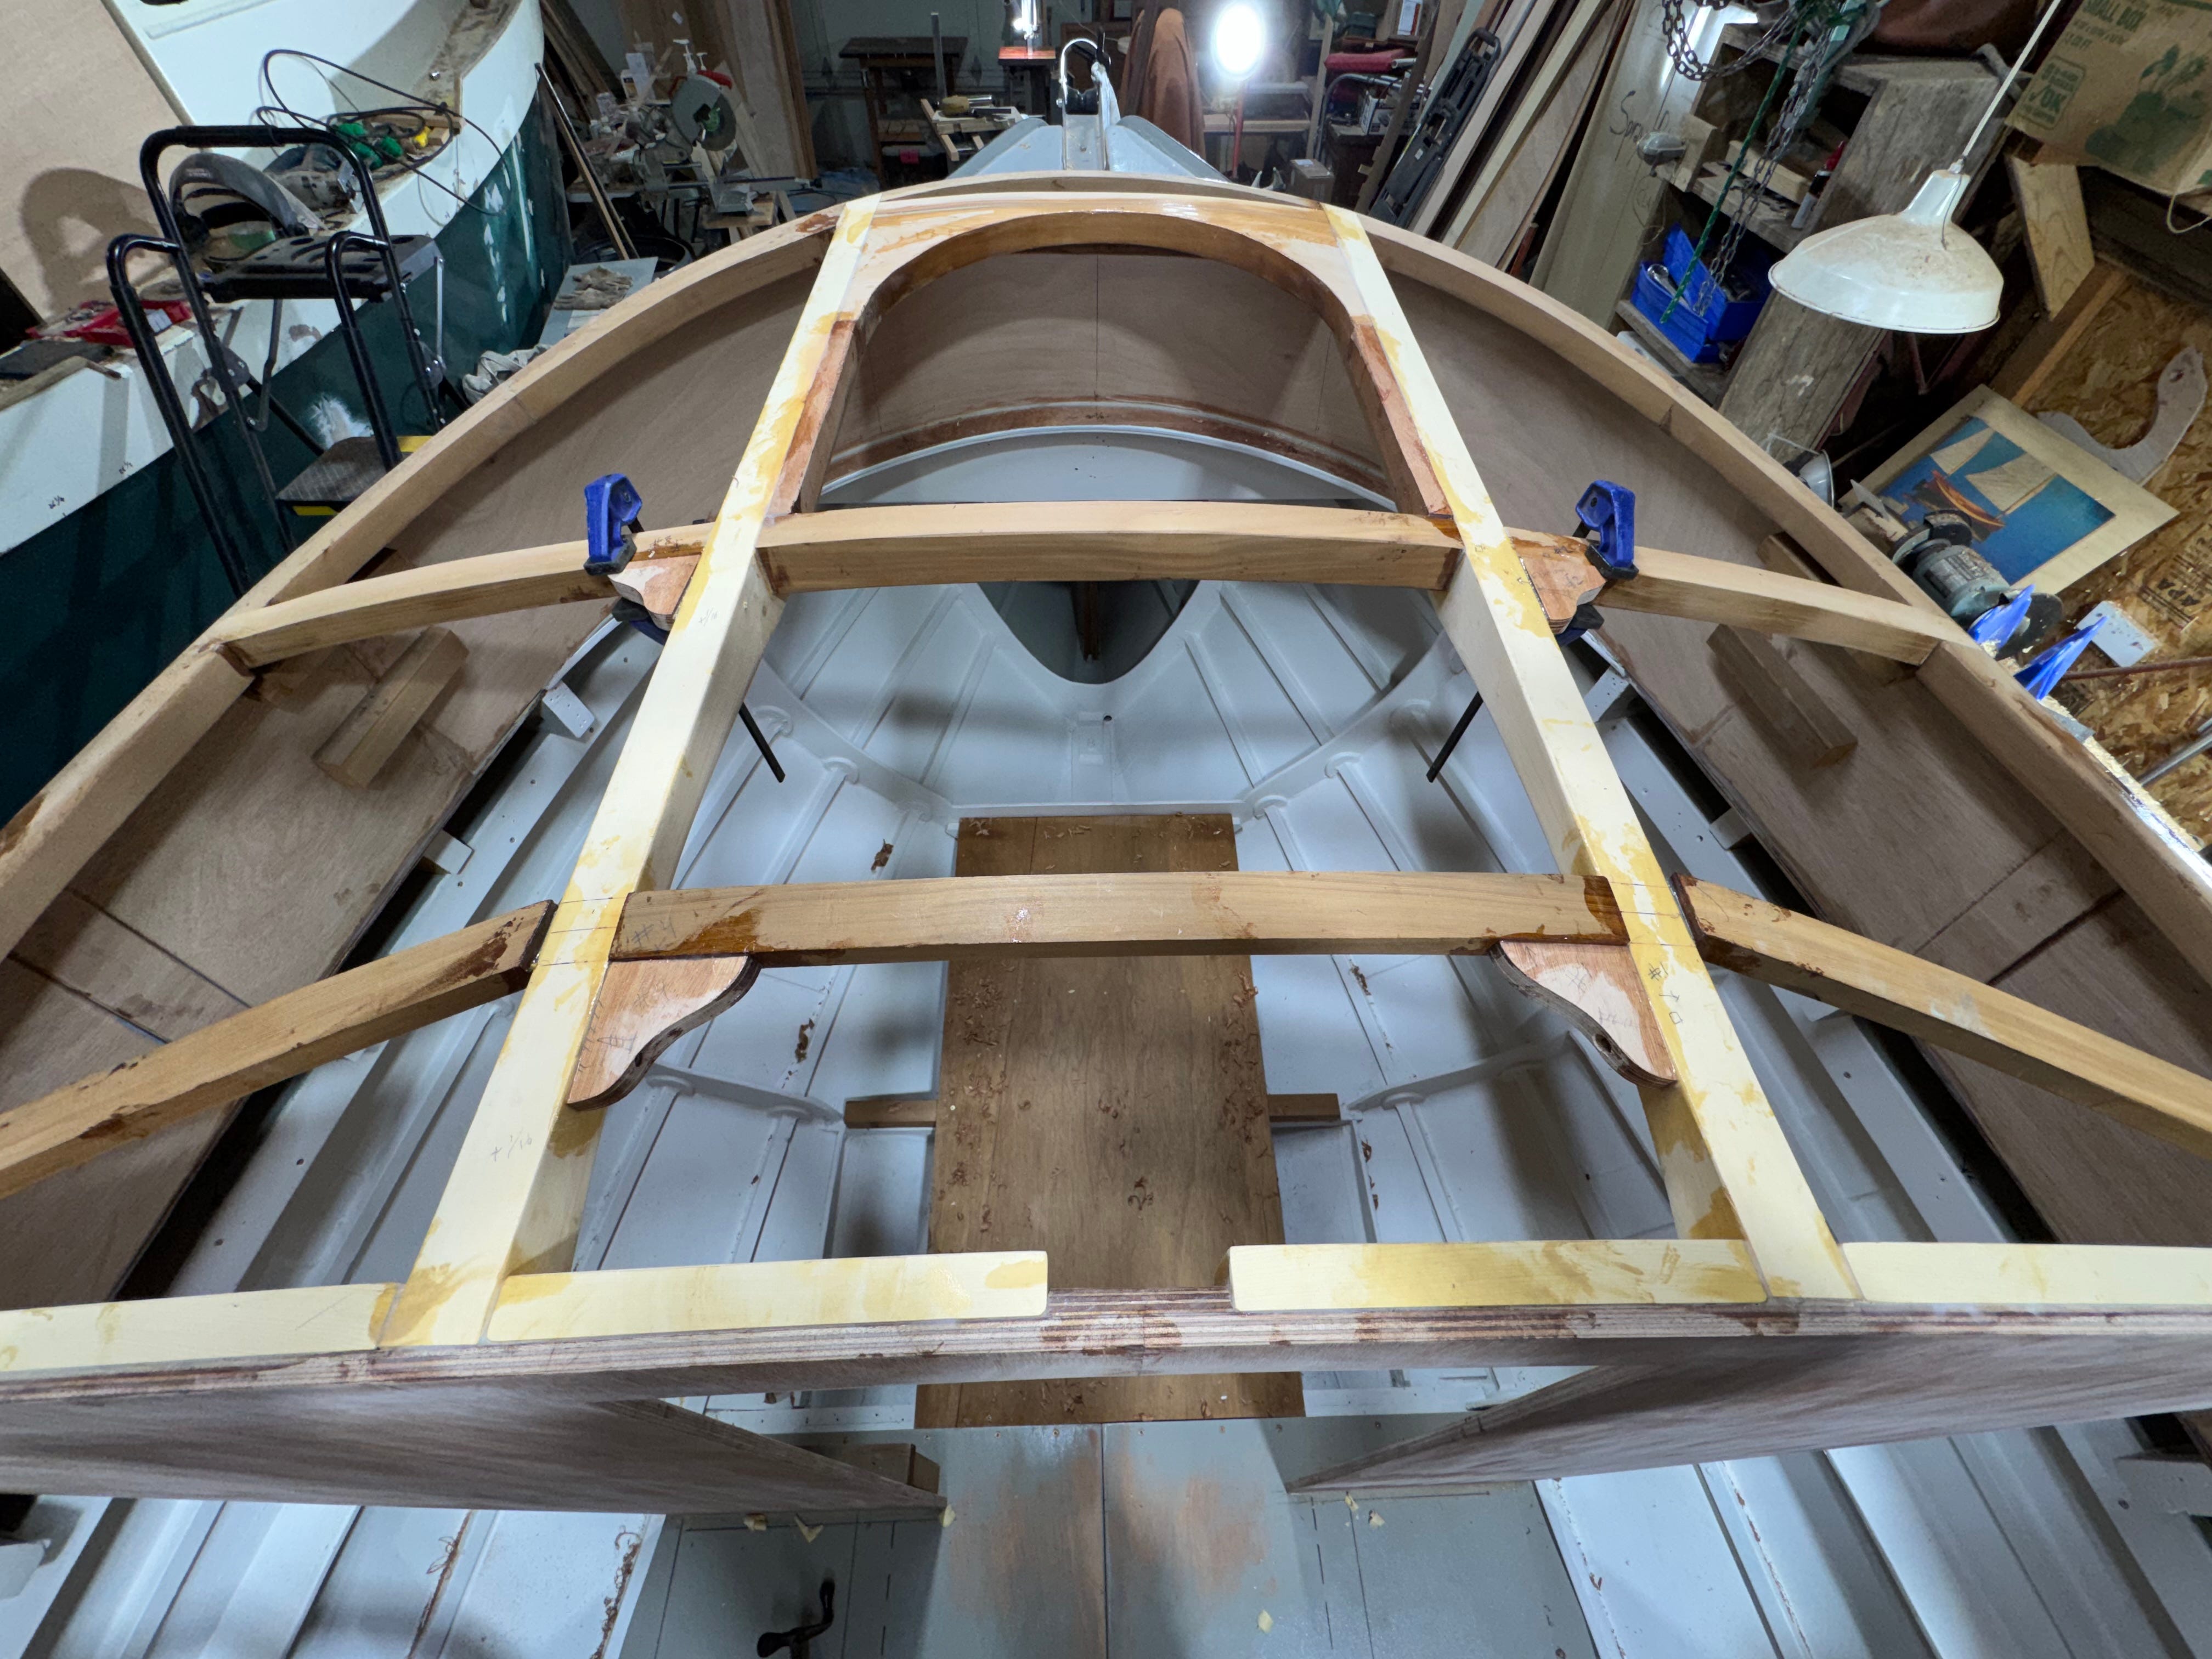
Above - We hadn’t finished all fairing work when this shot was taken, but the four corner knees were in place.
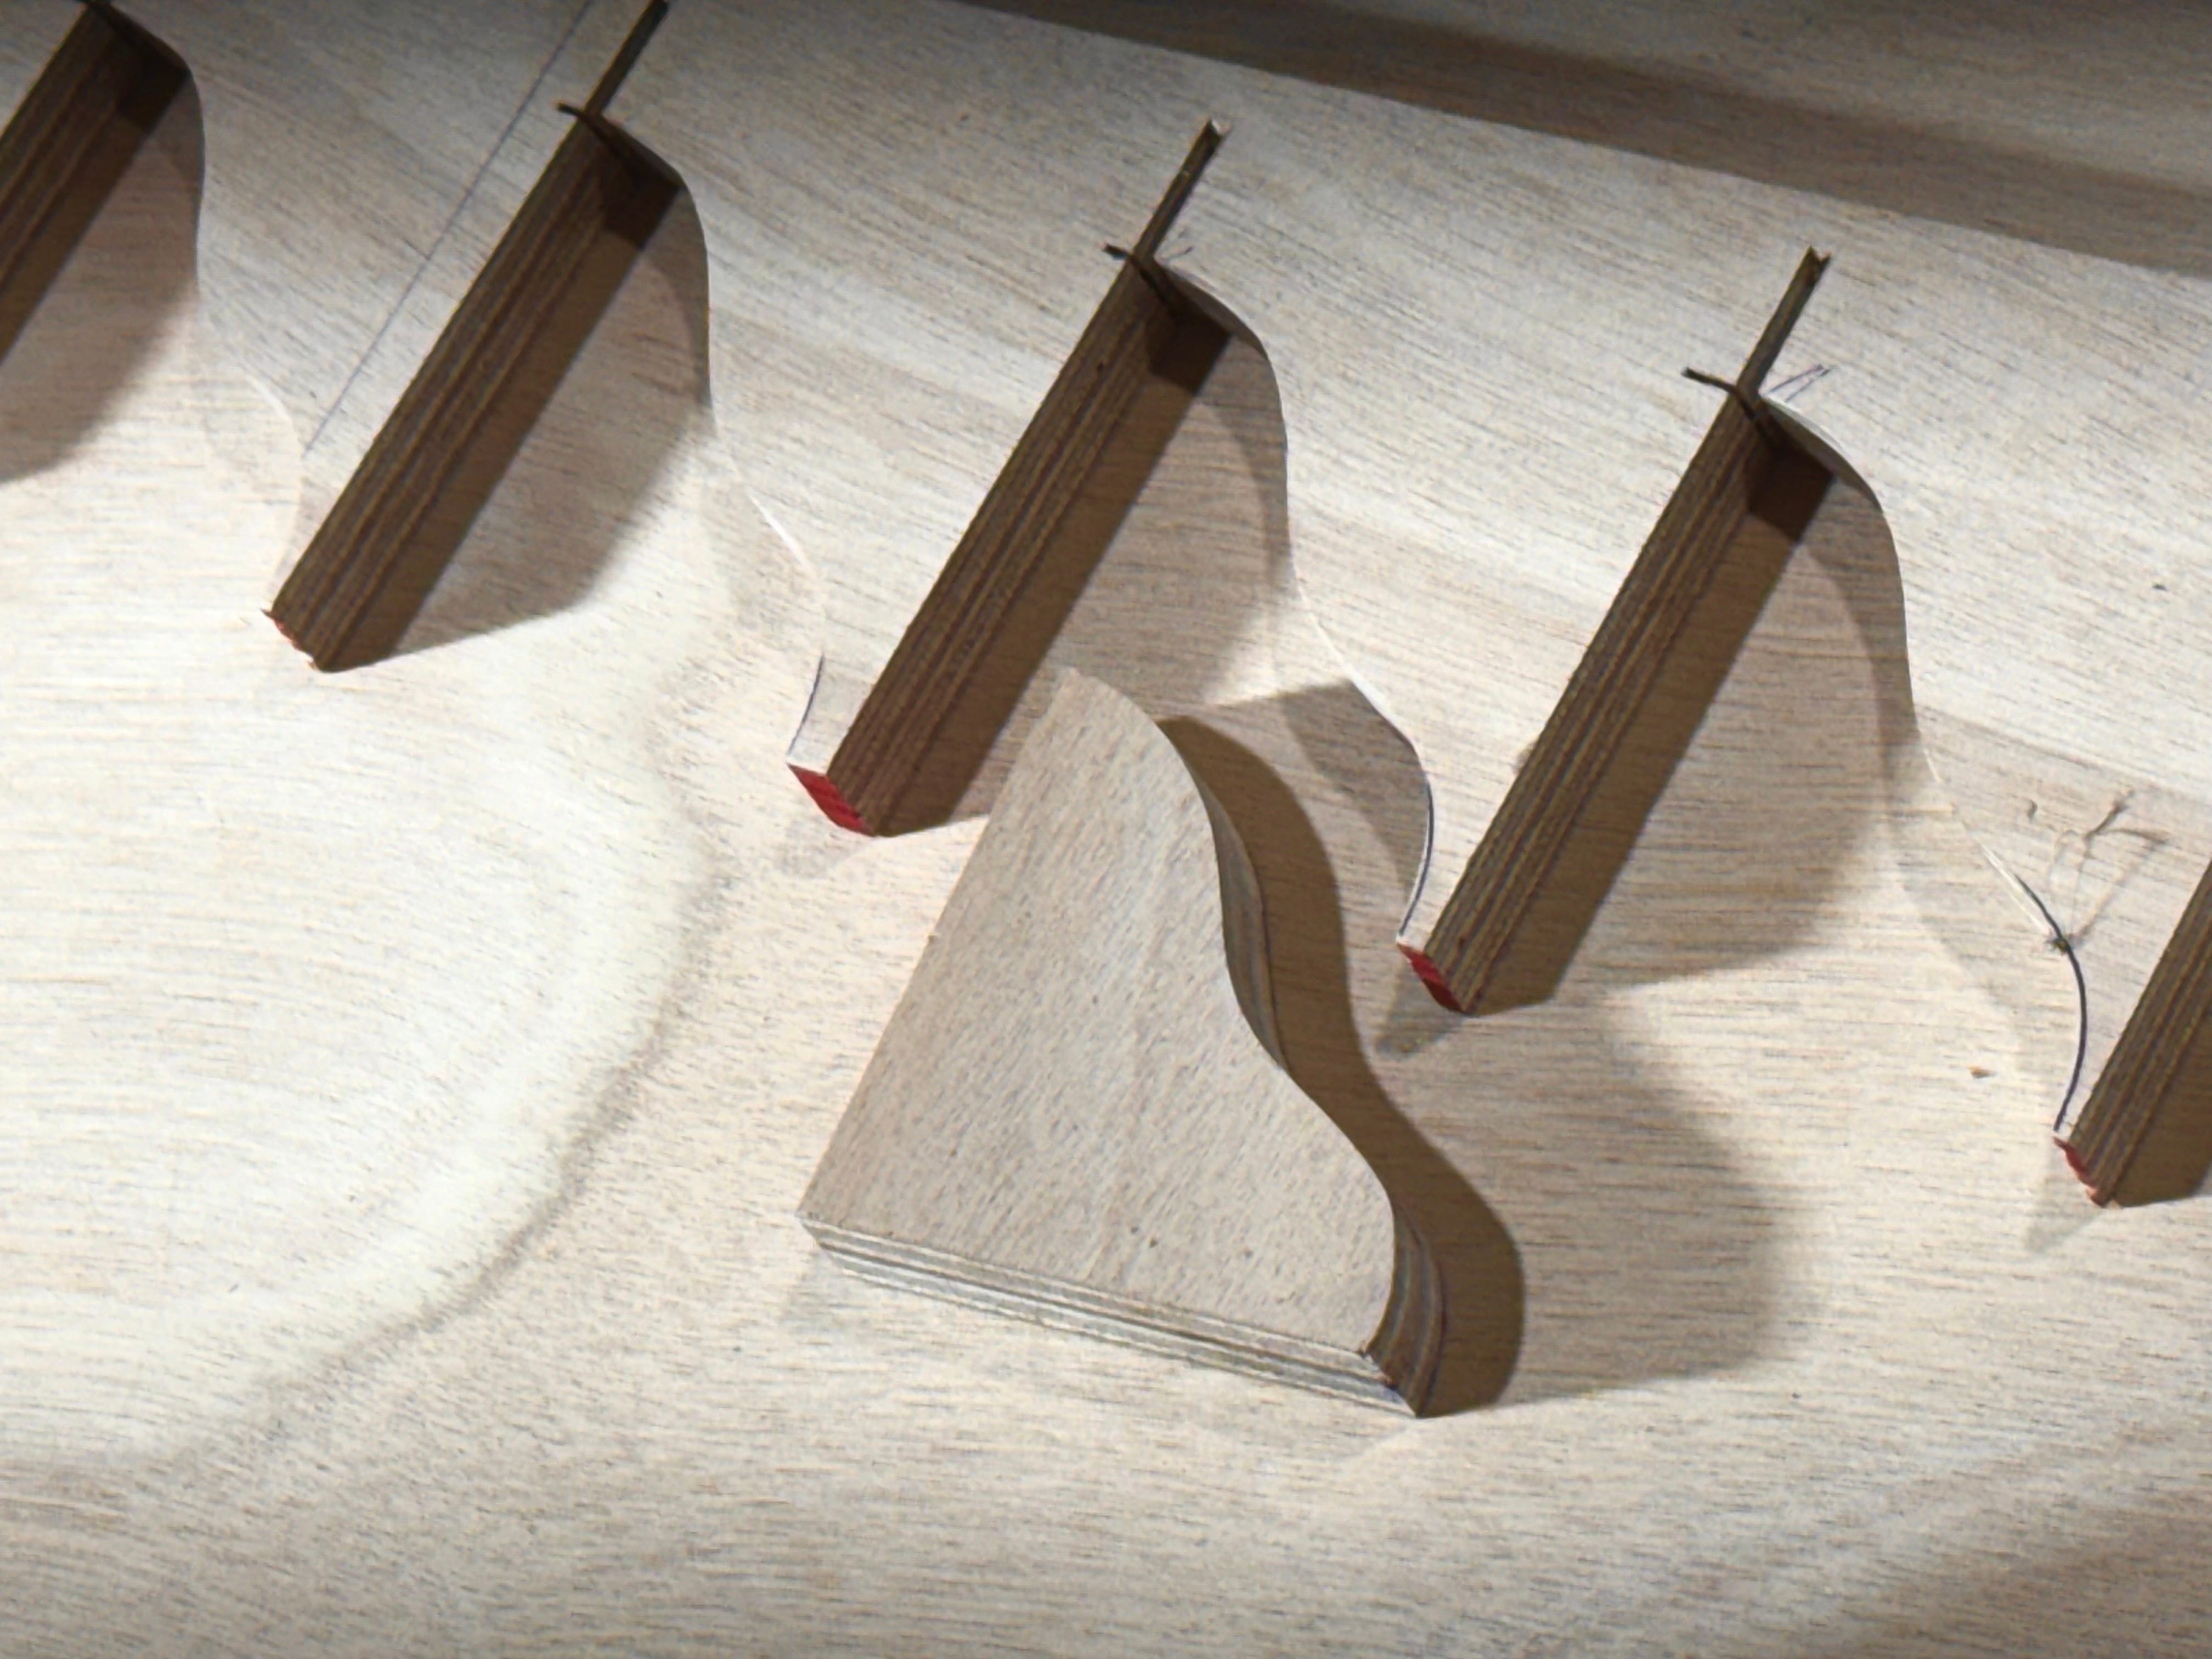
Above - Wanting to produce a bunch of corner knees quickly, I cut one out, then traced its shape along the edge of a 12mm (1/2”) marine plywood sheet. Cutting the curves with a narrow jigsaw blade, I then took the ply to our chop saw and made all of the 90-degree cuts…with each knee popping out as I finished. Worked great and was far more accurate than tediously making the 90-degree cuts with the jigsaw or even the bandsaw.
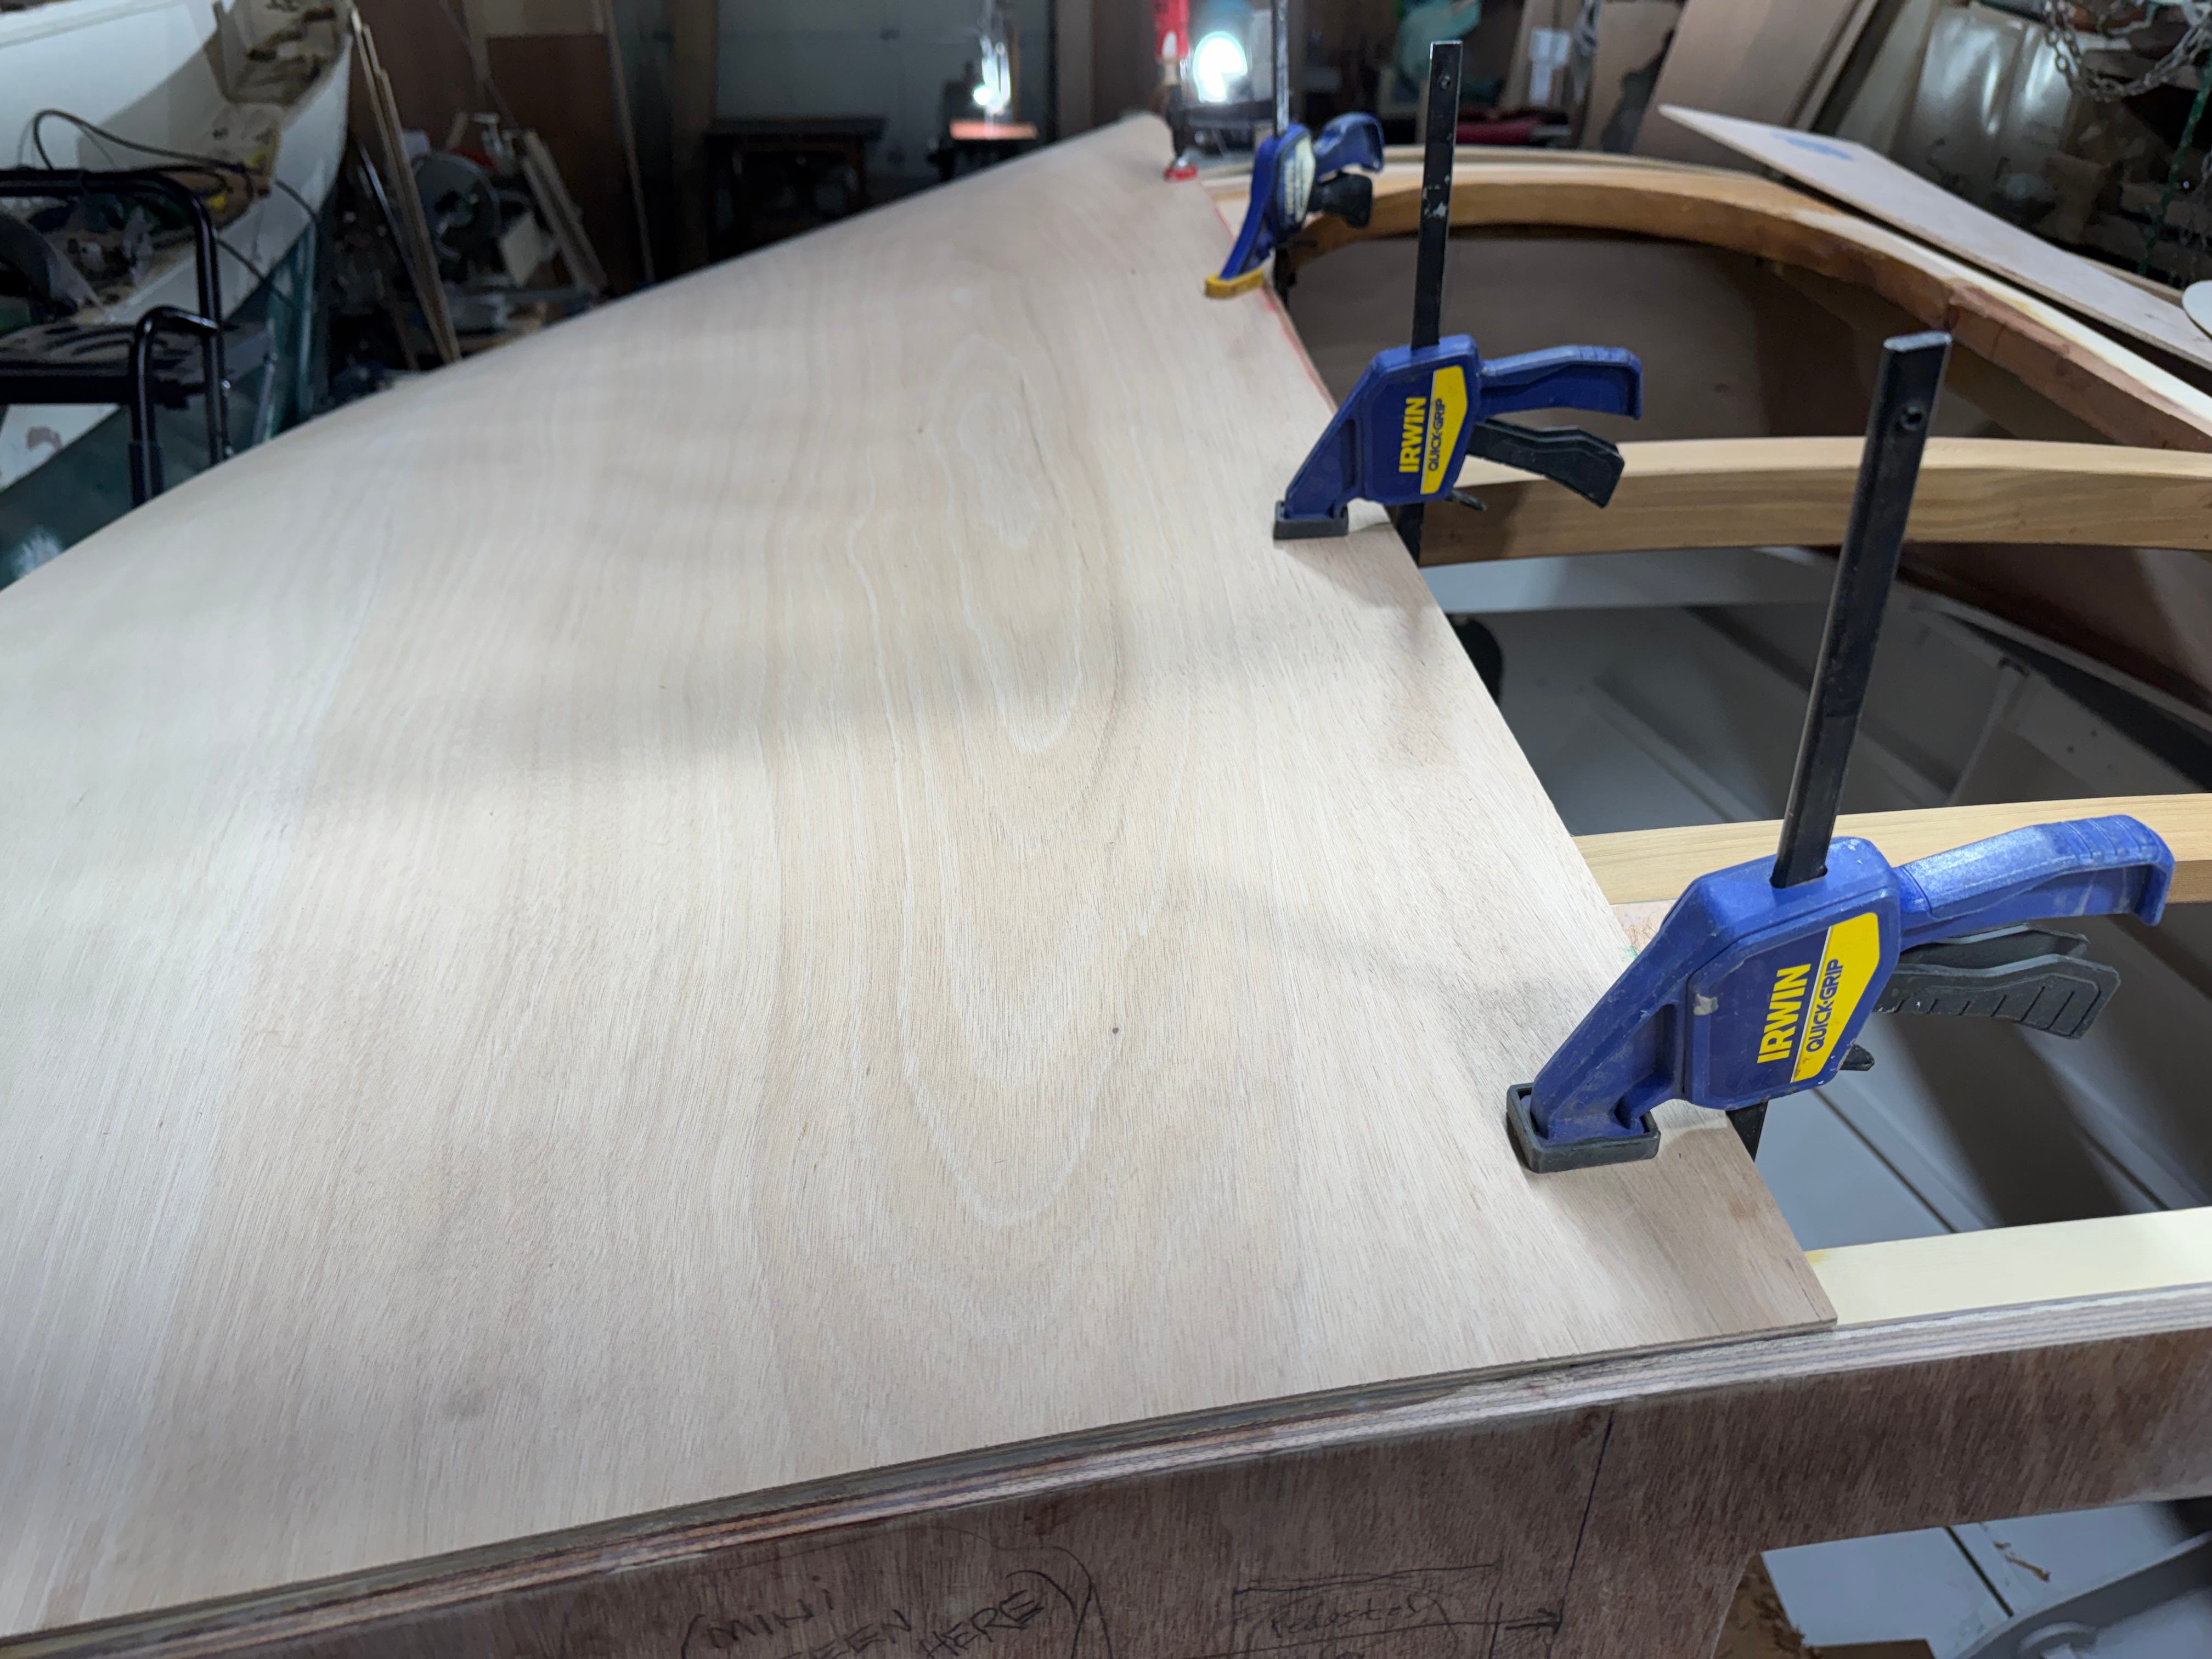
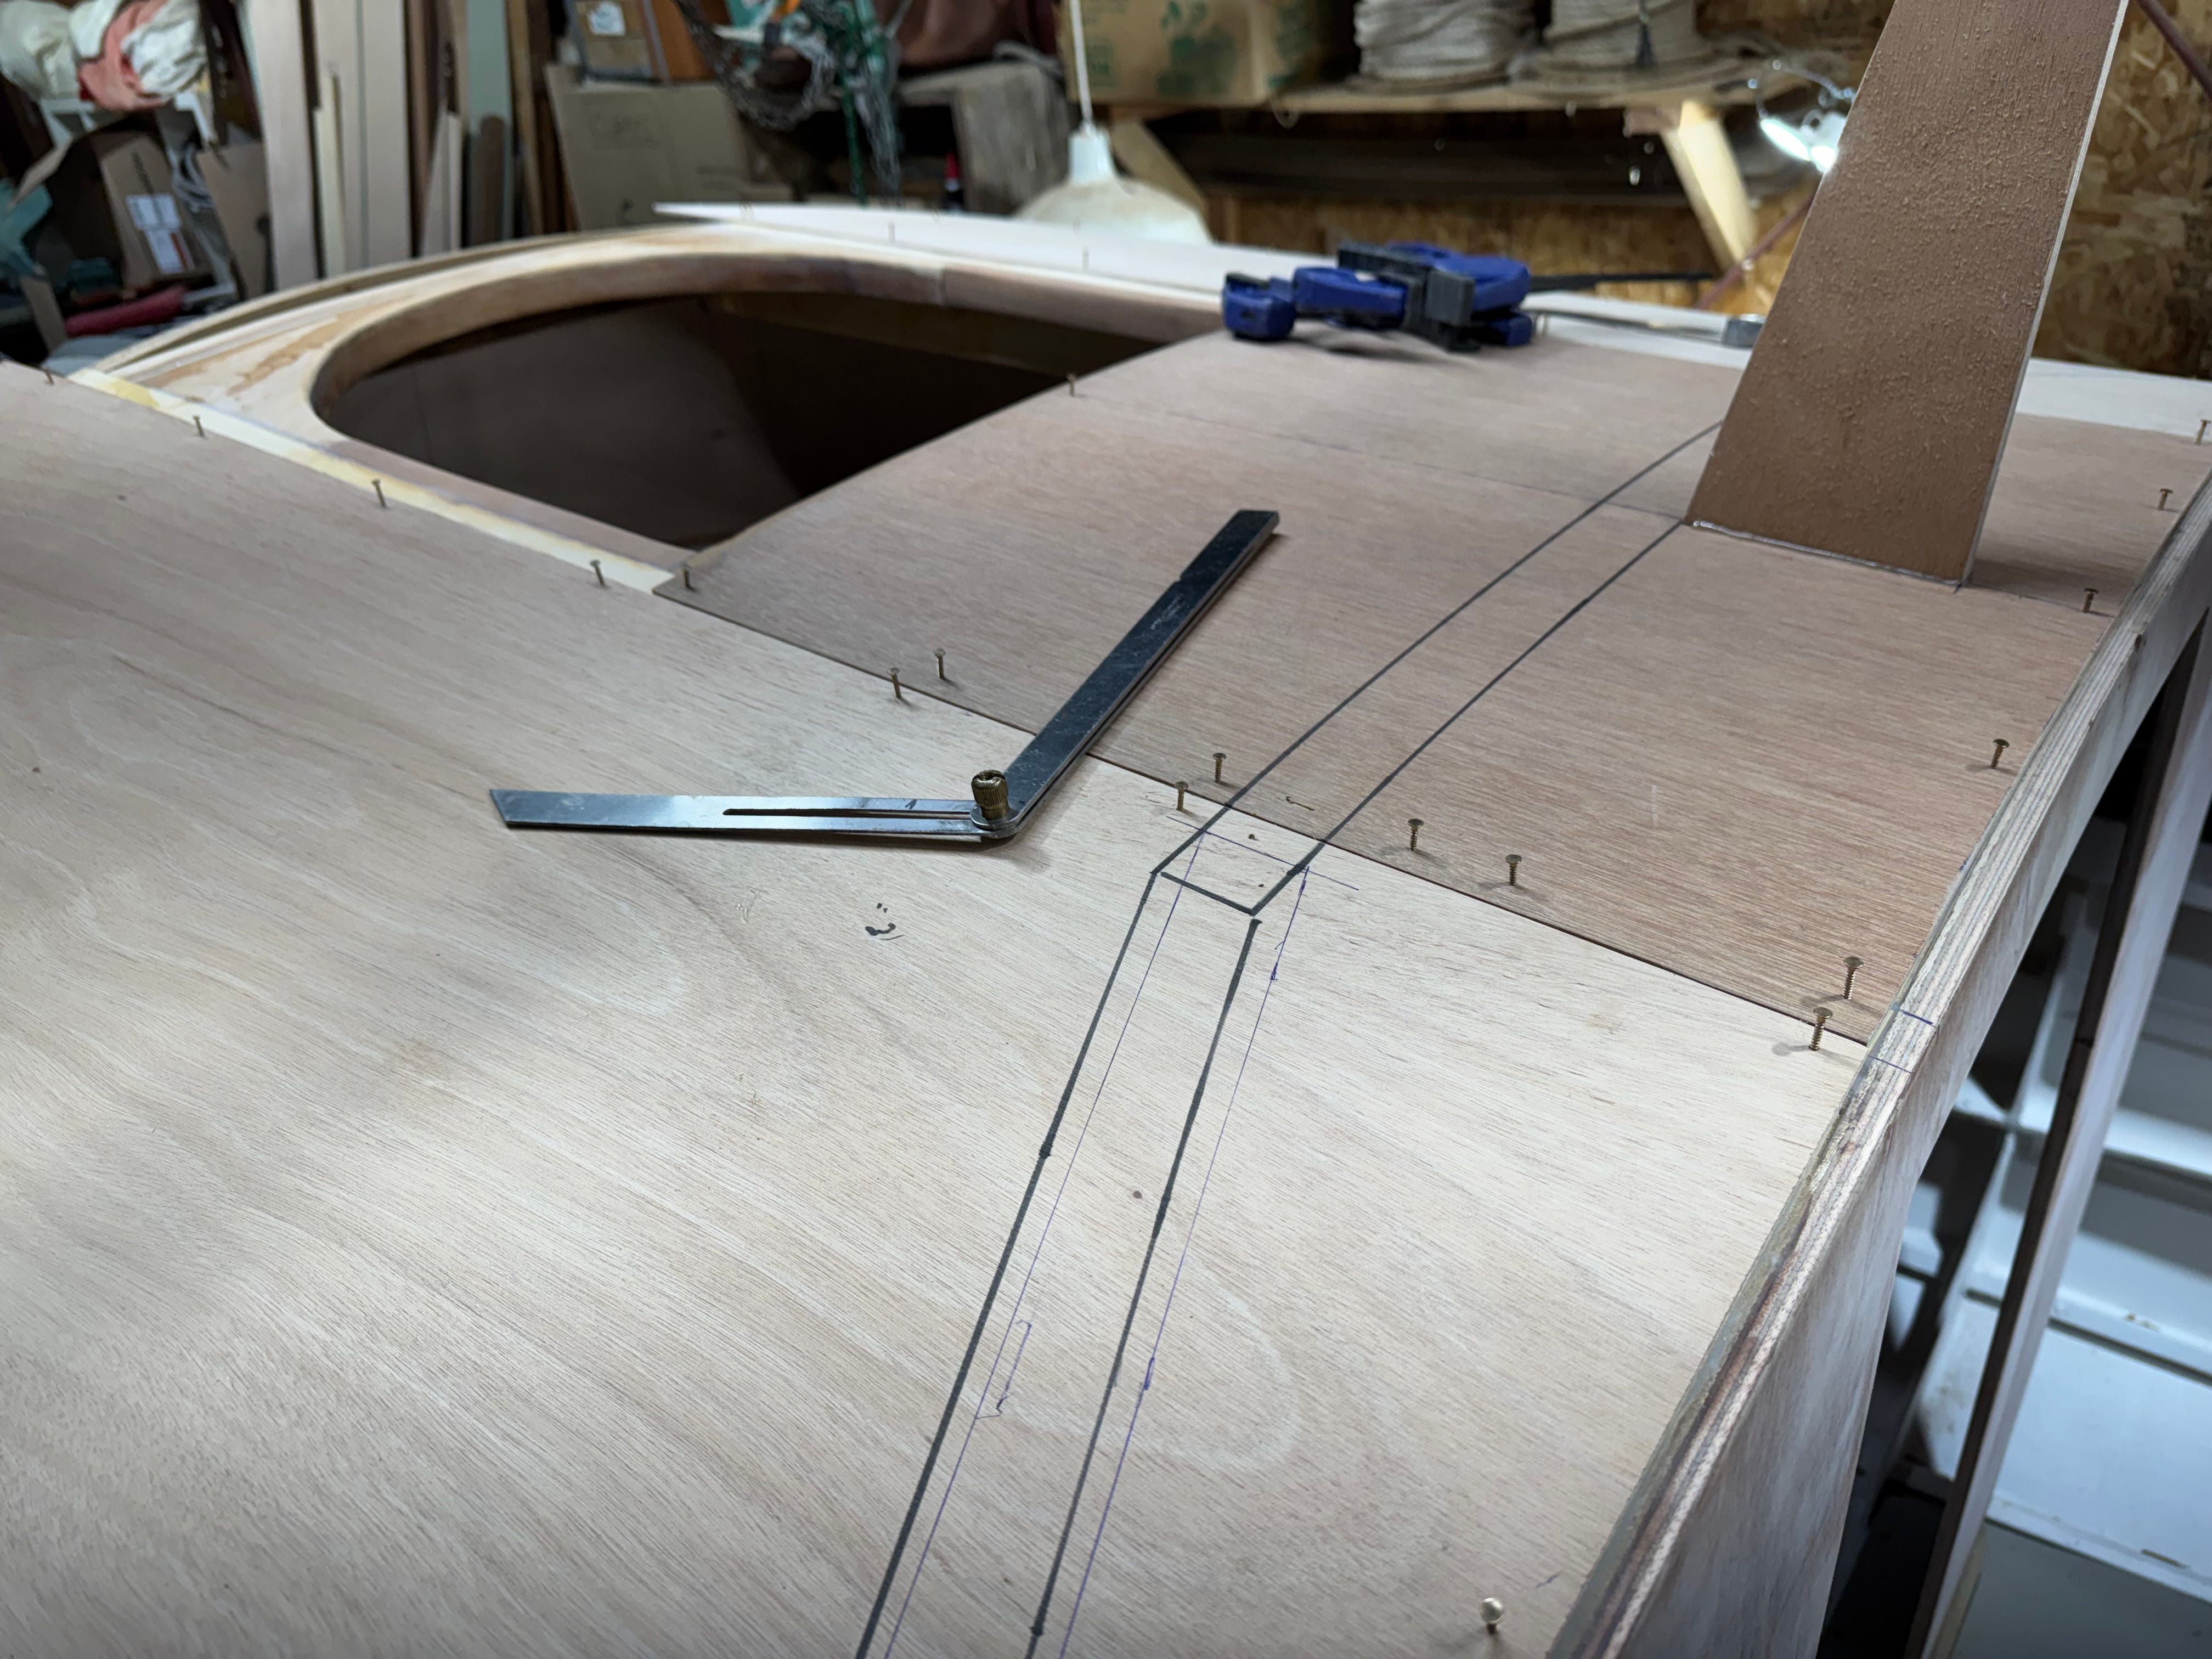
Above - In order to make accurate patterns for each section of the cabintop, I used 4mm Okoume for each side piece, and 4mm Hydrotek (stiffer, less bendy) for the center panel. These patterns will later be traced onto the final cabintop panels that’ll be 6mm (1/4”) marine ply.
Above - First view of the three main pattern panels tacked gingerly in place with small bronze ringshank nails. At this point the overhanging eyebrows are generous—they’ll be trimmed back to about a 1-3/4” overhang later, when the actual cabintop ply is laid down, making sure that all panel joints are aligned just right. (Later, 1/2” x 1-1/2” cedar edging will drop down from the cabintop edges, adding stiffness and helping to lower apparent height of the cabin’s side walls…a little trick that might help with overall aesthetics.
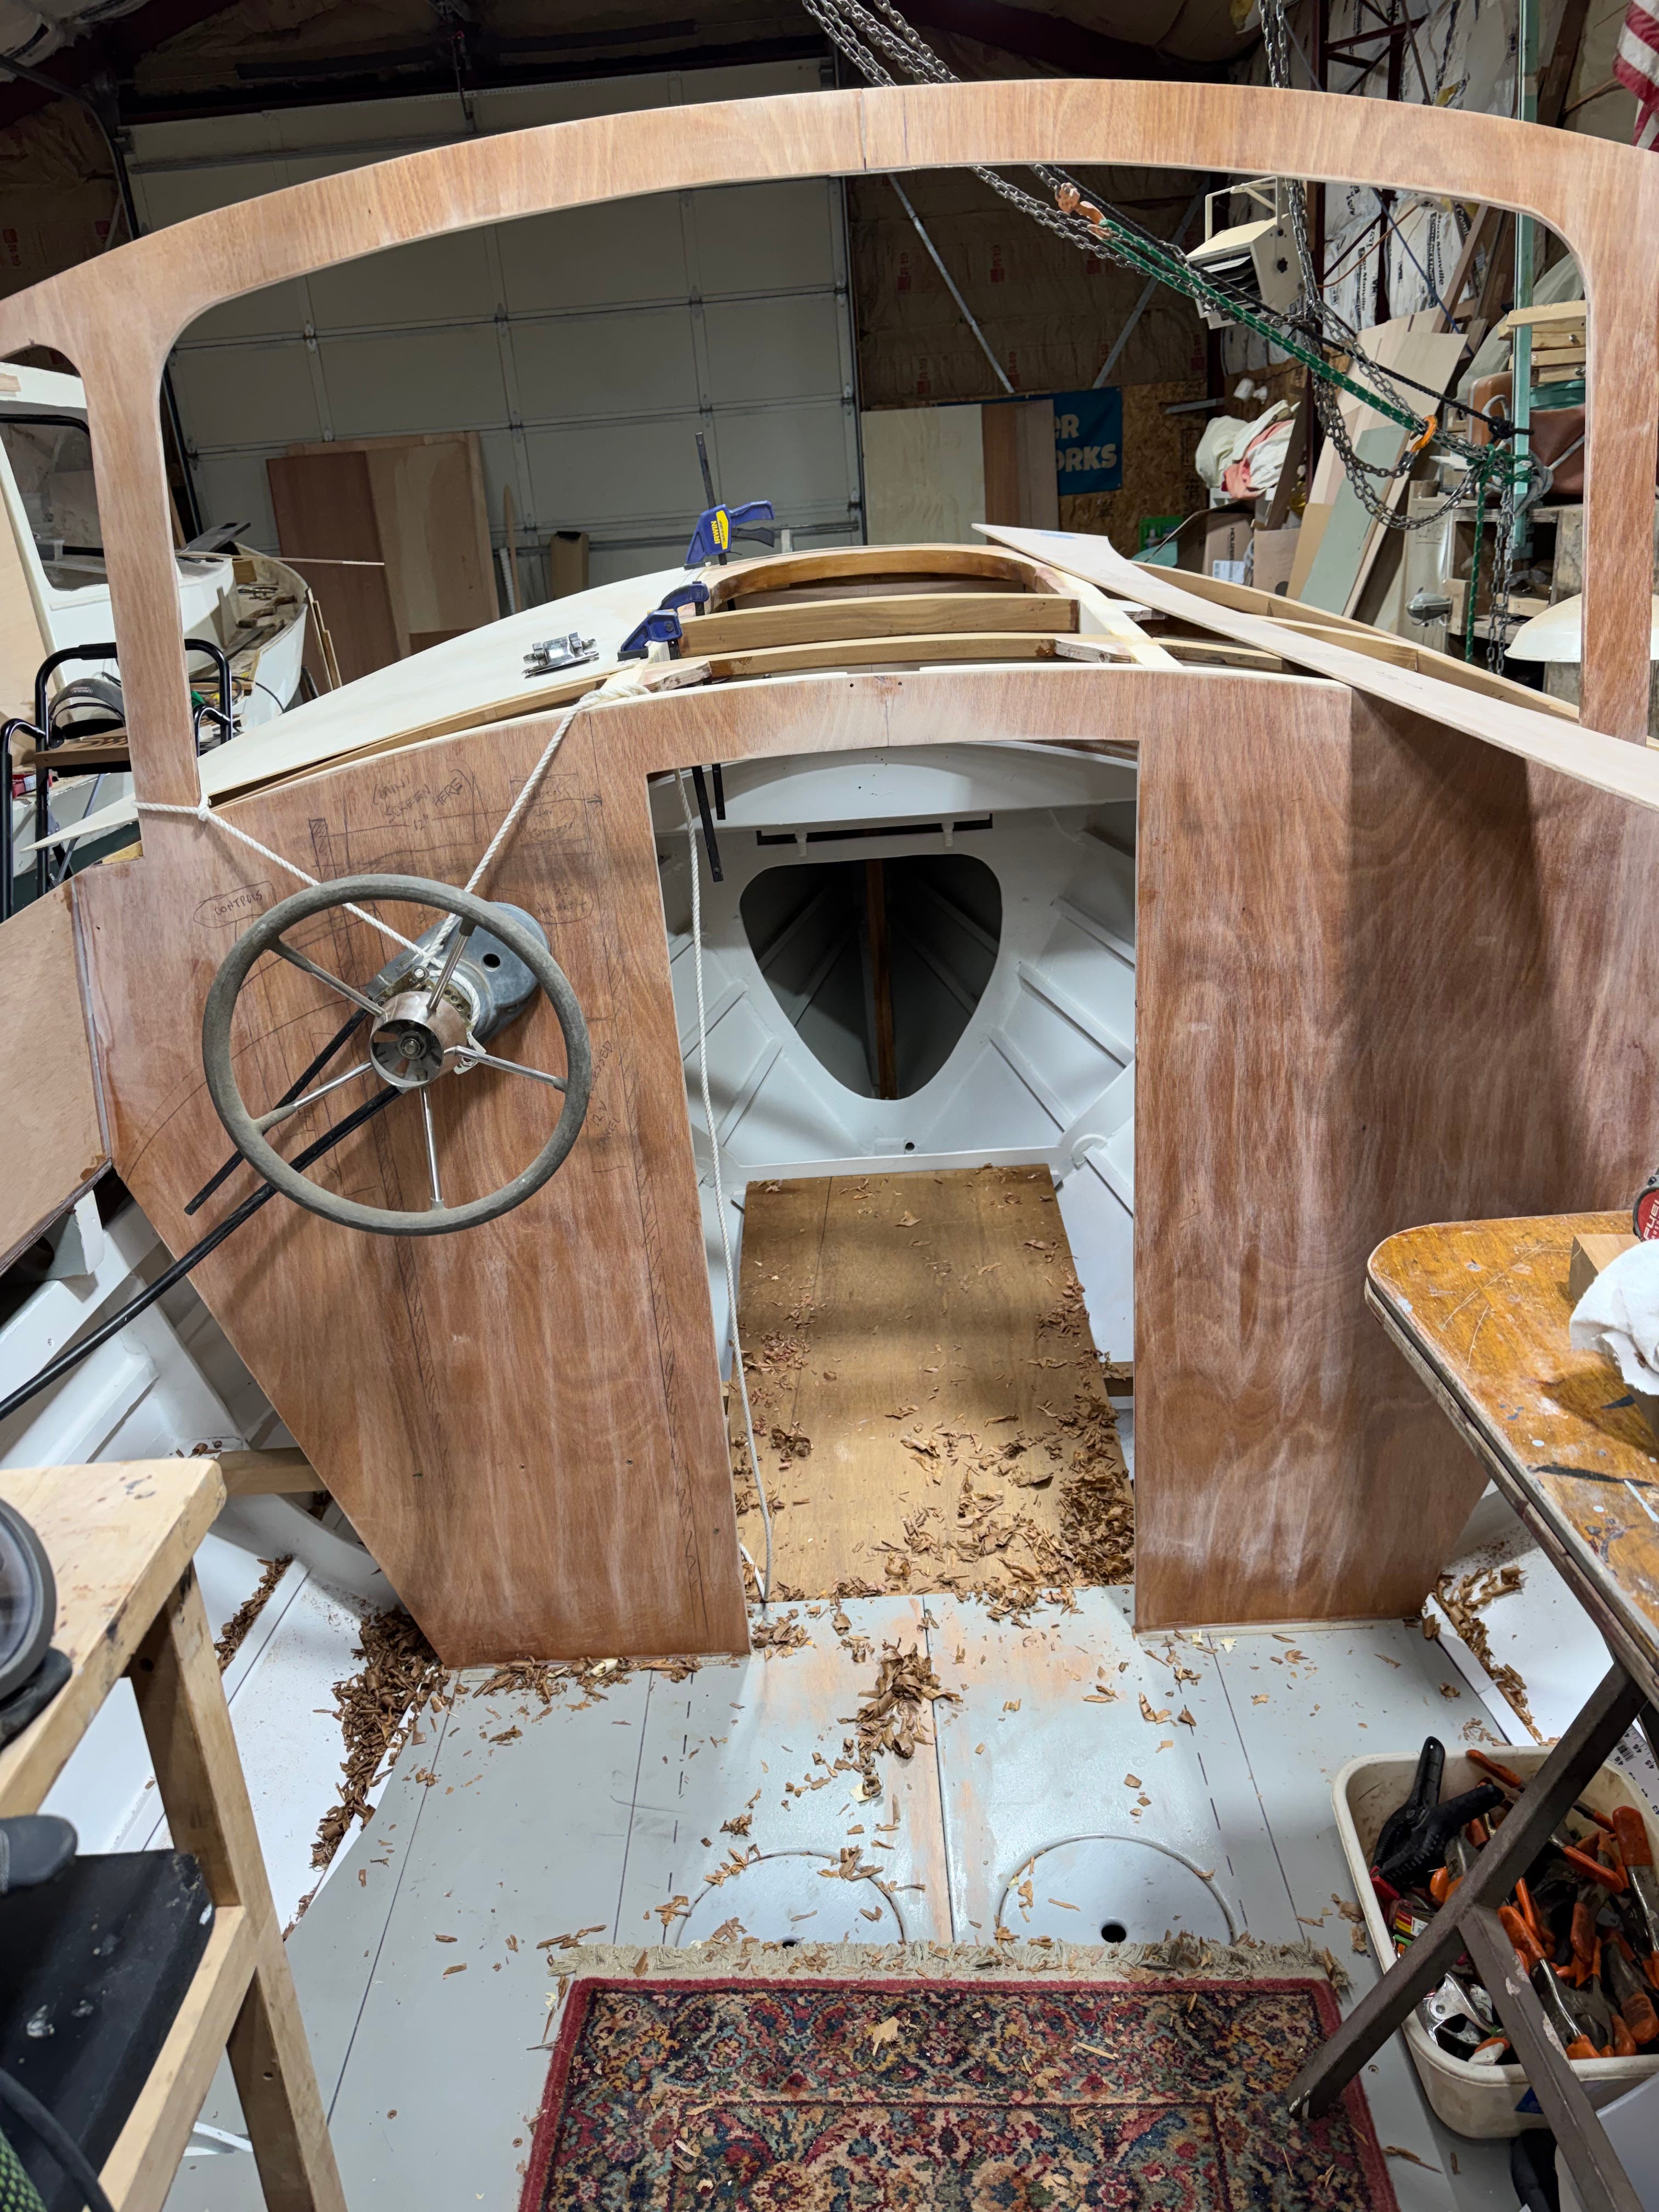
Above - While finishing patterns for the cabintop, we got sidetracked, (I know, you’re shocked) fussing around with a used Teleflex steering helm and cable, calculating that we’d need a new 14-foot cable to steer the sailboat rudder via a side-mounted bronze arm. More on steering later, but as you probably guessed, the wheel you see isn’t what we’ll go with. See below. (Also, the upper portion of the cabin bulkhead will temporarily support the pilothouse roof—two laminated layers of 4mm marine ply, to be made outside of the boat, on the shop floor. Once the cambered, self-supporting pilothouse roof is lowered over the fore and aft bulkheads, the windshield frame will be built over the forward cabintop…with its uppermost edges snugged under the pilothouse lid. At about that point, the upper portion of the bulkhead you see here will be cut away and removed.)
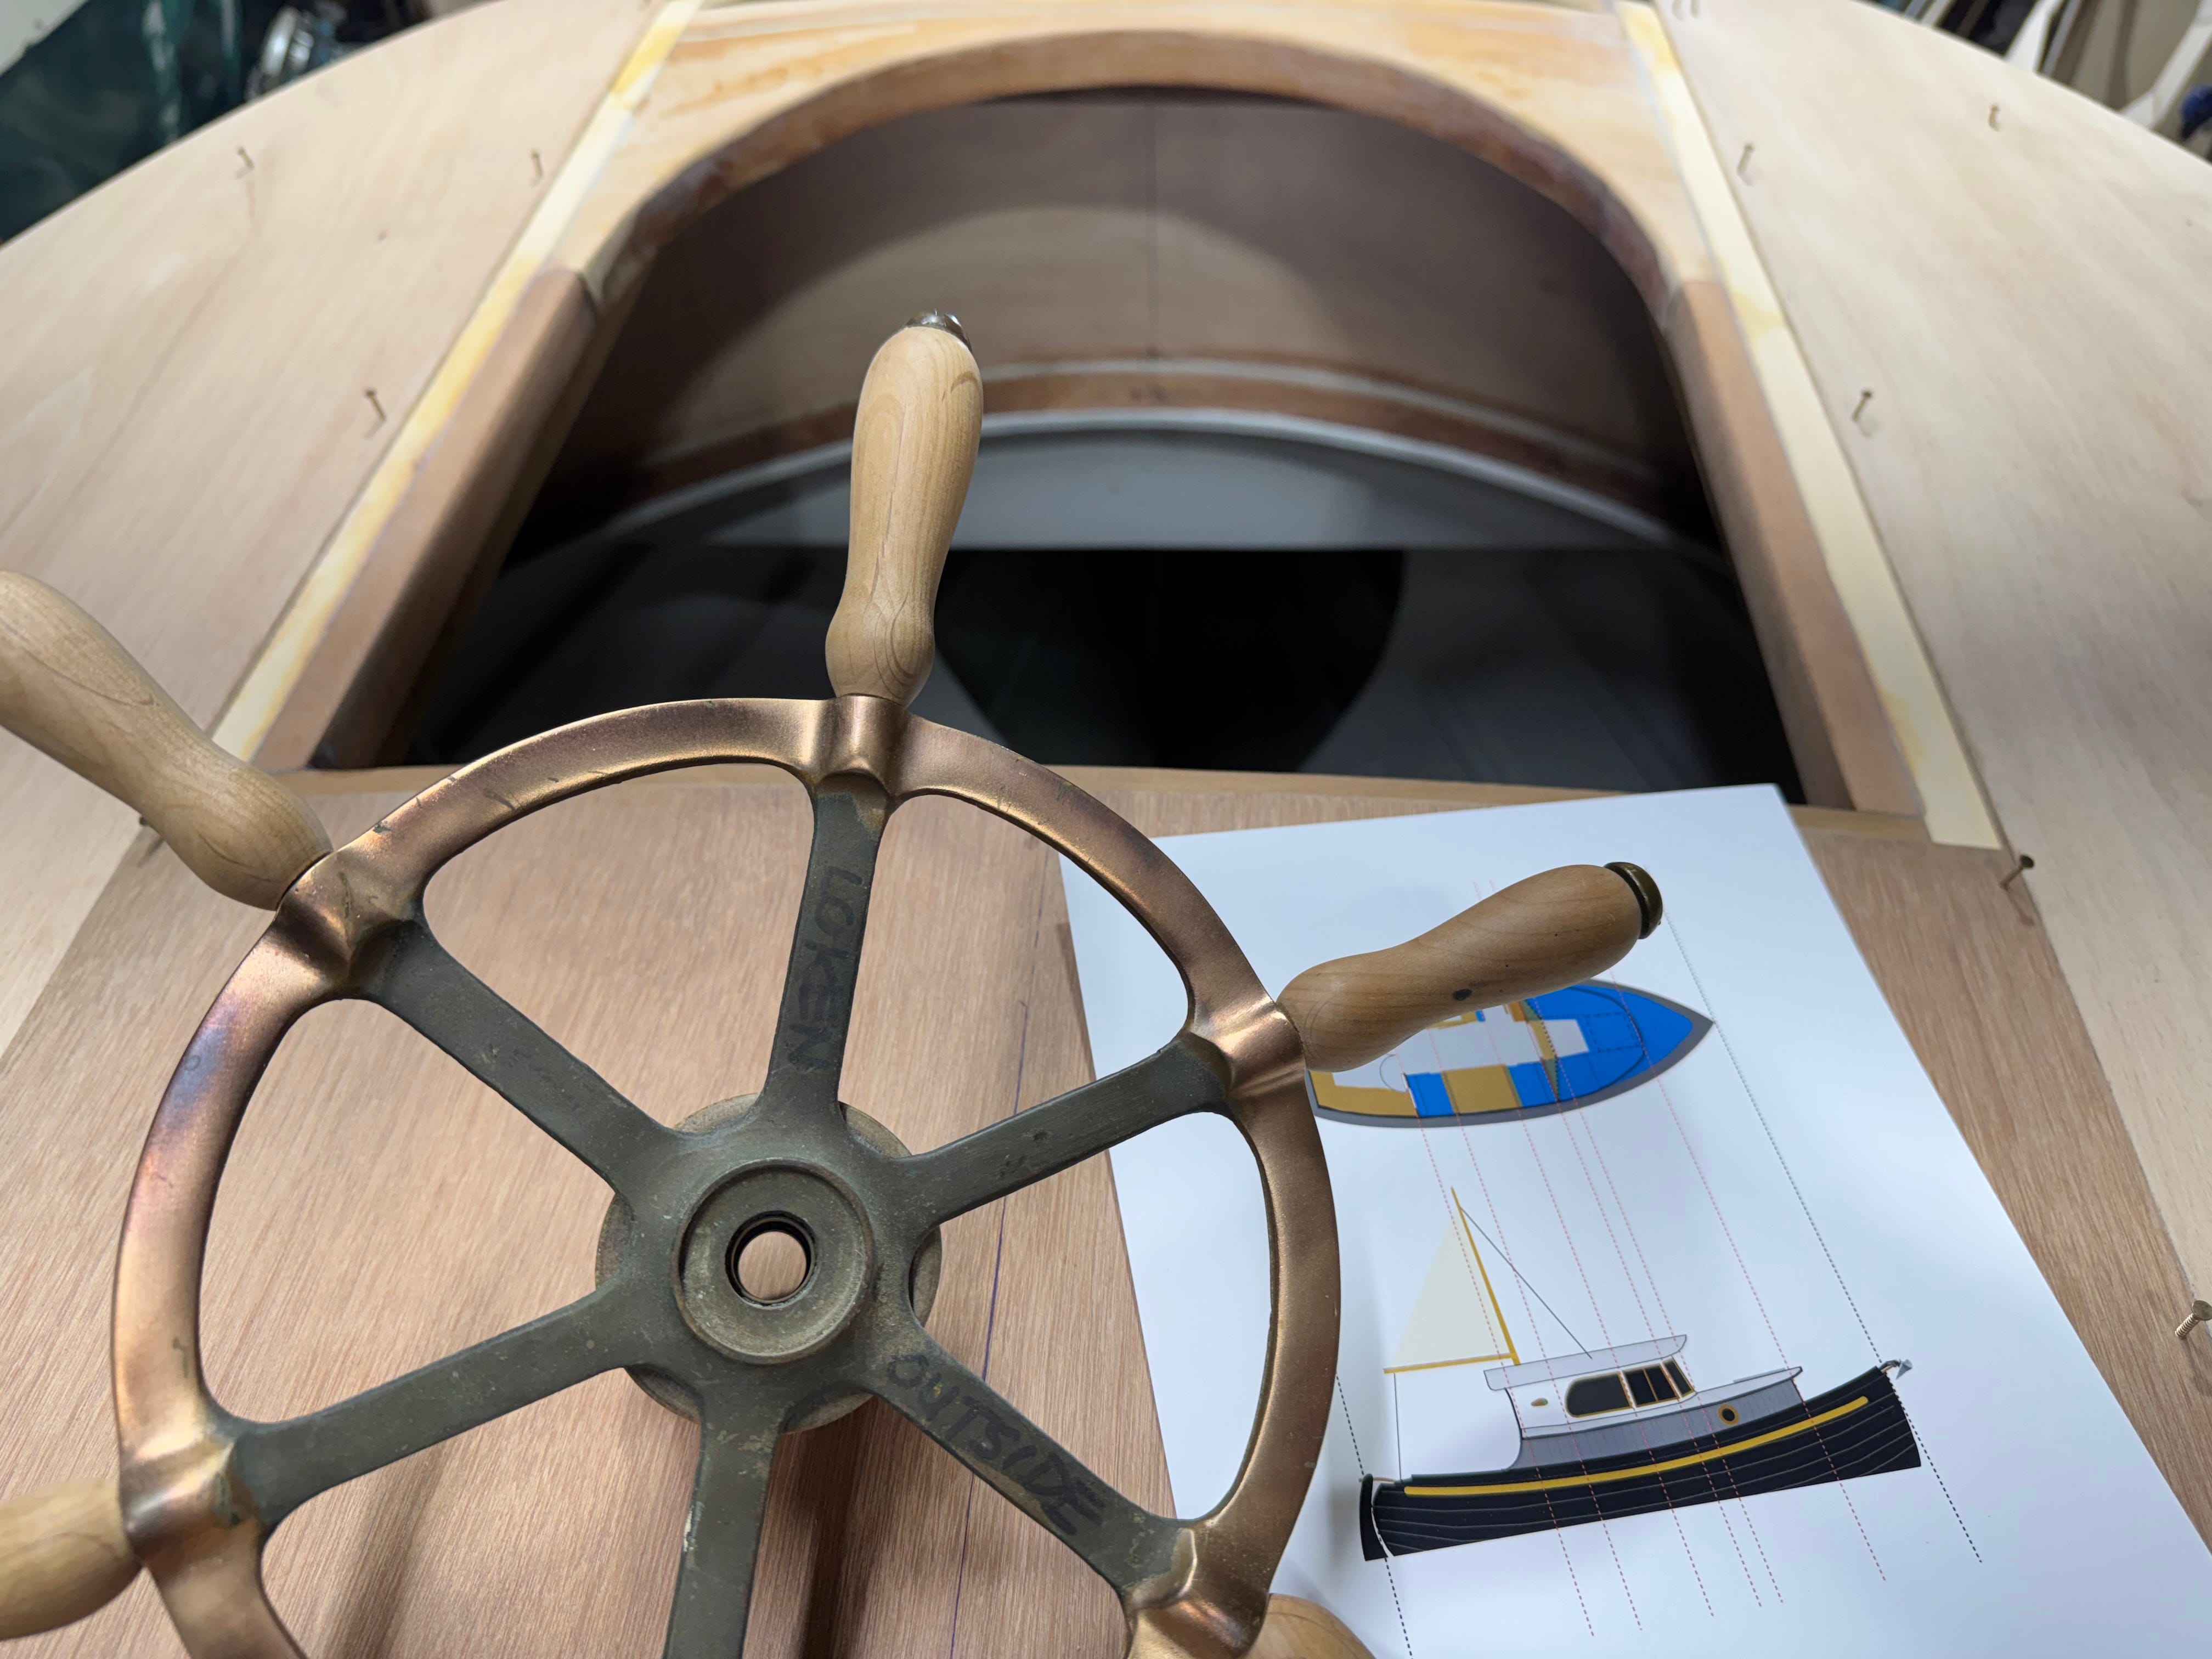
Above - This is the vintage bronze, 16”-diameter wheel we’ll attach to the modern Teleflex helm. We‘ll need to machine a 3/4”-tapered hub that’ll be bolted onto the existing hub of the wheel, adapting it to the modern shaft.
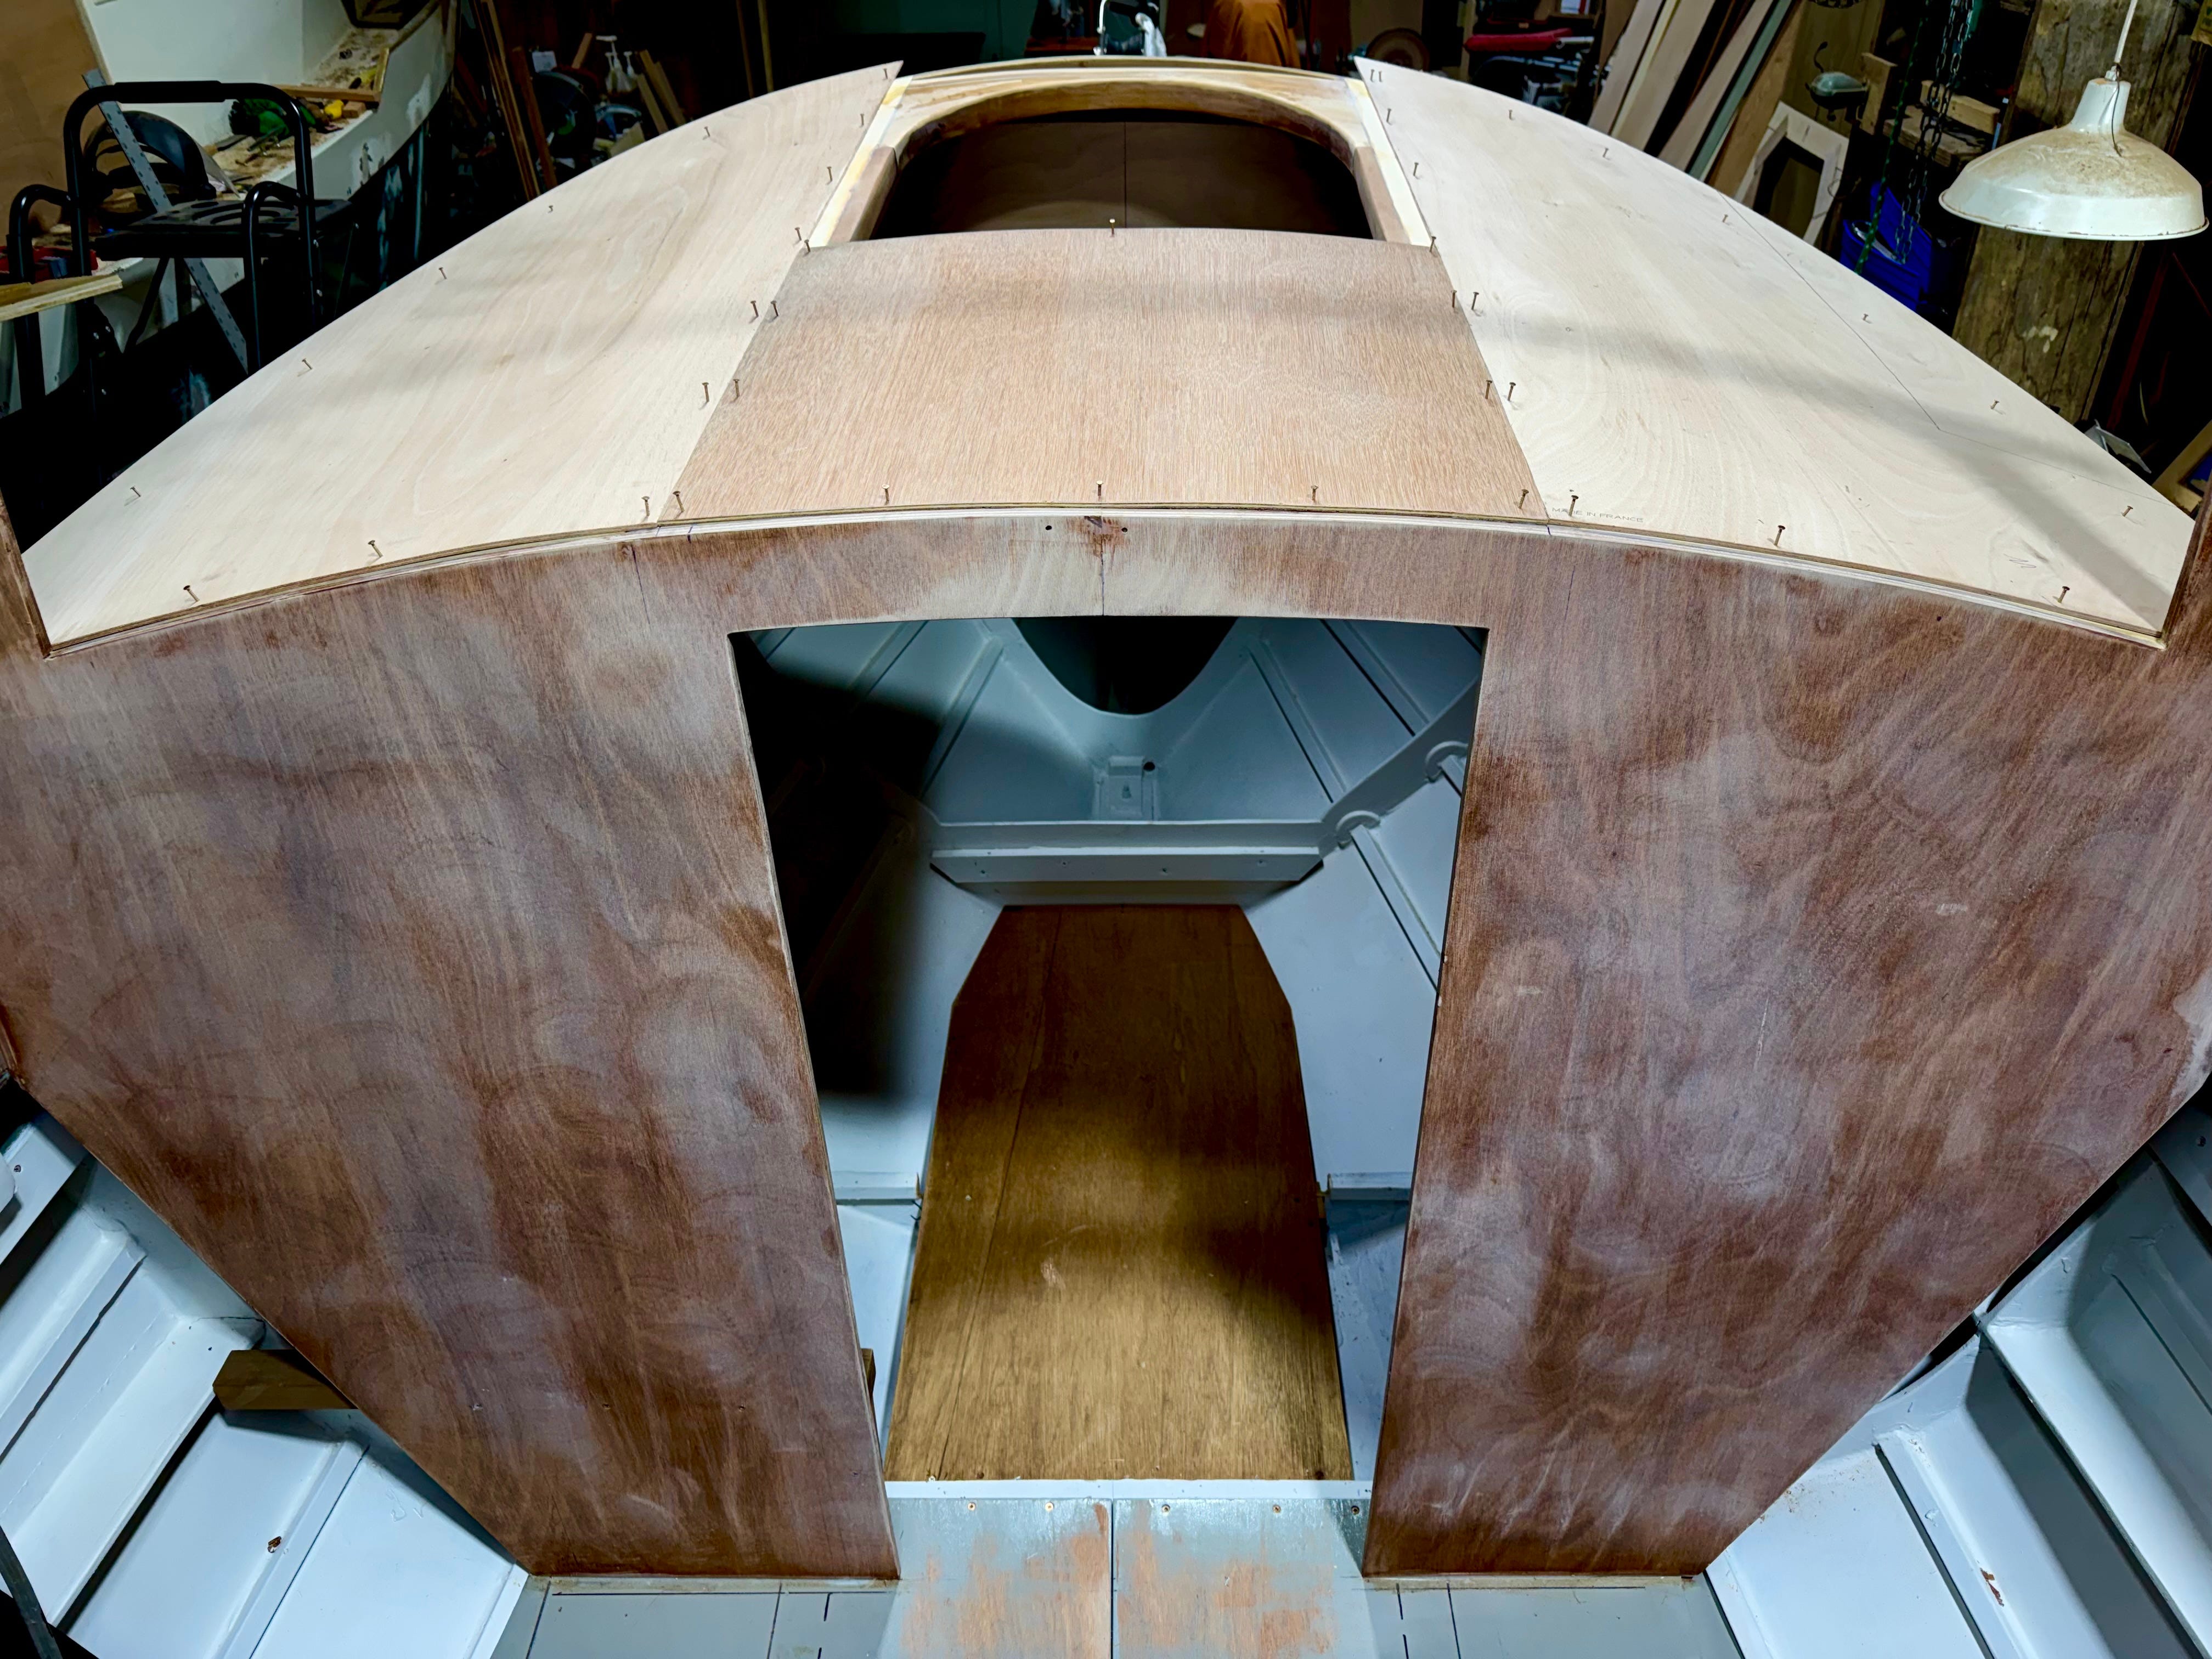
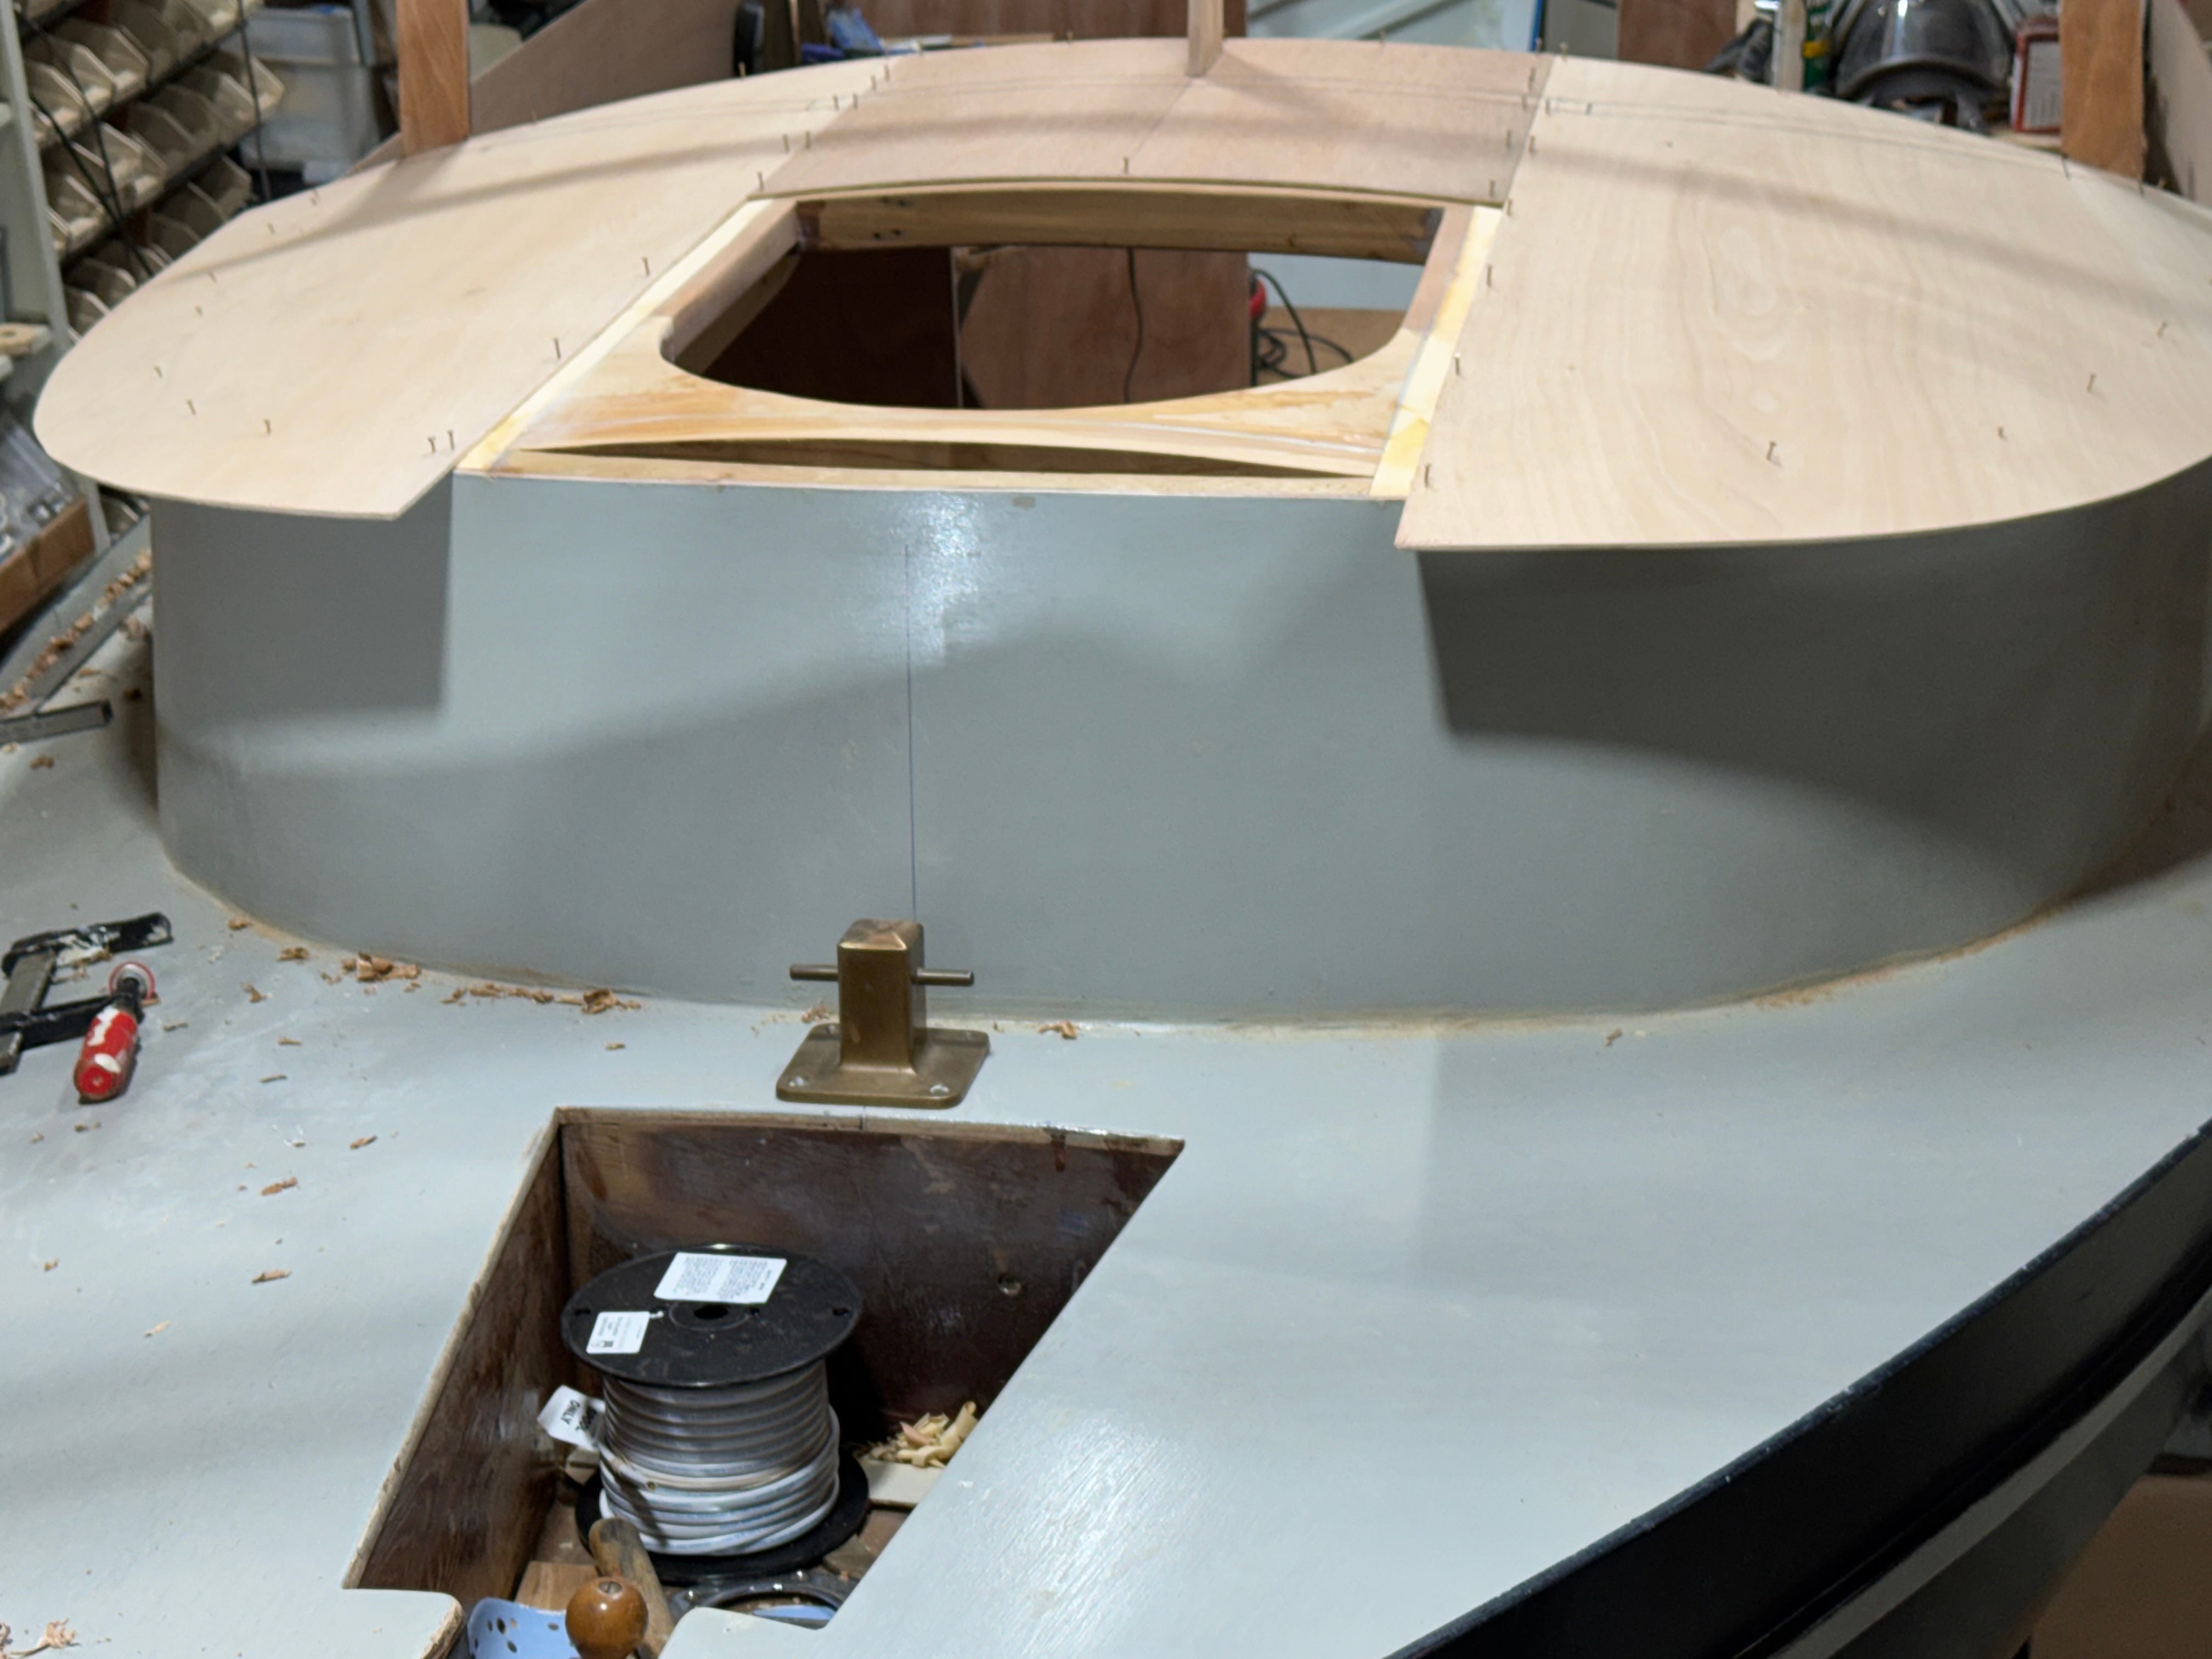
Above - Quick view of the tacked-down cabintop patterns, minus a small section in the forward tip of the cabintop. A hinged cambered hatch (over the black hole) will provide access to the foredeck and its recessed box containing chain and rode. (Anchor deployment and retrieval will be done without having to edge around the side to the foredeck.)
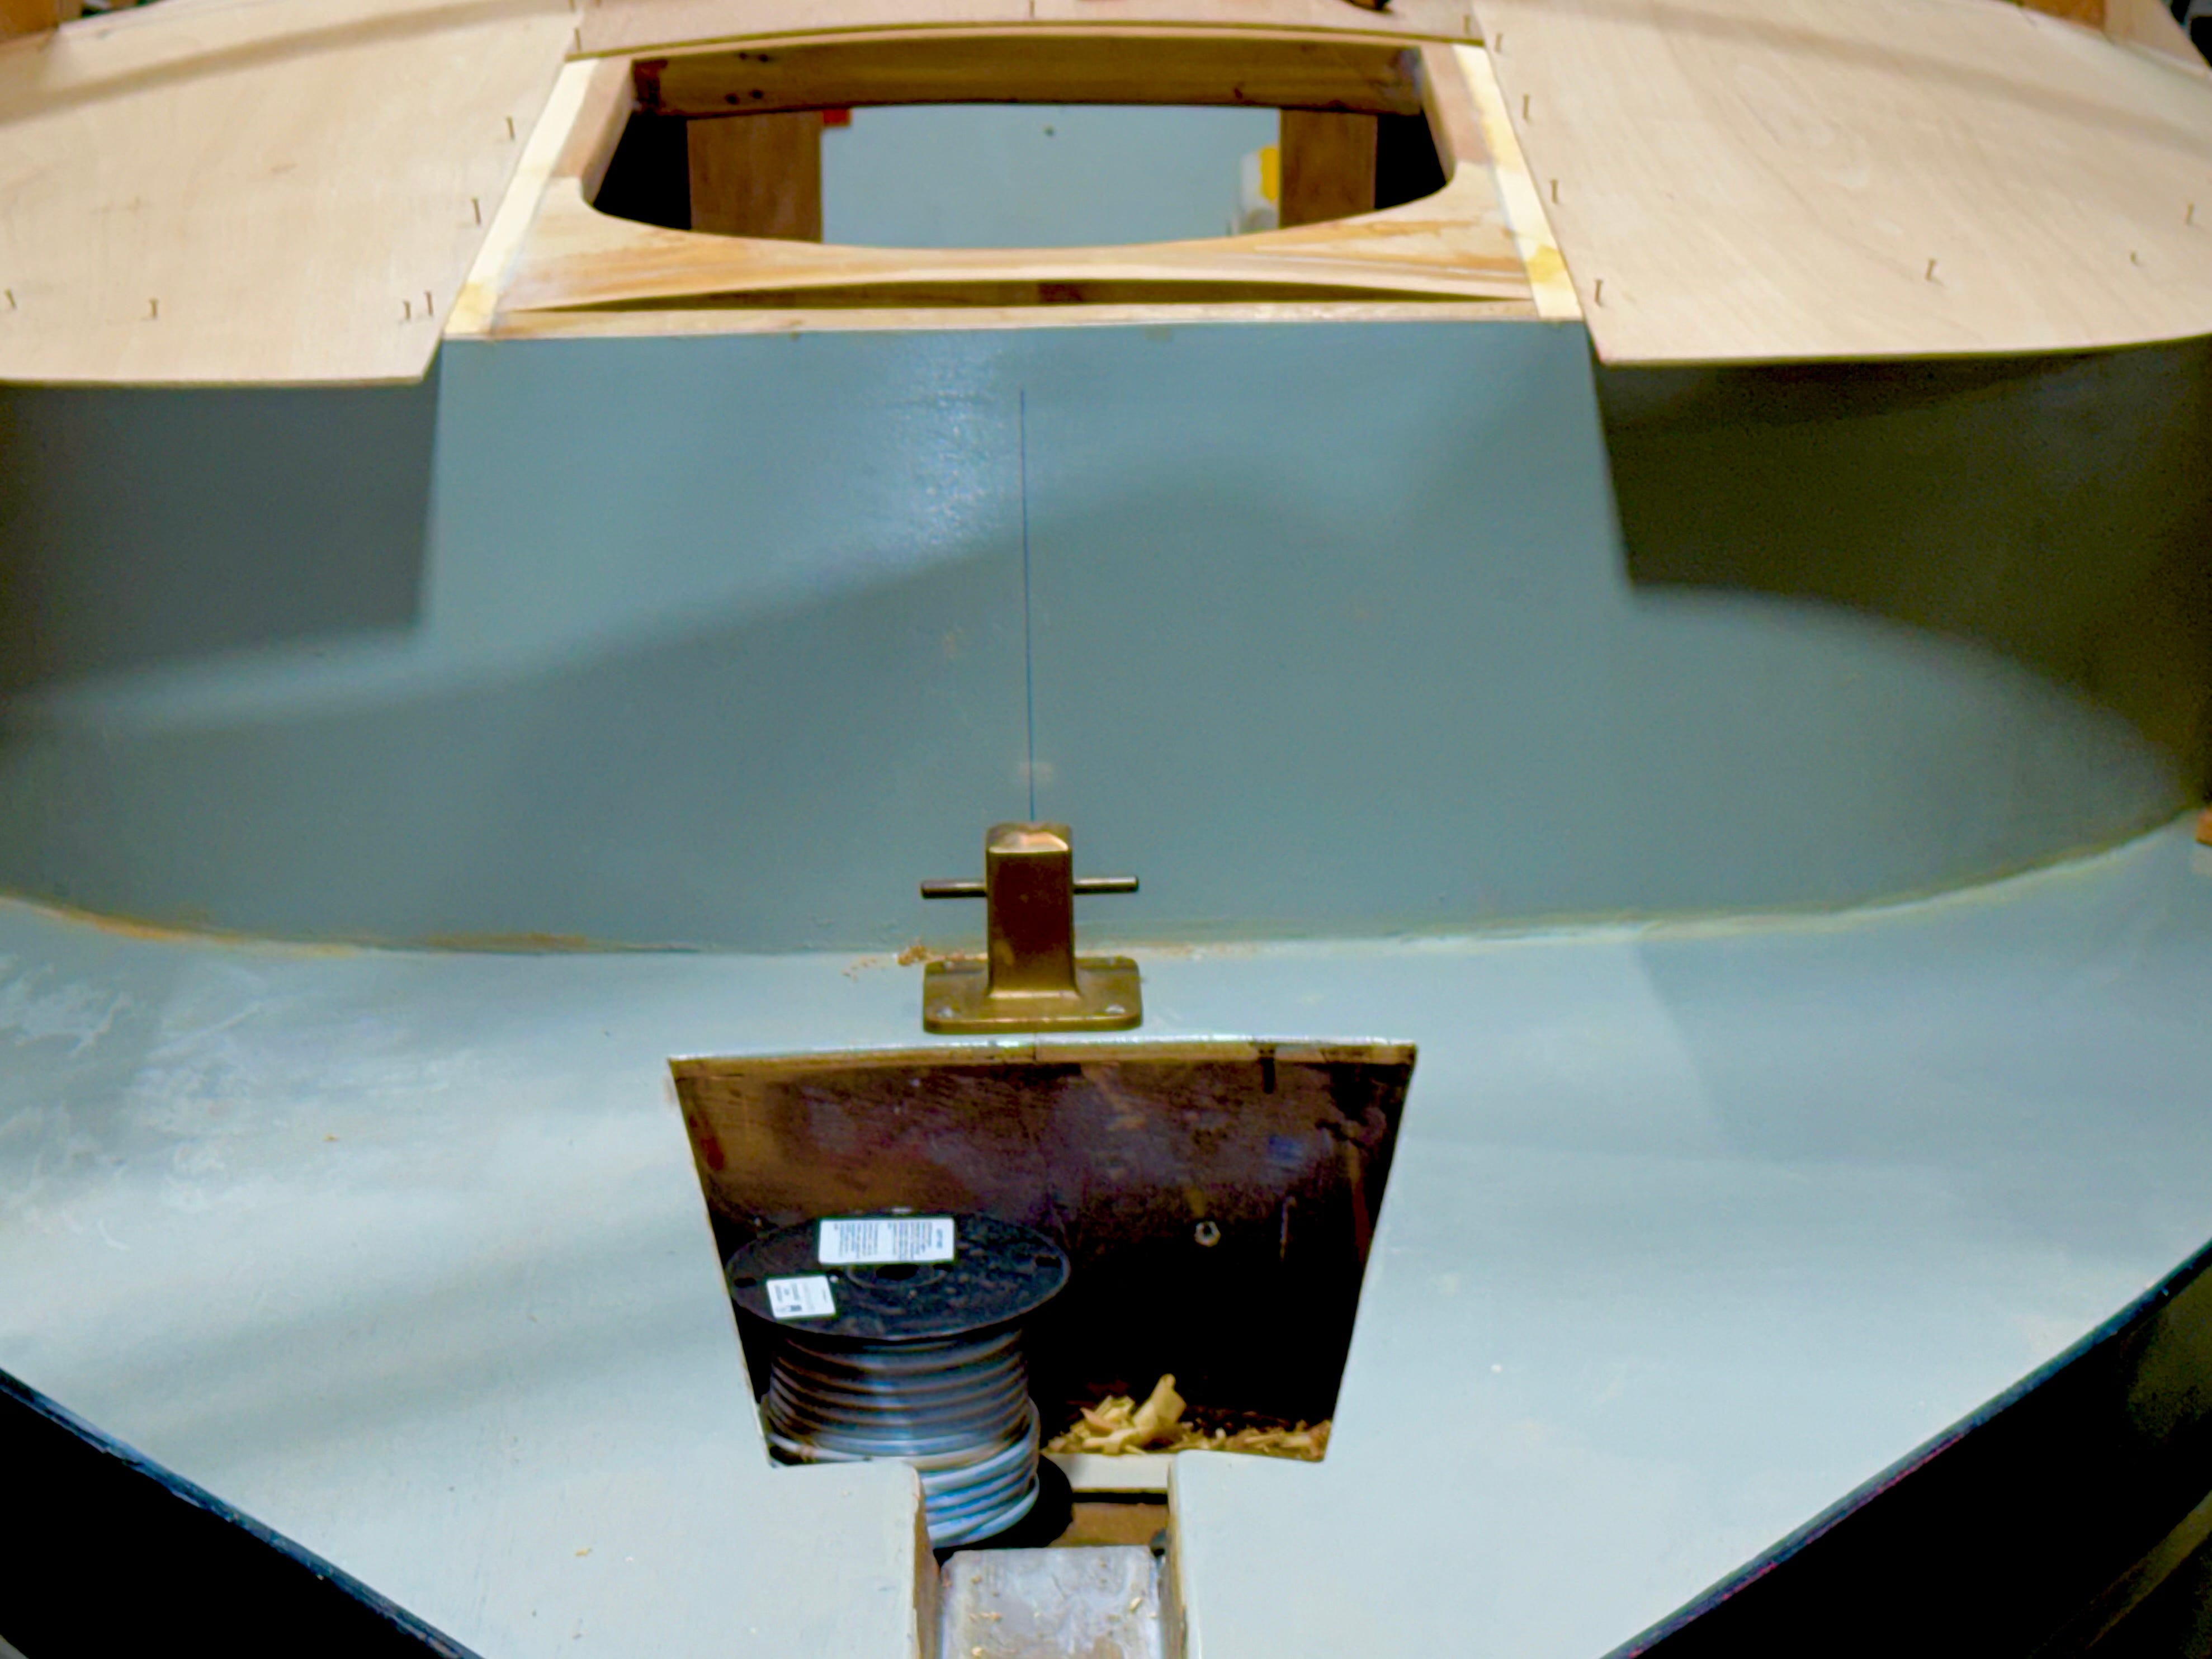
Above - A view from the bow, looking aft over the foredeck and its self-draining box for chain and rode. Deploying and retrieving the anchor should be relatively easy when I lean out over the cabintop hatch.
Above - With the deck-pattern sections in place, we were able to illustrate exactly where bases of the windshield frame will land. The windshield will be in three flat-panel sections—center and two side panes of glass that connect with outside corner posts. (The sturdy windshield frame will support the cambered pilothouse roof, that’ll be a lamination of plywood formed outside of the boat, on the shop floor.)
Above - One of yesterday’s jobs was to apply a first coat of Ammonite to the cabintop frames. Later, after we’ve done a bit more work inside the forward cabin, we’ll glue and screw the 6mm ply cabintop panels in place, in preparation for work on the three-pane windshield. During this week’s three-day session, we’ll build the mahogany helm console, and temporarily attach it to the portside bulkhead to test routing and effectiveness of the steering cable, hoping it’ll turn the rudder smoothly—something we’d like to confirm before going much farther.
…Just for Fun
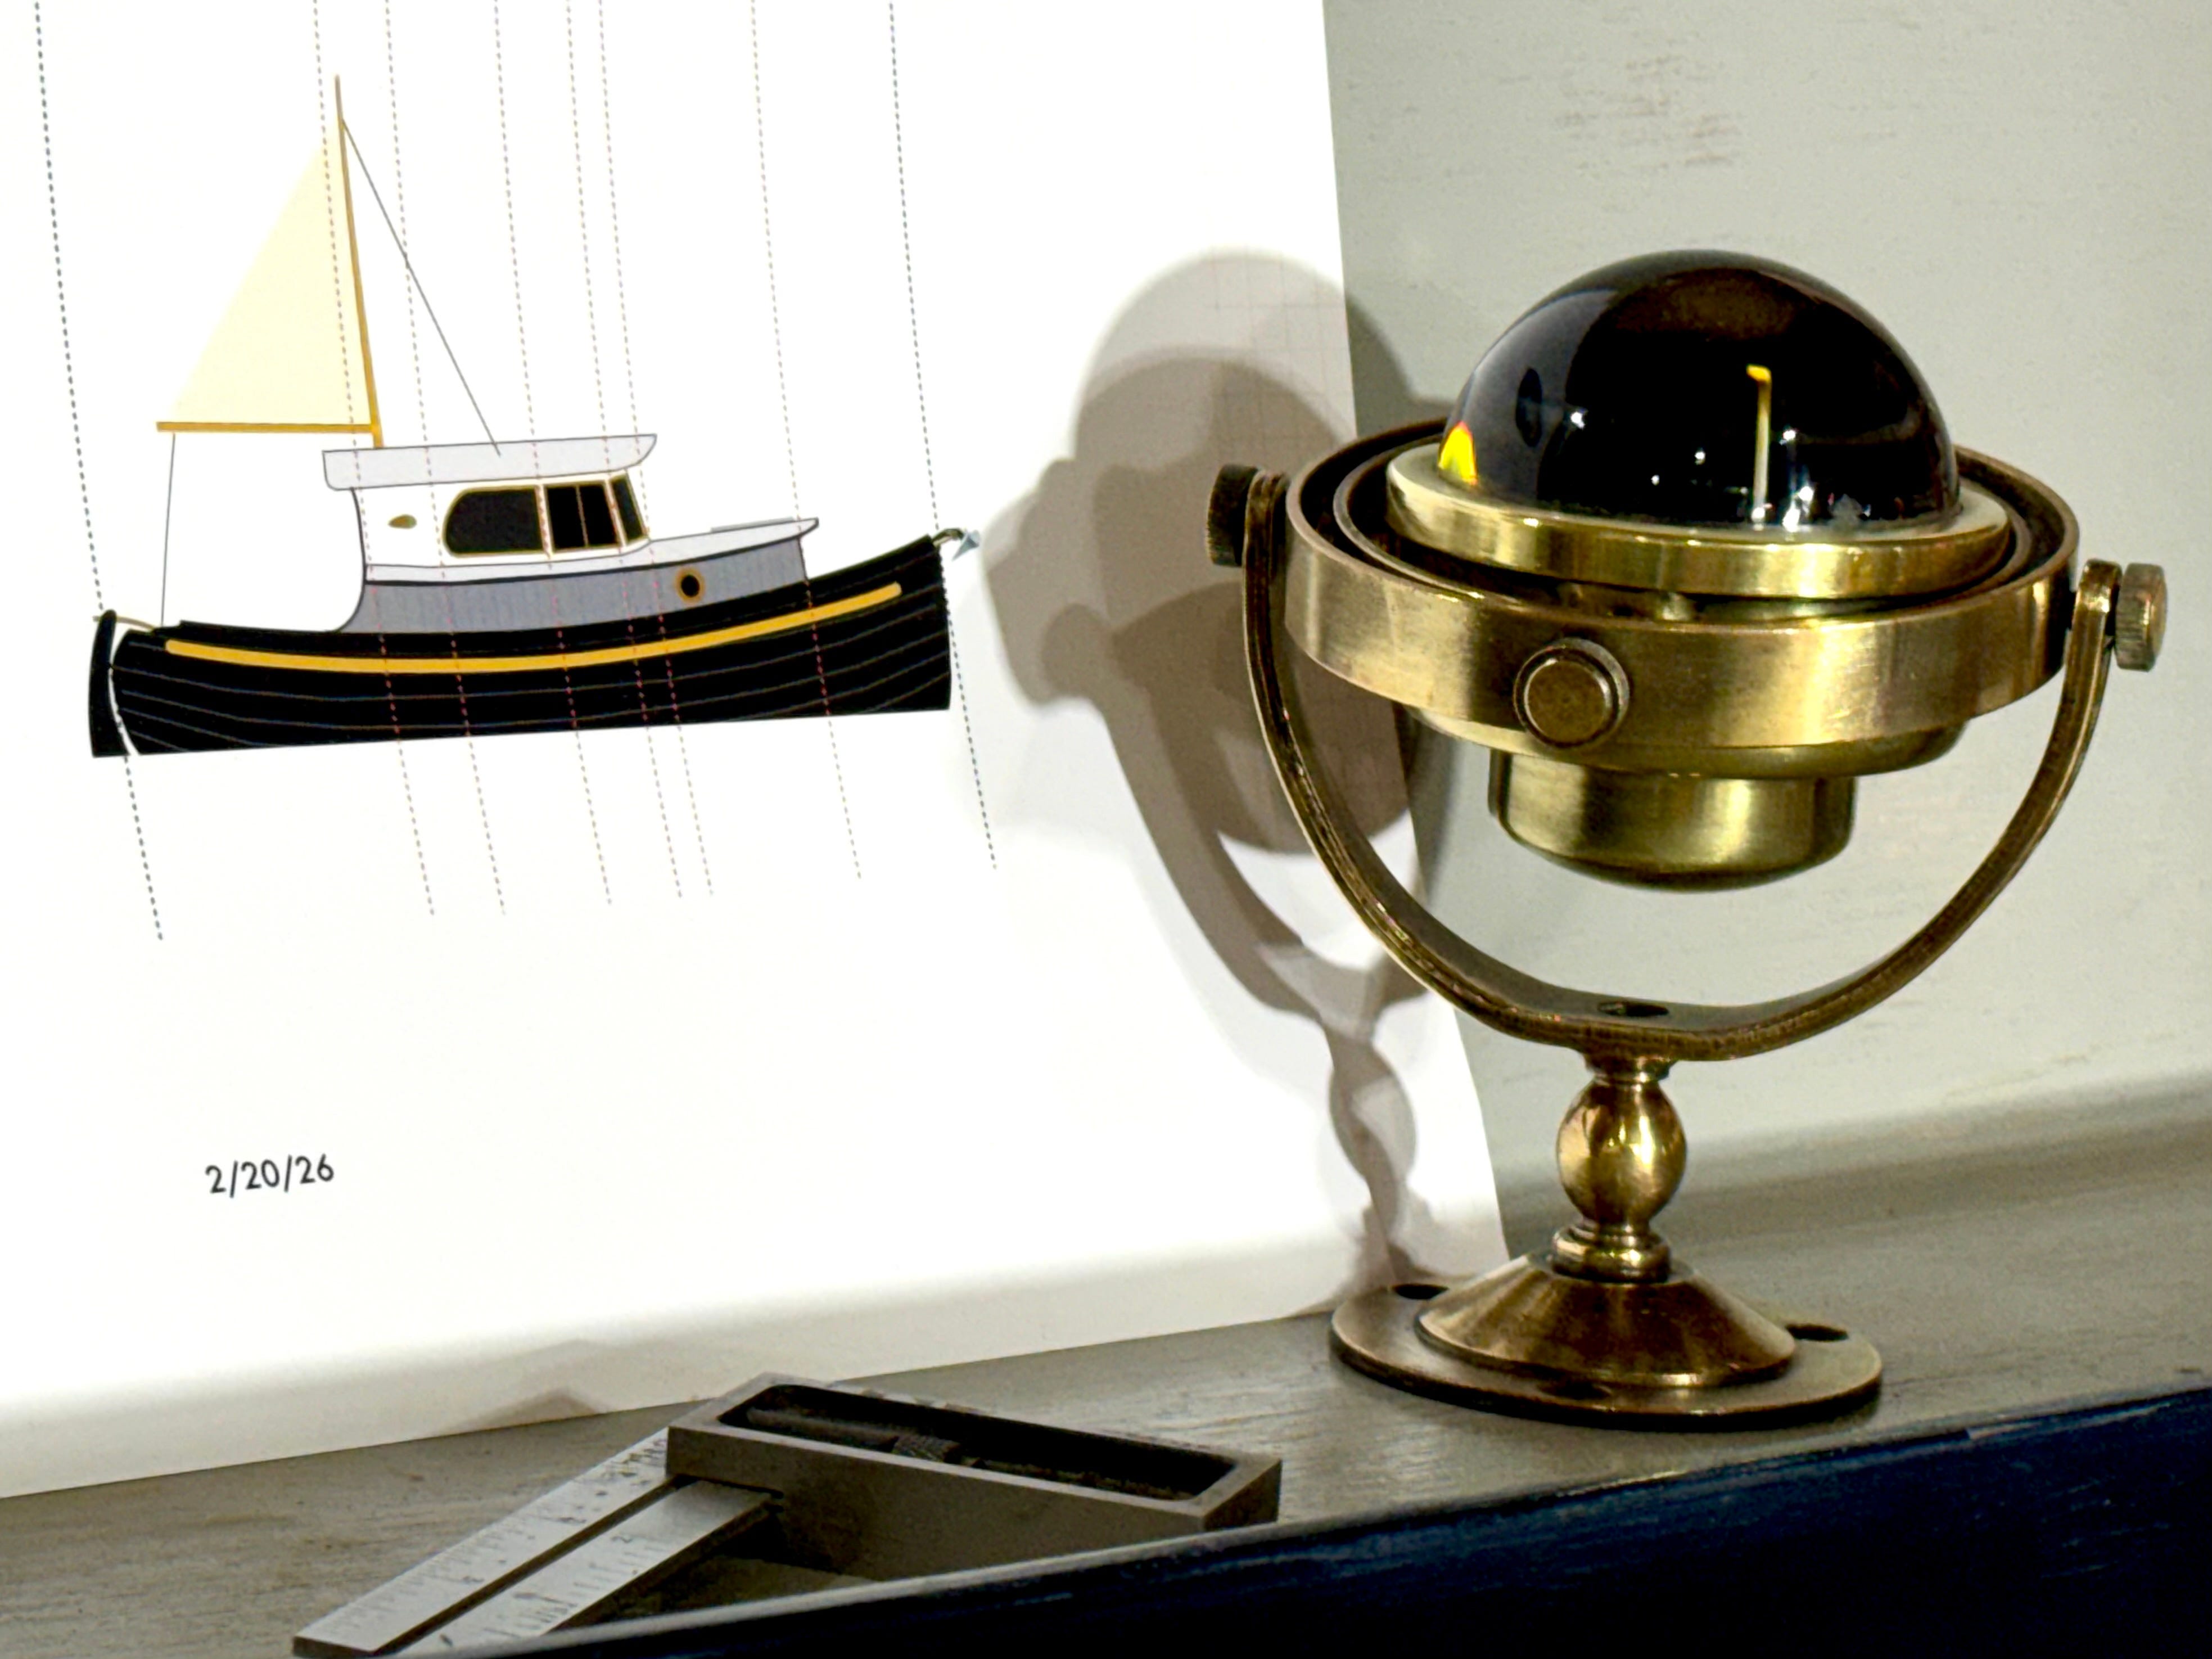
Above - Okay, now just for a harmless diversion, some tidbits. First off, we might be navigating with iPhones and iPads, but we’ll have backups like this small, vintage compass that’ll live on the dashtop…probably right next to an iPad Mini with Navionics.
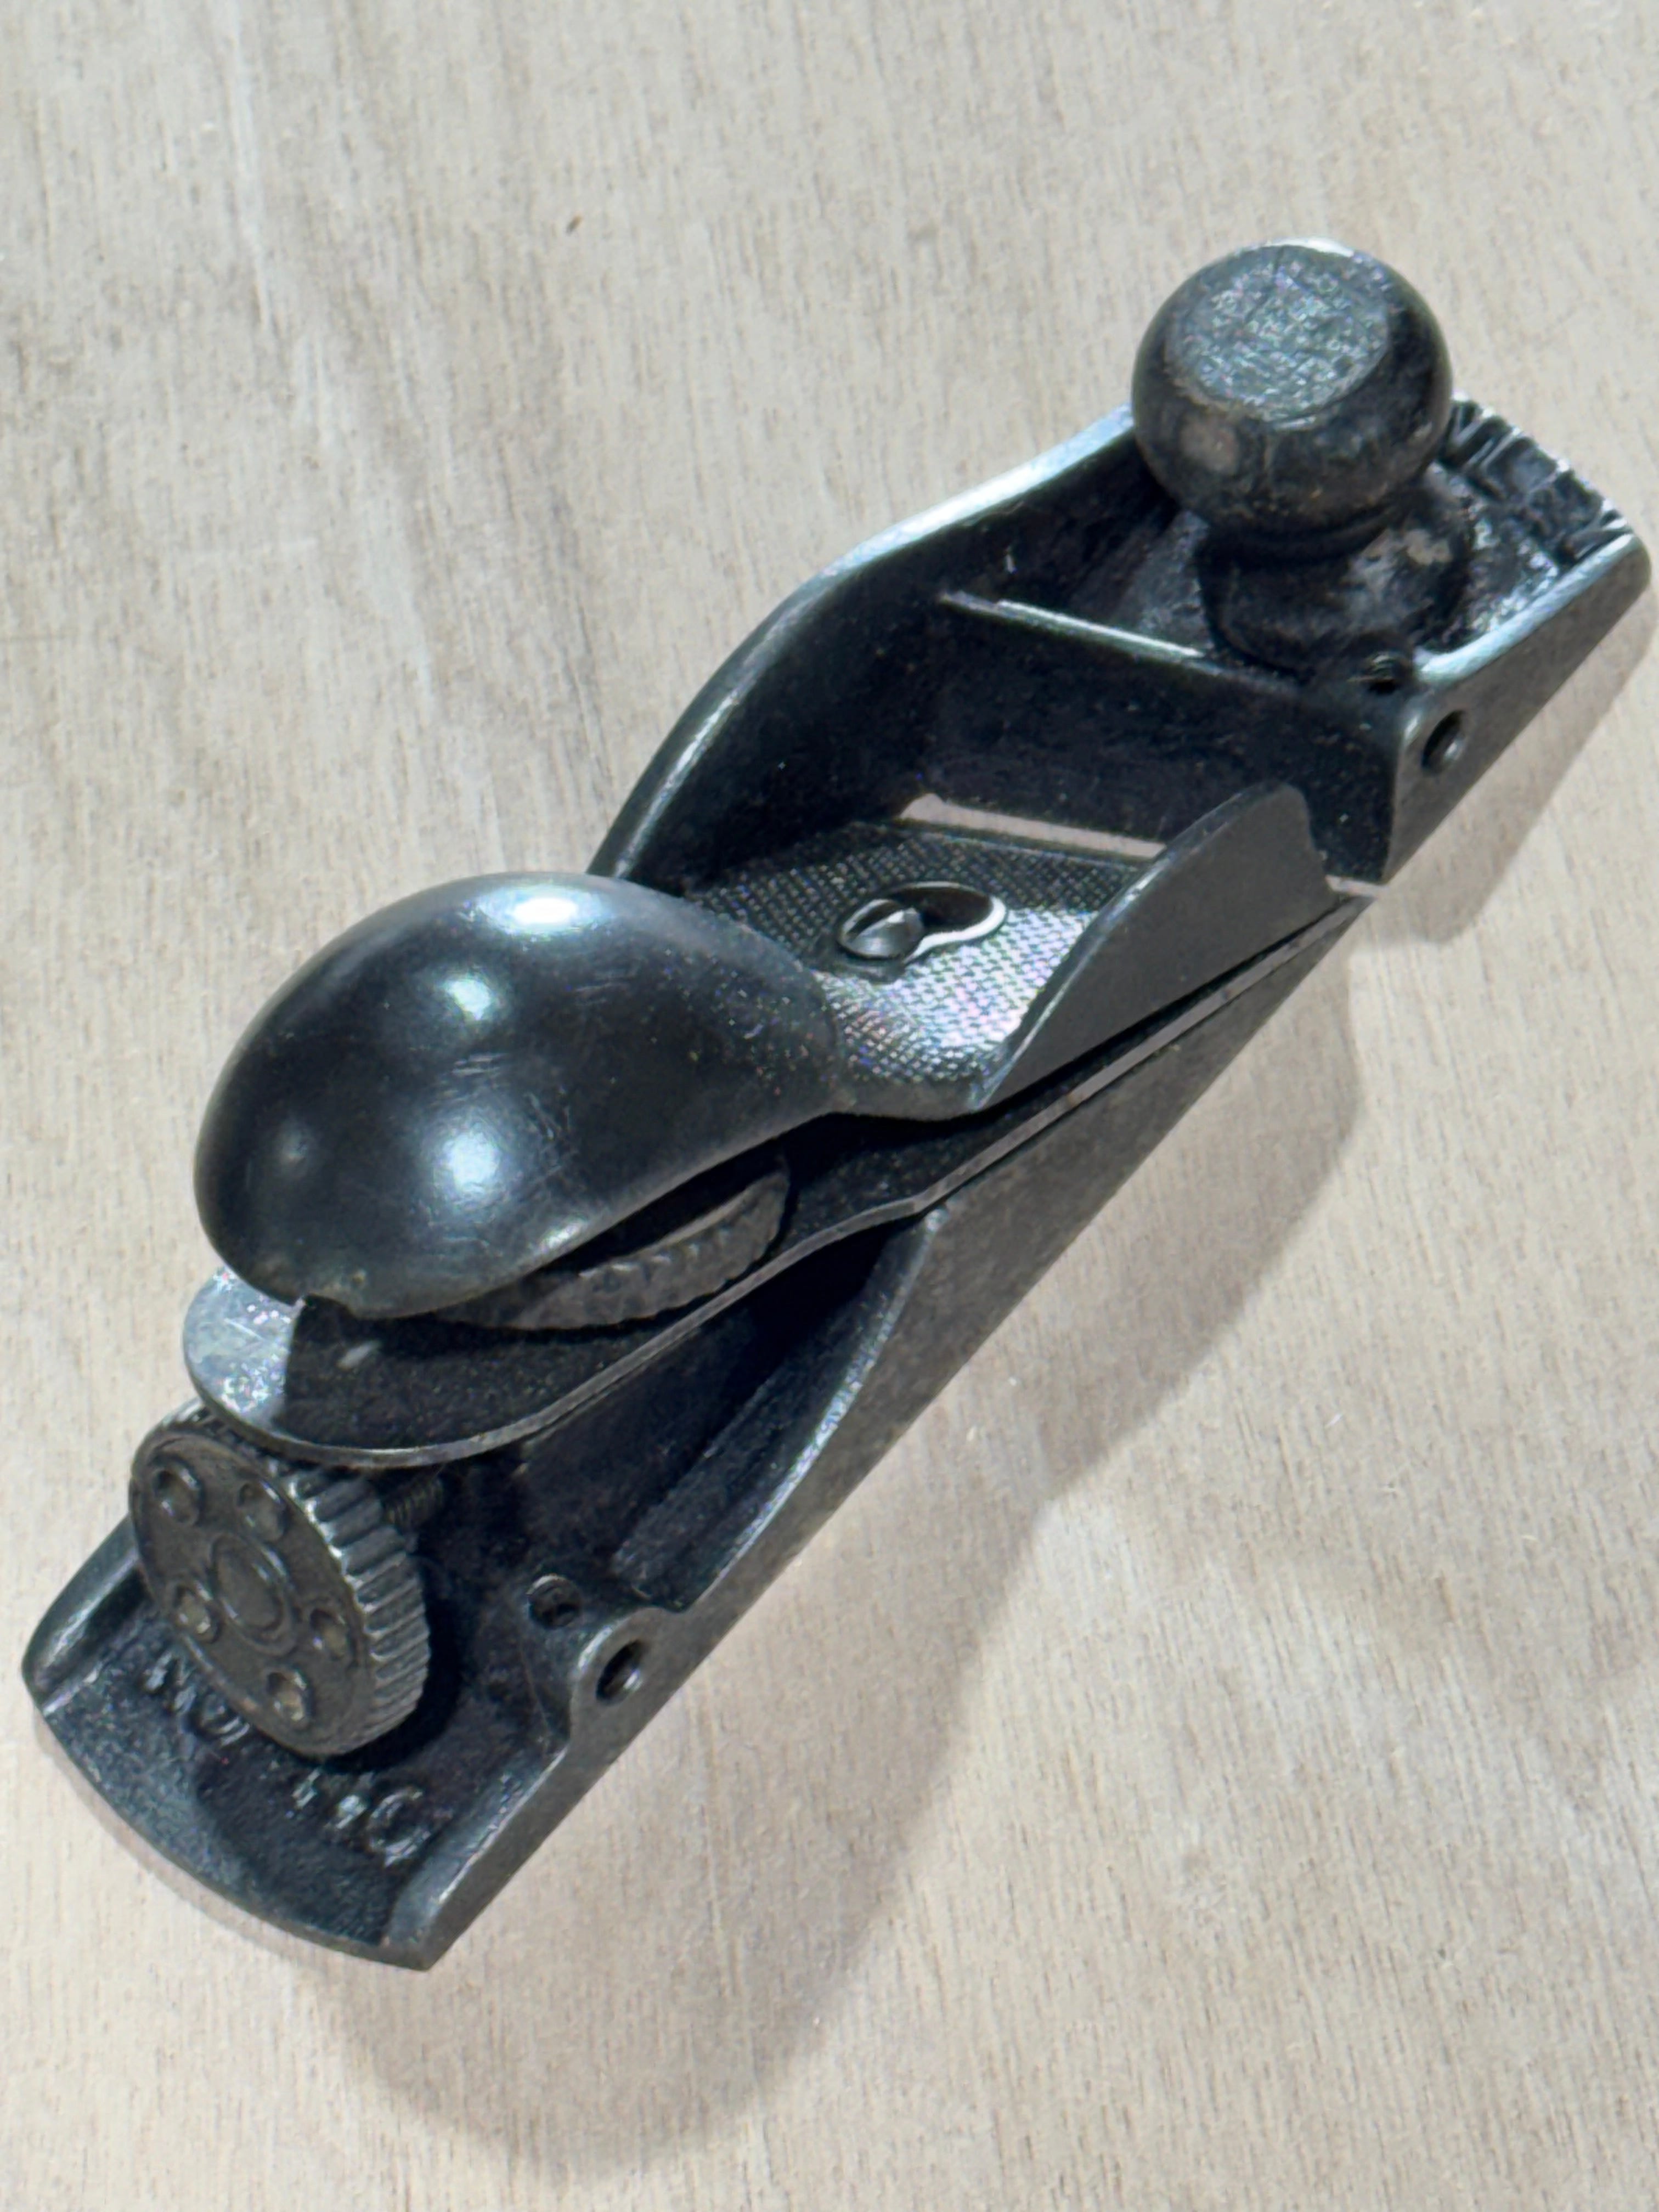
Above - In the last installment, I paid homage to my favorite hand plane, a vintage Stanley No. 3. So here’s my preferred small plane, an old Stanley No. 140 block plane with blade that cuts to the outer edge of the plane’s body—a real treat in some situations.
…And a Few Other Subjects
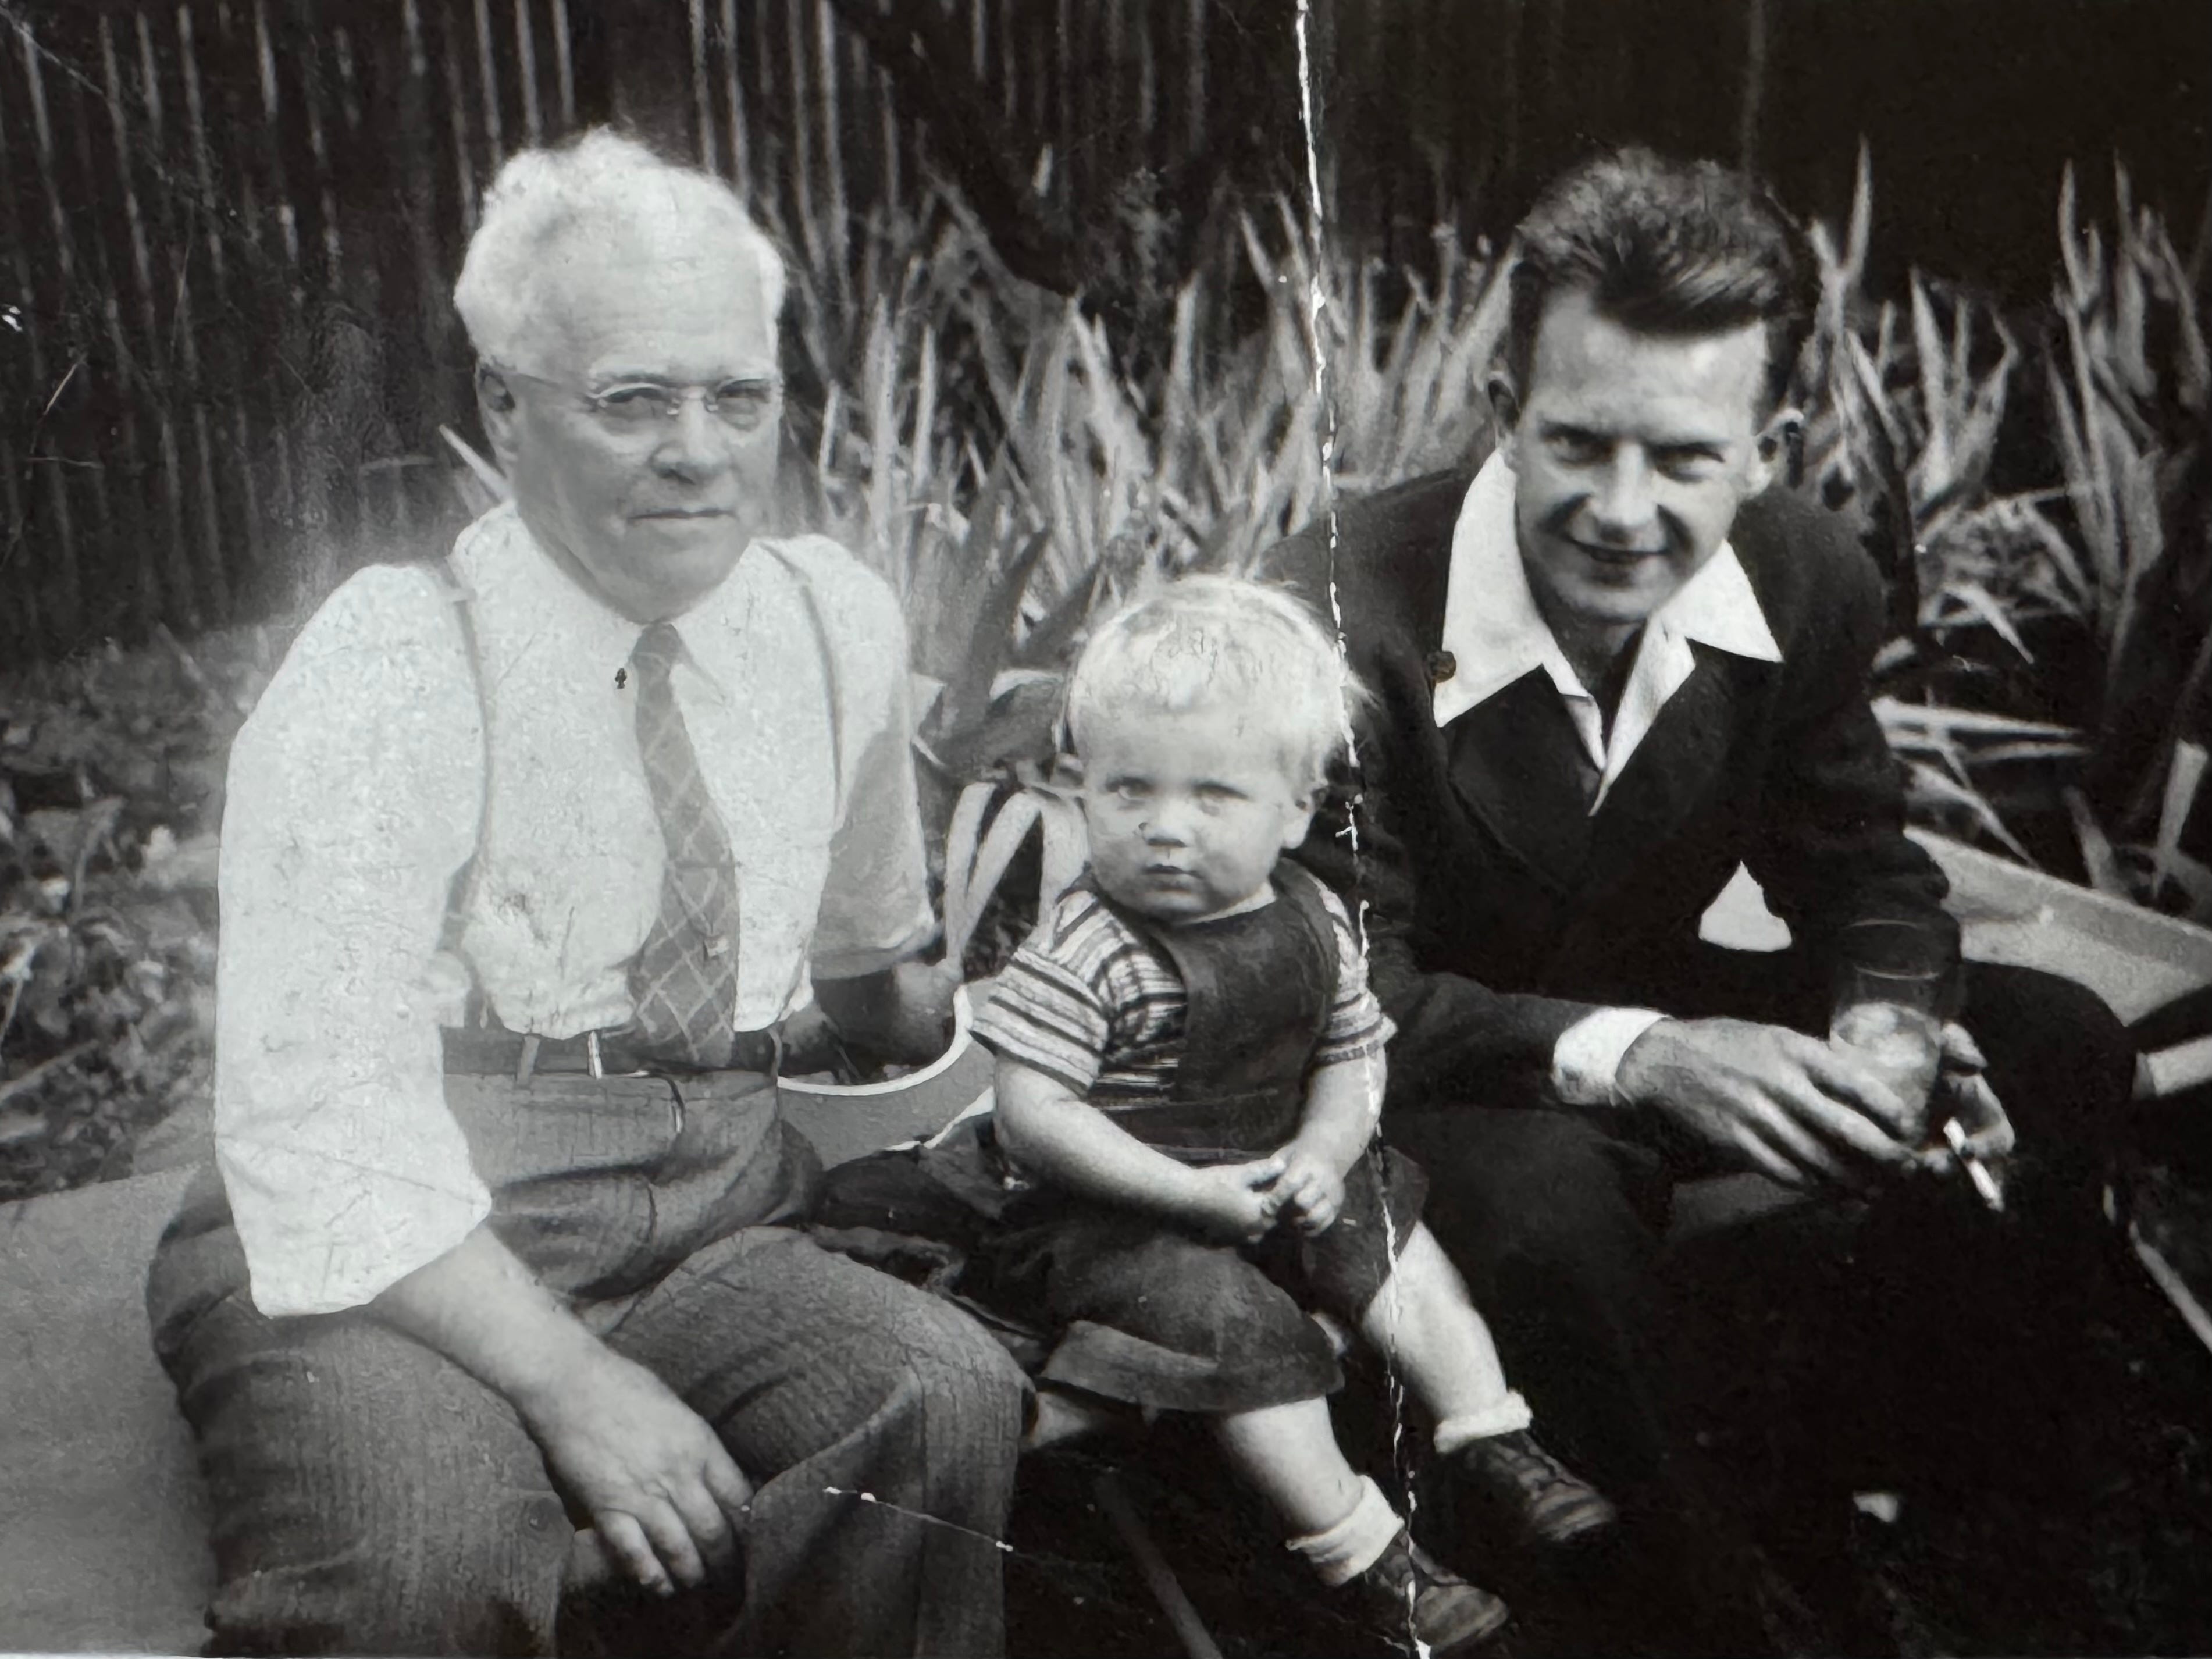
Above - A few personal photos, starting with Grandpa Gilbert Loken and my Dad, Howie Loken, who was always Pop to me. (Yes, I’m the little guy in the middle.) Gilbert, a quiet craftsman, emigrated to Seattle from Norway as a teen-ager with his three young sisters, working in large cedar mills before founding Loken Lumber Specialties with Pop and his younger brother, Lester. My first job, at age 6 or 7, was to remove mountains of sawdust from the underside of milling machines and shovel the chips into a nearby dry-kiln furnace. I made 50 cents a day and loved it…especially working with Pop. The Norwegian side of the family taught me to be independent and work hard; to build rather than buy when possible, and to figure things out on my own. But whether due to Scandinavian DNA or family values, I’ve also exhibited the Norwegian-man stereotype of being reserved bordering on standoffish, adventurous (but on water, not ski slopes), and a guy who apparently isn’t a fan of small talk. (In other words, a quiet and cold fish who is slow to warm, but occasionally exhibits dabs of dry humor. Very dry. Well, so dry it isn’t what you’d call humor.
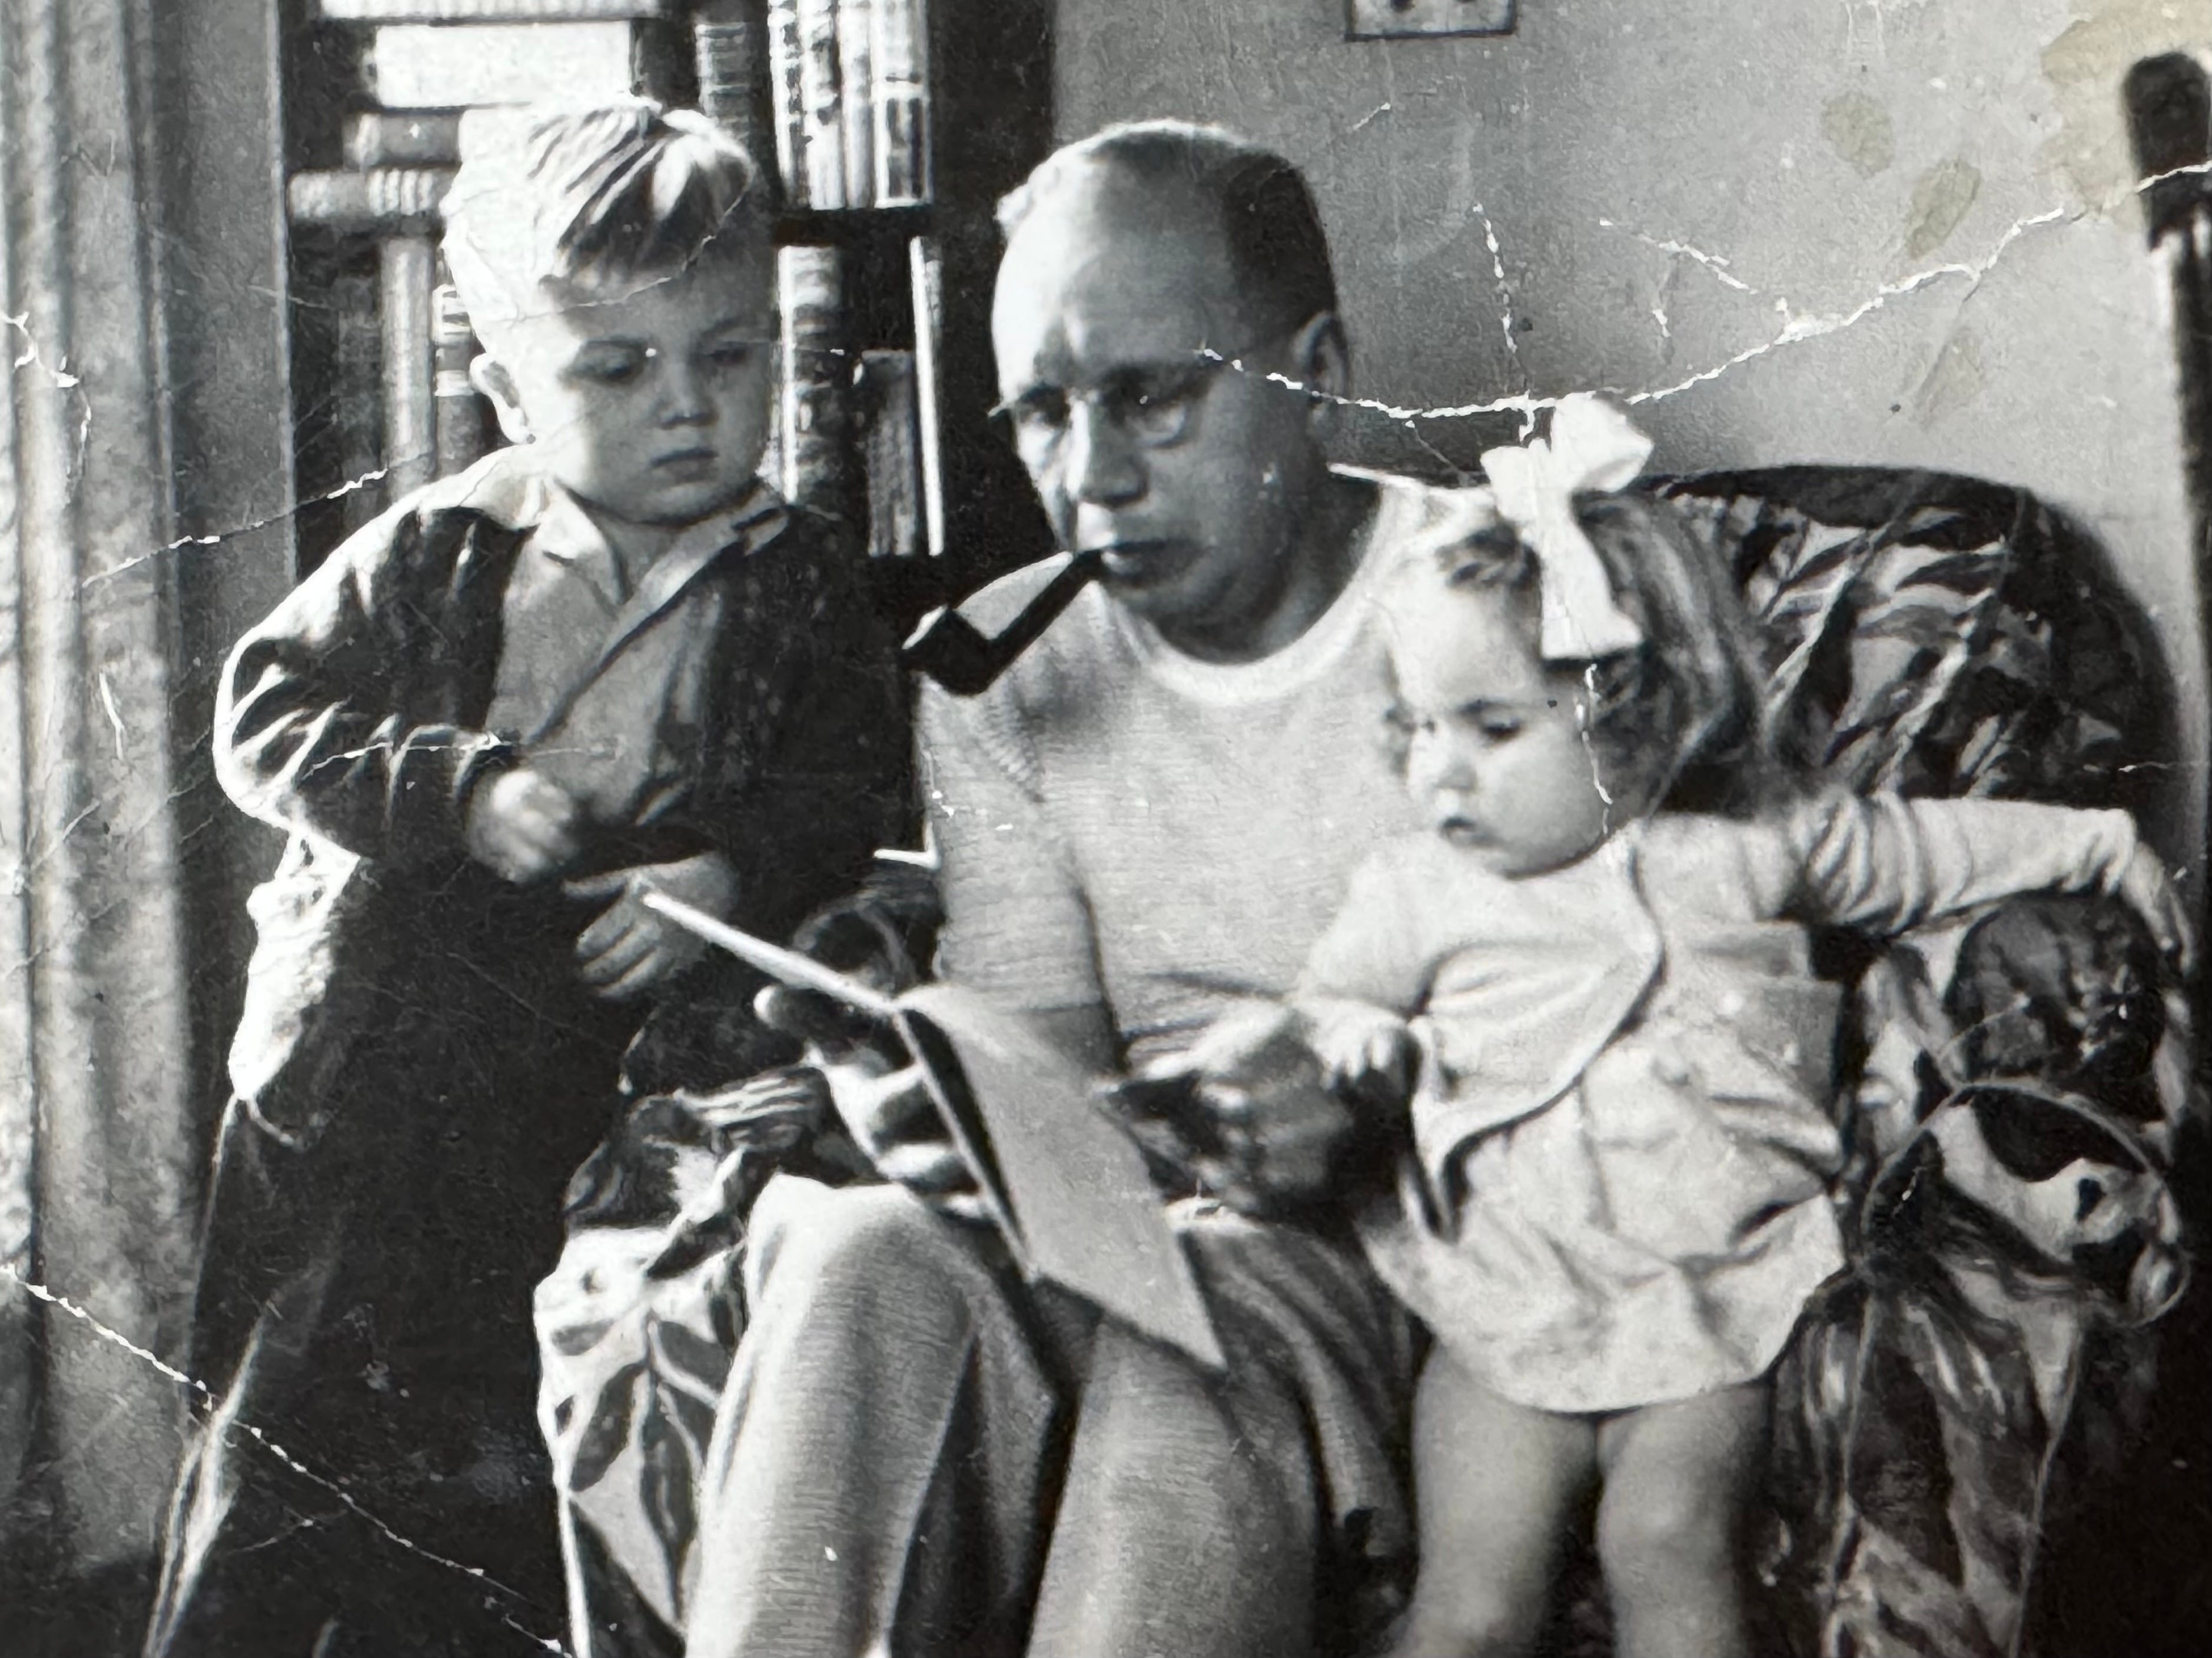
Above - On the other side of the family, we loved Grandpa Irving and Grandma Fan, my Mom’s parents, who built their modest Bainbridge Island home on high-bank waterfront just after World War II. Here I am with Grandpa and my sister Laurie—another lifelong boater. For years after this photo was taken, we spent summer getaways at Grandpa and Grandma’s place, wading in the warm incoming tides of a long-runout beach; building log rafts and graduating to Grandpa’s 8-foot pram, then his flatiron skiff, which we’d row and later motor up and down the shoreline—often to the shadowy, luscious high-tide end of Little Manzanita Bay, an unforgettable and foundational nature experience.
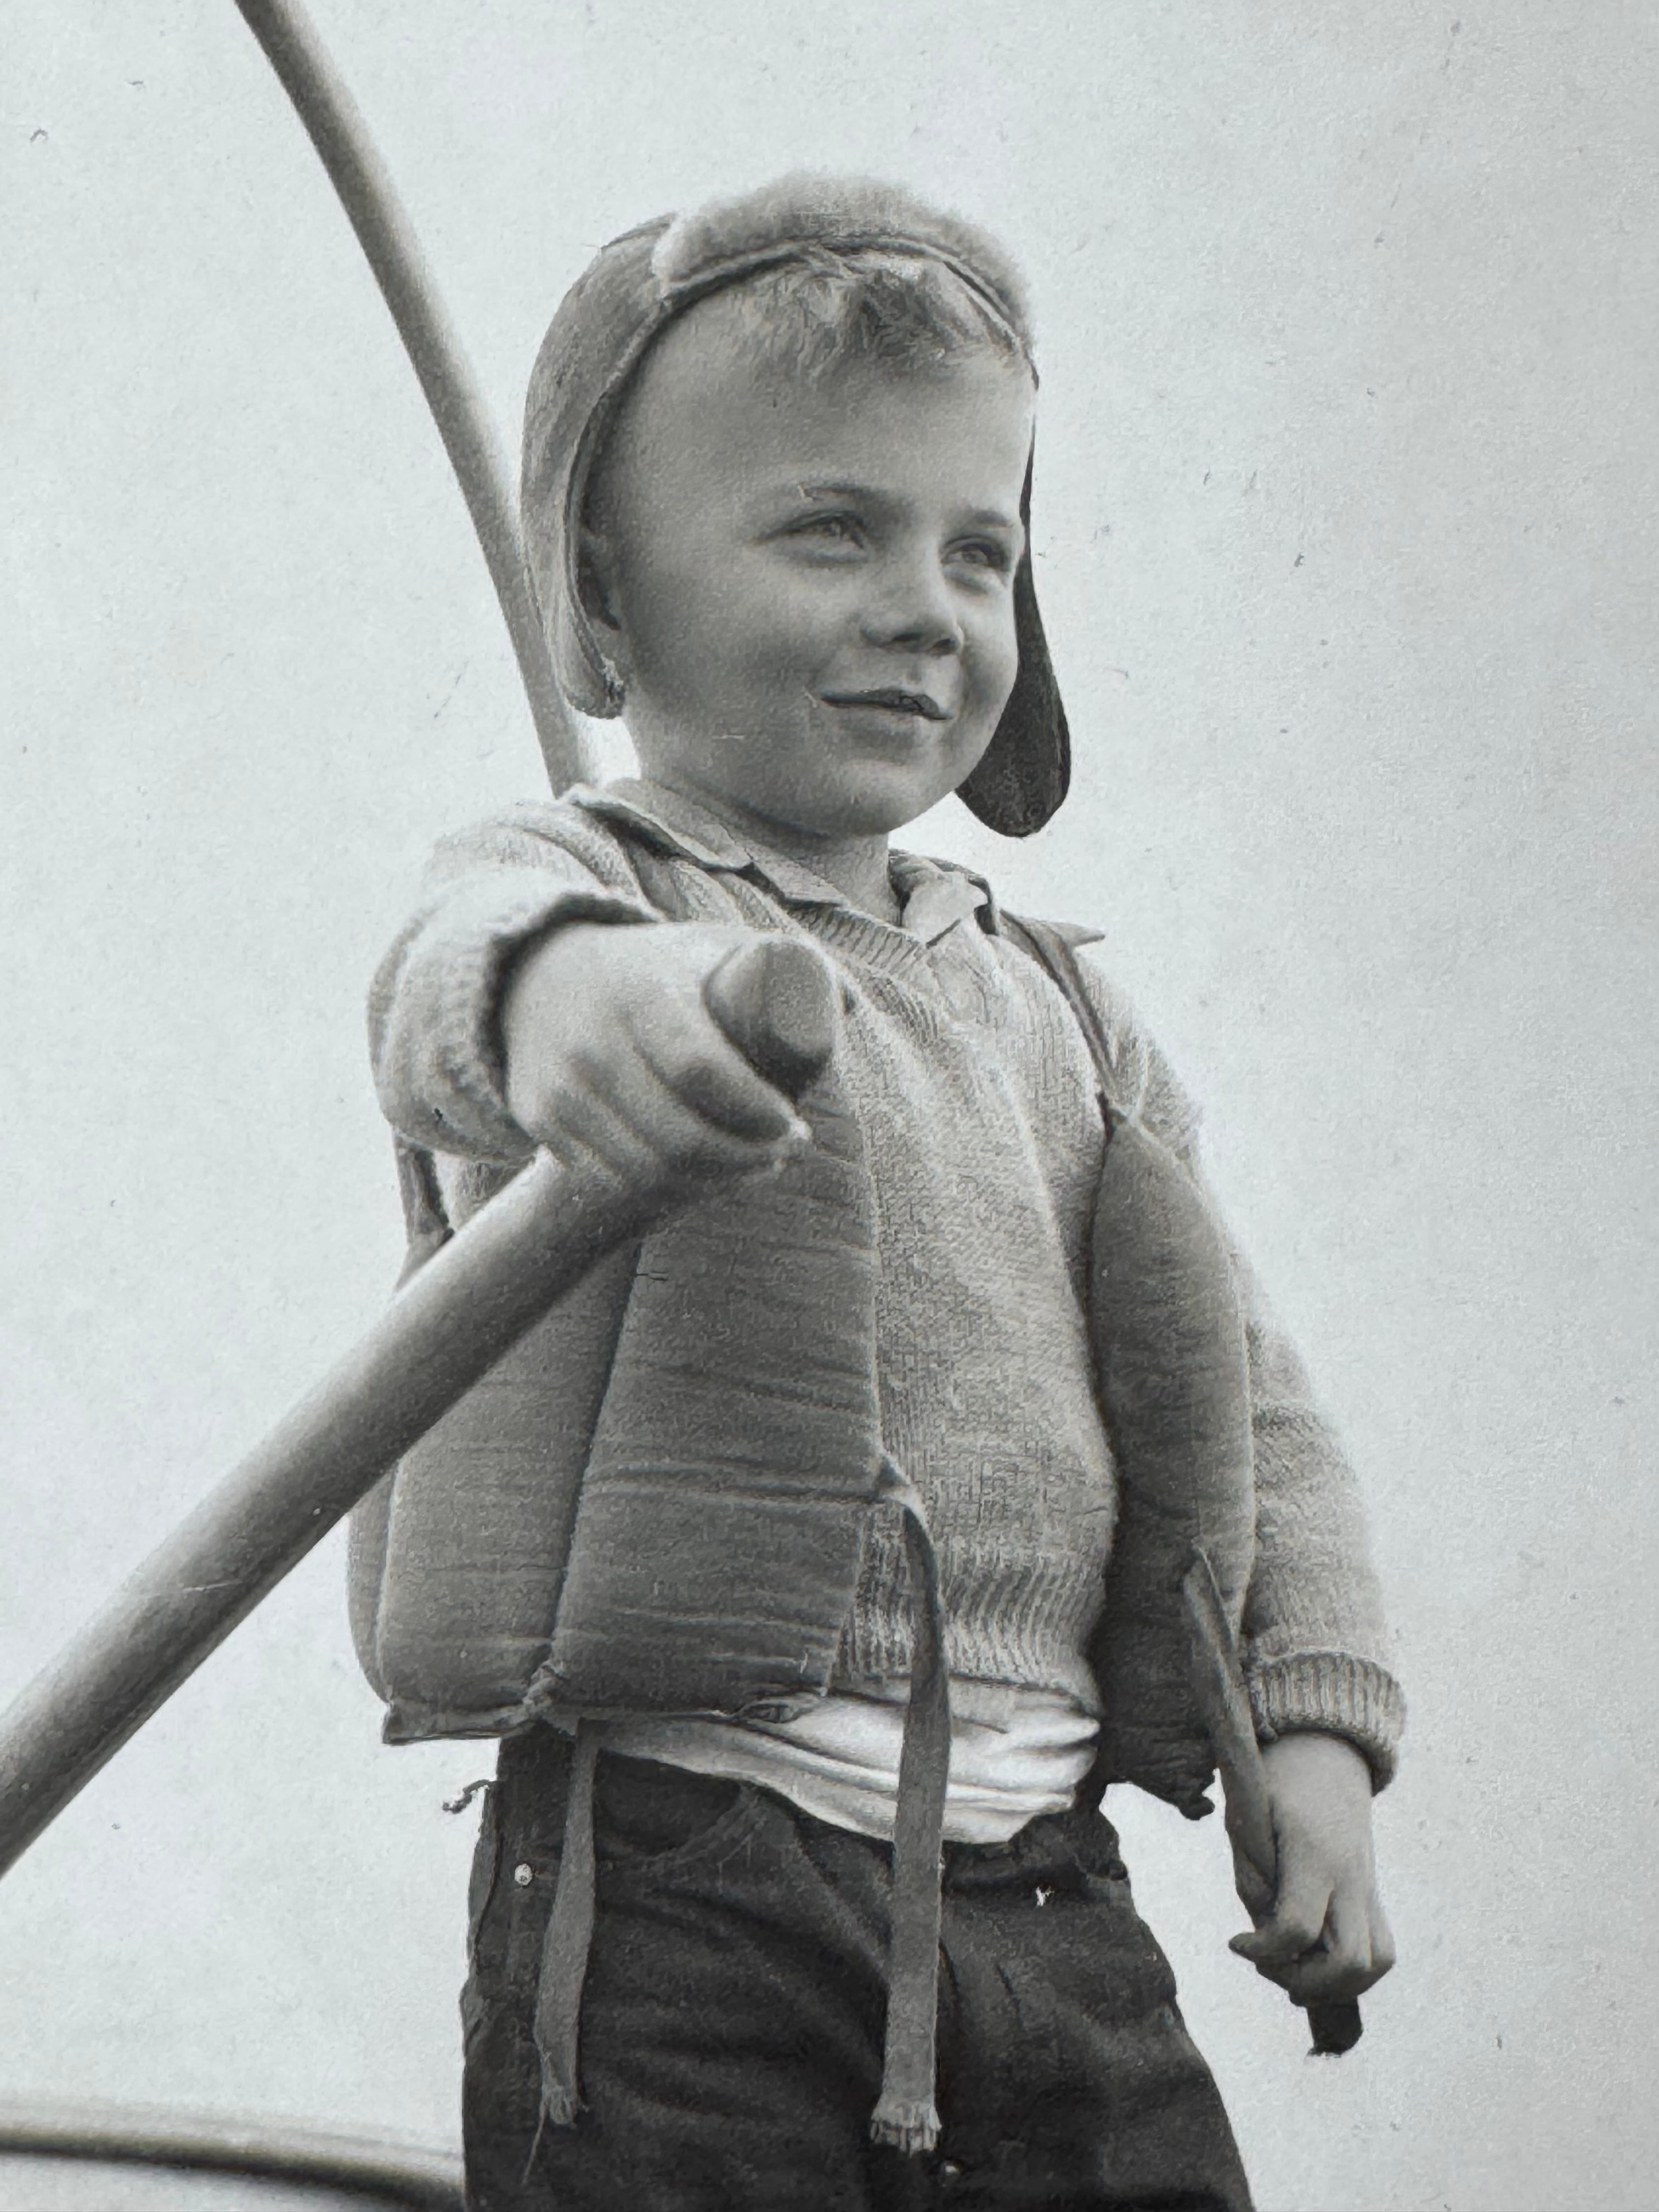
Above - From a young age, I wanted the tiller, or wheel, or pair of oars. Being a passenger wasn’t as much fun, or as instructive.
Daydreaming About Colors of a Boat

Above - Let’s talk about colors…a subject we’re always thinking about during projects. The colors aren’t well-represented here, in terms of exact shade, but at the top you see Sunbrella’s Cadet Grey, that’ll likely be used as part of a shelter over the aft cockpit. Next is a color-chip from Benjamin Moore, showing their Cliffside Gray (the lighter shade) on the left, and Platinum Gray on the right. Bronze deck hardware will be part of the mix, along with bits of stained and varnished wood. The hull will be satin black, from Marshalls Cove Marine Paints, and the off-white side of the pilothouse will possibly be Farrow and Ball’s Ammonite, mixed by Marshalls Cove. This doodle of the boat includes a sort of golden accent stripe, but who knows? Everything is still up in the air, color-wise, but our basic concept is too go with a subtle mix of workboat colors, in satin, hoping to avoid looking too “cute” or “adorable,” while knowing our little 20-footer will draw many such comments.
Whatever folks think of our small cabin cruiser, we’ll love the thing and cruise the heck out of her…up and down the Northwest Coast, and to inland to lakes and rivers that beckon, trailering her wherever we wish to cruise—mostly in Washington, Oregon, Idaho and British Columbia.
It‘ll be a fine way to age into the simpler life of cruising in small boats…the way we’ve always preferred, but have occasionally gotten away from. And because the new boat will be on a trailer and ready for action, we’ll be able to take advantage of clear-weather winter adventures, keeping warm with the little Wallas kerosene heater.
In the meantime, as we continue building, sincere thanks for reading. - Marty
Our author here, as you may have noticed, never seems to self promote. I have done some boat projects, enough to get a feel for what's going on. there are, as many of you know, many builders not far from him. Many are pros. I'm not trying to compare him with anyone when I wax enthusiastic about this project. I do however stand by my previous comments and enjoy this series a lot. Thank you Marty
Wonderful Marty. Love all the details. I look forward to your postings. God bless you. The best distraction from the news !!!