Paper Jet
A builder and the designer on this exciting dinghy
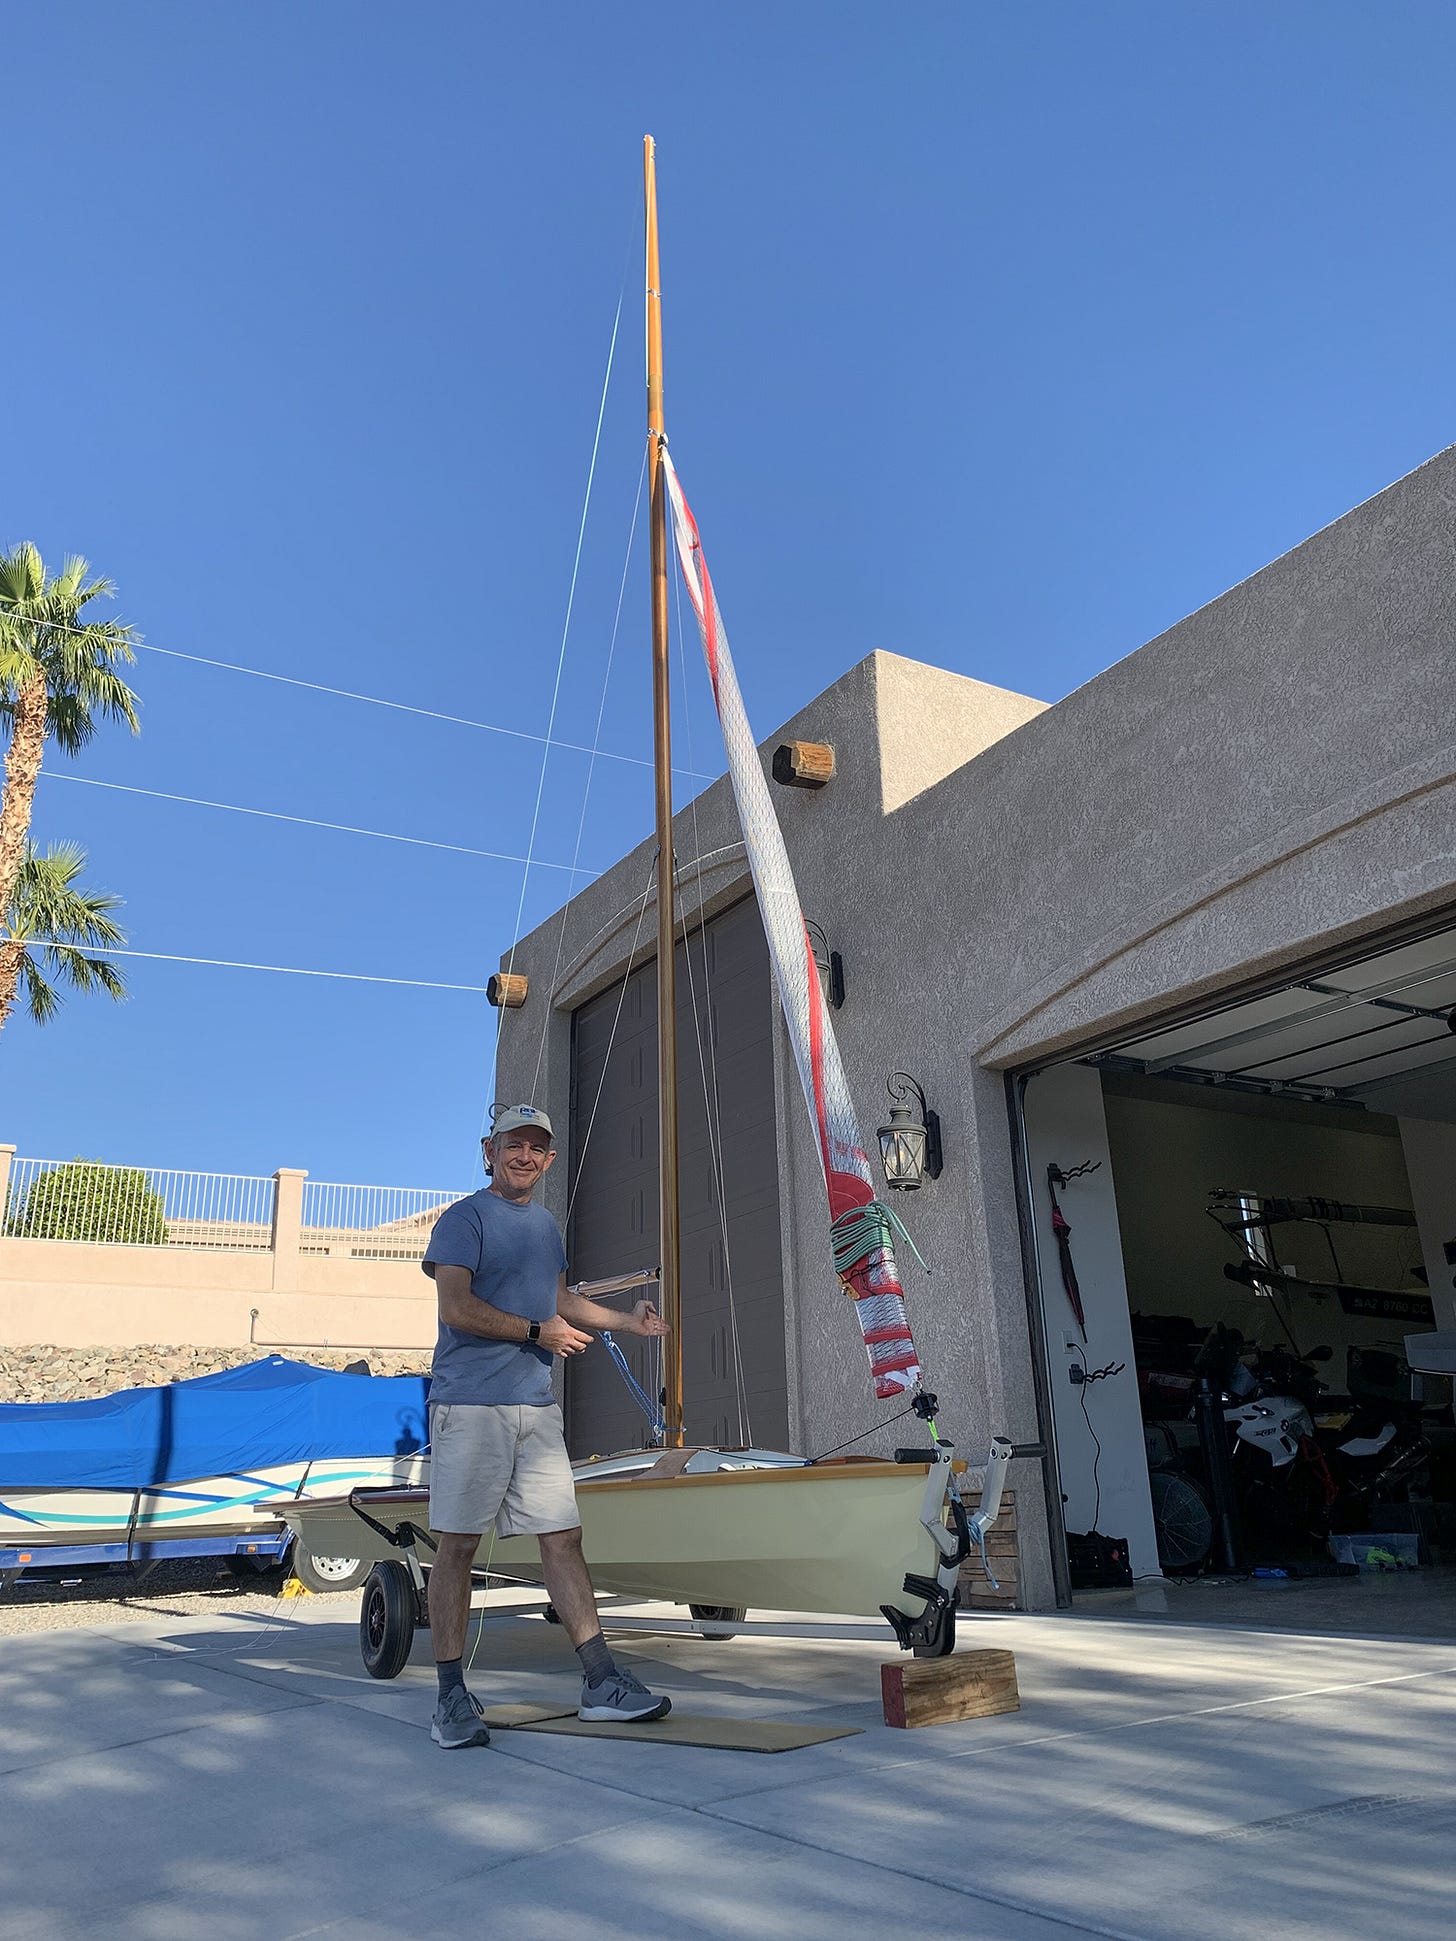
Building a Paper Jet 14 by Mauricio Iacuelli
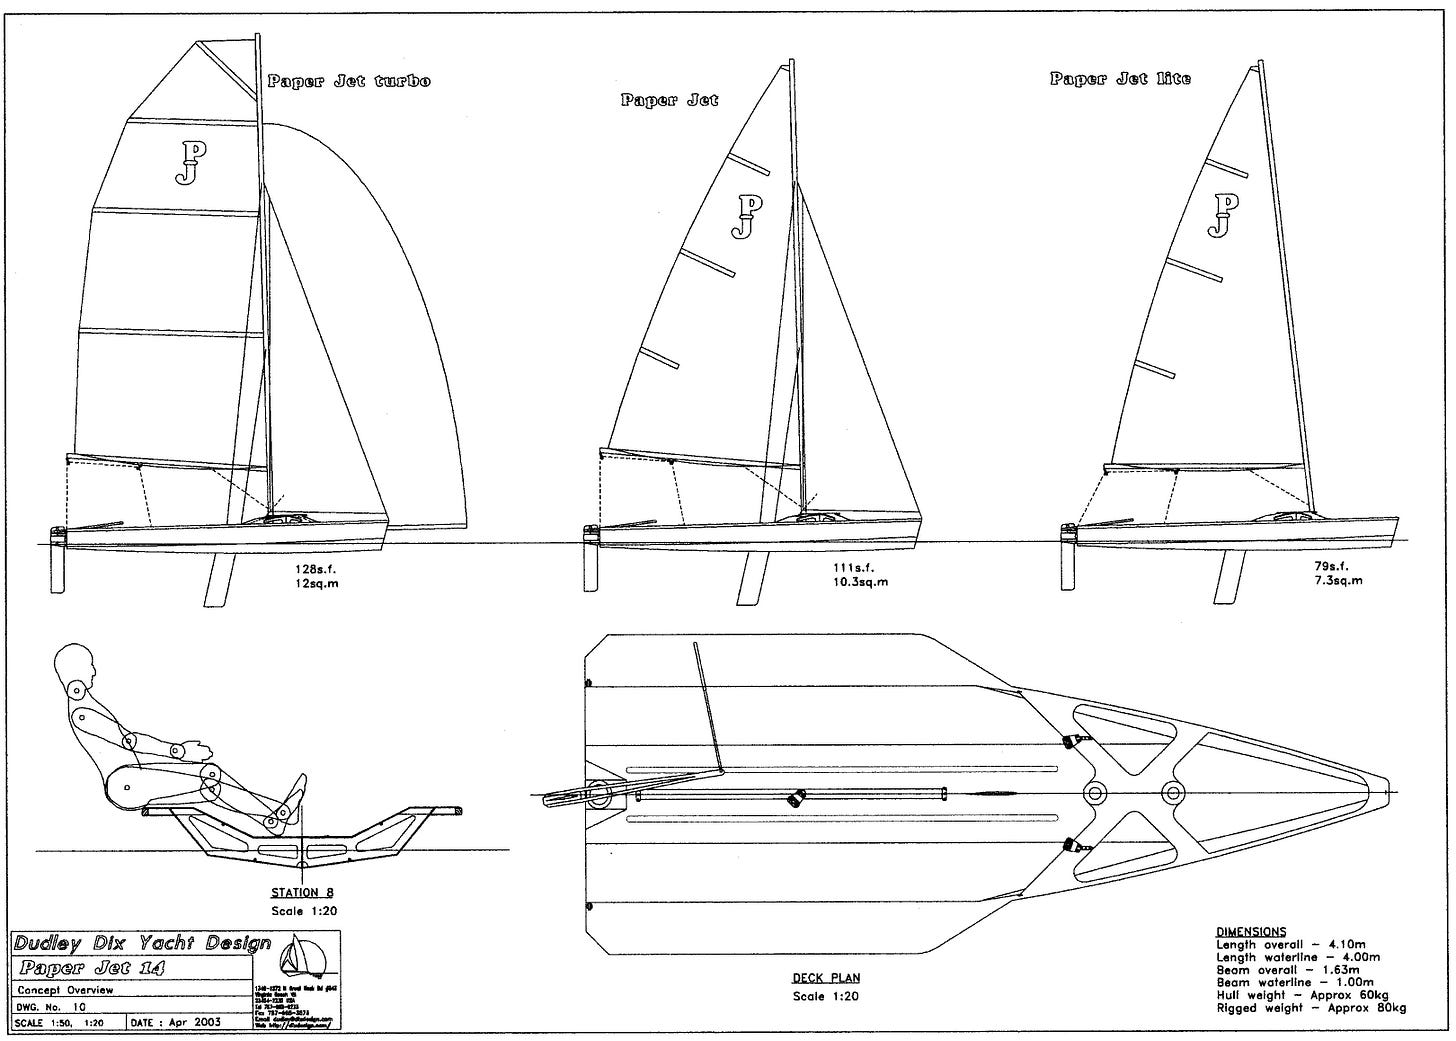
In 2010 I was looking to build my first boat. My wife and I had become avid sailors over the past five years, and with our last child finally out of the house, I had time to delve into a first boatbuilding project that would give me the skills needed to potentially build a bigger boat in the future. Besides, I wanted a “wet” boat for sailing during Arizona summers—similar to a Laser I used to own. The Paper Jet 14 skiff, designed by Dudley Dix, seemed like the ideal choice: It was built using the stitch and glue method, and offered three distinct rigging options—Cat rigged, sloop rigged, and “Turbo” sloop (a taller rig). It also has a bowsprit for a spinnaker and could be aggressively sailed using a trapeze. The Paper Jet 14 became a culmination of those wants and gave my busy hands, happy hands a project to engage in.
When I started the project I was living in Phoenix, which. presented a couple of challenges. Firstly you can only work with epoxy in the winter/spring time. Any other time, the highs of 110 on a good day would dwindle your pot life to almost seconds, unless you resorted to slow hardeners . The second challenge was that 4mm Okoume plywood also did not fare well in the heat. (When I first set up the frame and installed the bulkheads, it become a challenge to keep the bulkheads straight since the thin plywood was prone to warping. Fortunately, it all took care of itself once the stringers and hull panels starting coming together. It just took a little extra effort to make sure everything was plumb.)
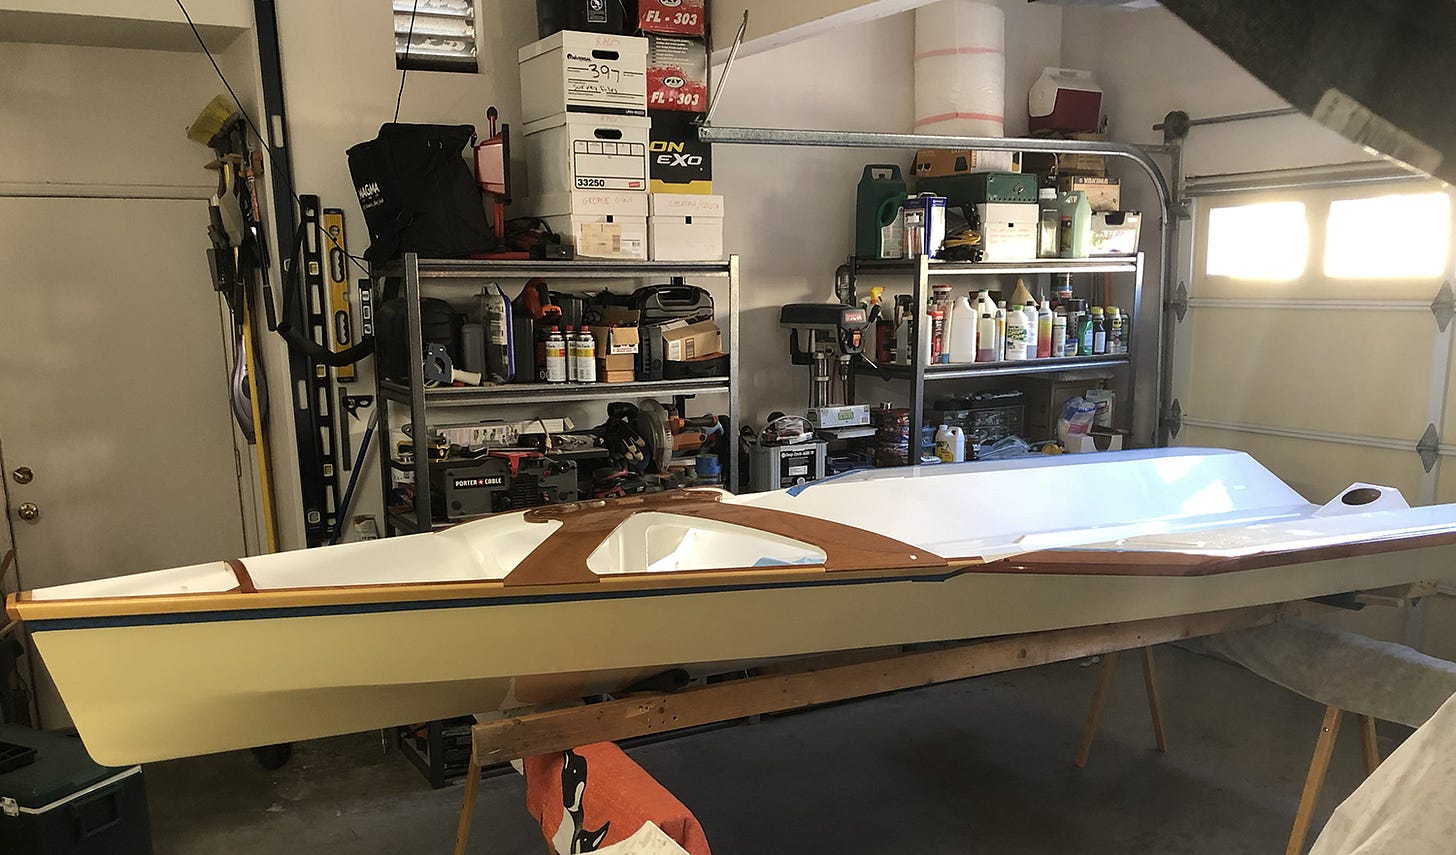
Construction of the hull was a particularly satisfying experience. I built a two-by-four frame for its construction and laid out the different bulkhead stations. The initial layout of the bulkheads along with the daggerboard box started to show the lines of the boat. As I laid in the stringers I had to clamp straight pieces of lumber to the different bulkheads to take the warp out of them and make sure the form was true. Once that was set up it was time to join portions of the hull panels together to achieve the overall length of the boat. Once completed it was time to install them to the boat and zip tie them to the bulkheads. You quickly find out that you cannot have enough clamps when building a boat! Like magic, you suddenly go from having a bunch of 4’ x 8’ plywood sheets to a structure that resembles a boat. After all the major hull panels were installed it was time for my wife and I to flip the boat and take the mandatory video of our accomplishment. After applying laminating epoxy and fillets, and taping all the joints I installed the deck, the crossmember that holds the mast in place and various components for the gunwales. Once completed I taped all the joints on both the hull and the deck. This was a good time to figure out what brightwork would be shown on the boat. I went to my local hardware store and picked up African mahogany for all the gunwales on the boat, and for the foils. At the same time, I bought Spanish Cedar for construction of the spars.
I laminated a combination of mahogany and poplar for the daggerboard and the rudder. After doing some research online I calculated shape of the foils using a progression of scarfs on my table saw and a #5 plane. I finished the final shaping with a longboard sander. This method worked out fairly well and I was happy with the overall product considering it was my first time. Both of the foils were covered with fiberglass and put aside for later. I also took time to build the rudder cassette and tiller. I laminated a combination of poplar and mahogany for the tiller.
The next major project was to build the spars. This can be best described as a labor of love as the boat has four separate spars that needed to be built: The main mast, a tapered mast extension, the boom and the tapered bowsprit. Construction of the spars uses a birdsmouth technique and initially starts out as a hexagon with alternating strips of poplar for strength and Spanish Cedar to reduce weight. This whole process is an exercise in woodworking where you use the thickness planer, table saw and router table to build the components. I also decided to make the sail track out of wood to continue with the hand built spar theme. A builder and kit supplier in France, Francois Marti, had worked out a design and was kind enough to send me a copy of his plan. To shape the spars I used the method of continuously adding faces to the original hexagon. Once the spar was almost round I created a three sided sanding box that I was able to attach a full sheet of sanding paper to the open fourth side to clean up the spars and do the final shaping with 100 grit sandpaper. The end result was very satisfactory. Even though the whole building process was a lot of work I ended up with what might be described as a piece of woodworking art.
Seven years after the fact—between two major household moves, 100-degree Arizona summers, and the purchasing of two older sailboats needing a little elbow grease to get them shipshape—my Paper Jet 14 is finally built and ready for the water. Nothing beats the sense of satisfaction as you look back and say “I built that”. It has been a labor of love. It is hard not show off to your friends as they come by the house. Now that this project is finished—and much to my wife’s dismay—my next project is to build a lapstrake row/sail boat to put some of these skills and tools to good us.
Designer Dudley Dix on his Paper Jet
I drew the Paper Jet as a versatile high performance dinghy, able to be rigged with a una rig, standard sloop or a powered-up trapeze skiff. The rigs are modular, with the configuration modified by changing the mast location, using a long or short topmast on a common lower mast and sail selection. I sailed mine mostly as a skiff until I blew a knee in an accident, preventing me from trapezing. Now I sail it mostly with the less powerful sloop rig, hiking out on deck.
The name comes from the appearance of the boat, looking like a paper airplane. It is very light, with my own complete hull and deck weighing in at 94lb and all-up weight of about 150lb. As single-handed crew, I weigh more than the entire boat. All plywood is 4mm okoume.
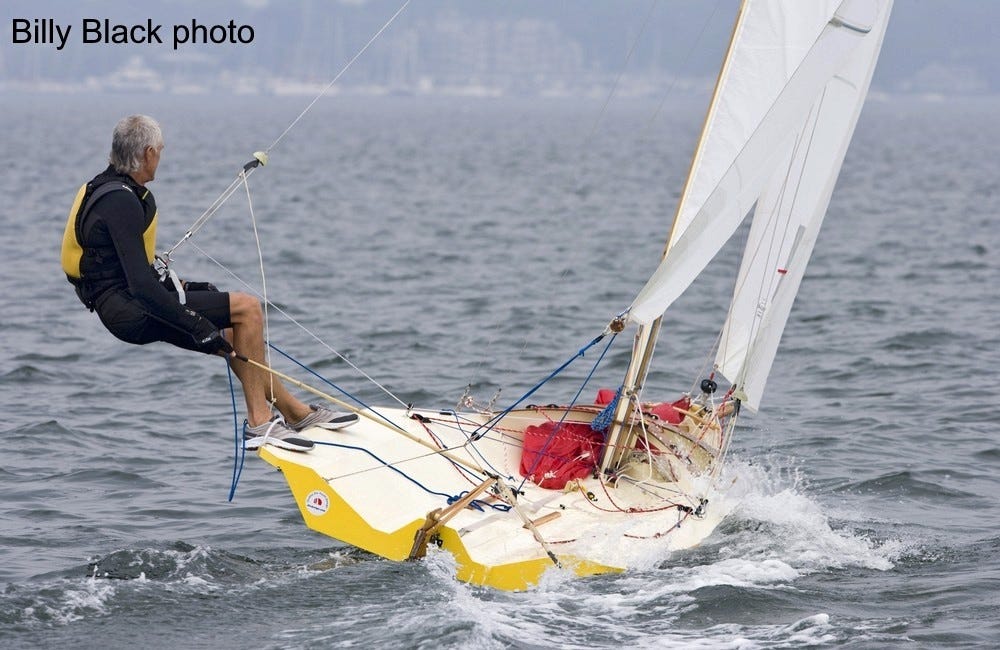
It handles beautifully with all rigs, with a gentle helm. It grows progressively in skills demand from the una rig through to the skiff. I sailed mine with the skiff rig once in winds approaching 30 knots, on Willoughby Bay, in Norfolk VA. There was only one other sailing craft on the bay, a short sailboard. I wanted to compare my speed to his and got onto his broad-reach track ahead of him, got onto trapeze then waited for him to come past so that I could compare. Instead he dropped away behind me. With big chop on the water, I was airborne between waves. Back at the slipway he came to me and asked what speed I was doing, because he had never seen a sailboat go that fast. I couldn’t tell him because I didn’t have a GPS. He did and told me that it showed his speed as 28mph. I don’t know how fast I went but it was well over 20 knots.
I was approaching 60 years old at the time and kept my trapezing to max 20 knots after that. I drew this boat for two teenagers and feel that that crew configuration can get the best performance from a Paper Jet. •SCA•


My heart always wanted to be "that" guy, mastering the trap in any conditions, always going for it. Dudley designed a beautiful hull that like T.J. makes me wish I were 19 so as to build and master this little craft!
Really good looking boat. Makes me want to turn back the "old" time clock. I kind of miss my trapeze days.