


Favorite Mods: Tiller Extensions
We asked you for your most satisfying or successful mods, and a couple of readers highlighted DIY tiller extensions.
Greg Miller wrote:
Here’s my DIY tiller extension. I think it works better and is simpler than anything commercially available. I ran a length of 1/8” line through an old fiberglass ski pole. This is secured to the tiller through a hole with a stopper knot. The other end runs through a piece of threaded tubing used for making table lamps, and is tied off with another stopper knot. The nut on the threaded tube allows one to adjust the tension on the line so that it pivots easily without any free play. An old rubber grip from a garden tool covers the adjusting mechanism.


Jeff Patrick sent this note:
I have done two mods to the tiller on my Somes Sound 12.5, Emily Ruth. The first one I did is a tiller clutch of sorts. I would have purchased the manufactured one of that name but it’s too large to fit comfortably on my shaped tiller. So I made my own. I was guided by one that Harry Bryan wrote about in an article.
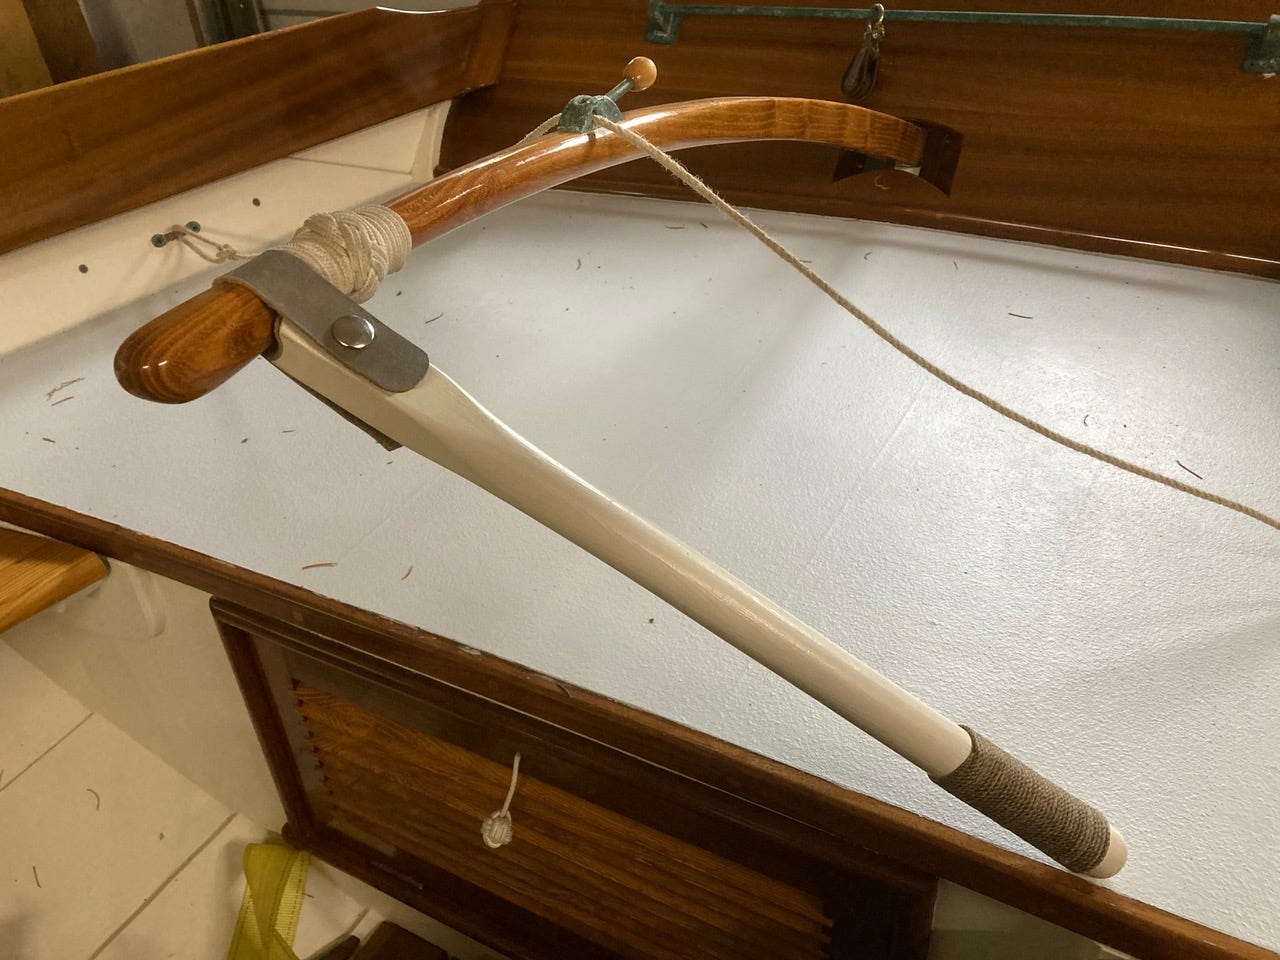
The second mod is a really simple tiller extension. There really is no "hiking out" on a Somes Sound (or any of her close cousins), so an extension isn’t ever really necessary. But there is a lot of lazy laid back sailing. She has a very light rudder in any wind up to ten knots, and on warm summer days I find myself kicked back, feet up on the opposite bench seat, and having to reach for the tiller. So I made this stick. A guy can’t be stressing his arm on a warm, sunny day—it might fatigue and then I might spill my drink. The tiller extension prevents this from happening.
The extension is a simple piece of dowel, shaped to cup the tiller, and padded with leather. A leather strap with snaps holds it in place. It is just secure enough to work and not much more. If the wind pipes up, it gets stowed. By then I’m not so relaxed anyway, so I don’t need it.
Both of these mods make for easier sailing. And that’s what it’s all about.
•SCA•
For a cheap and easy tiller extension, I started with a length of 1/2" schedule 40 pvc pipe; at one end, I added a pipe cap with a pair of holes for 1/4" or 3/16" nylon to go through. The pipe cap is easiest to work with (i.e. drill through) if it has a flat, square end instead of round. The nylon is doubled and both ends are inserted through the holes. At the other end, at a right angle to its length, half-round slots are ground or filed, to accommodate a 3" or 4" length of 3/4"dowel, which forms the handle. The dowel has two holes for the nylon rope, which goes through the dowel and both ends are knotted off. The loop at the other end is dropped over the tiller end, and then the dowel is twisted until the loop tightens. The dowel ends up in the half-round slots, forming a T configuration The tension on the loop around the tiller handle is easily adjusted. The dowel forms a comfortable. easily gripped handle. (Apologies if this description lacks clarity).
To form an end on the nylon line that can go through the holes, first wrap the raw end of the rope with a layer of masking tape, then square off the rope end by cutting through the tape. Finish by heating the rope end with flame, then peel the tape off. If you time it right, you can roll the hot nylon between your fingers to form a semi-point without burning yourself. The rope will now easily pass through the 1/4" holes. Apply aloe ointment to your scorched fingers, if necessary.